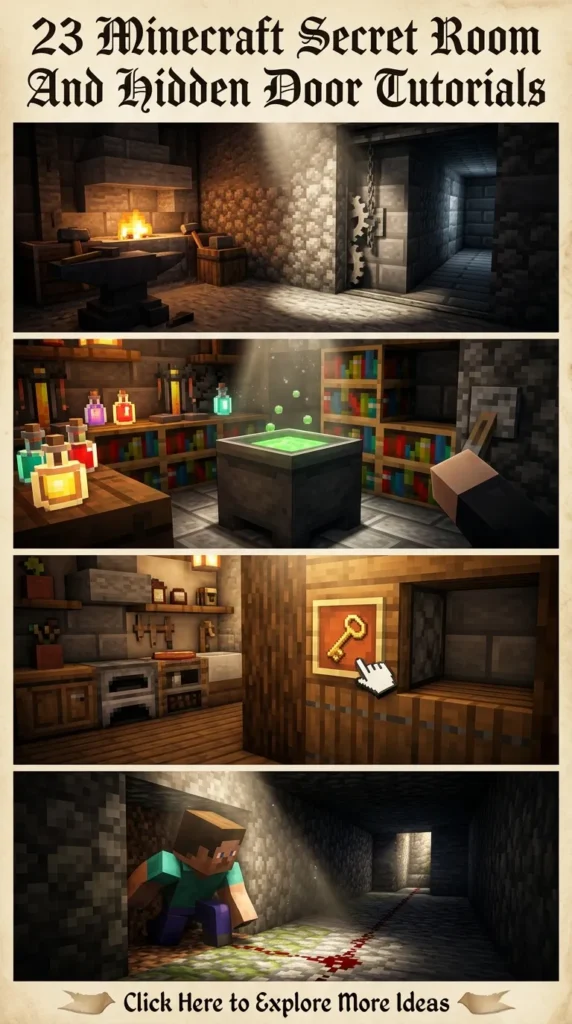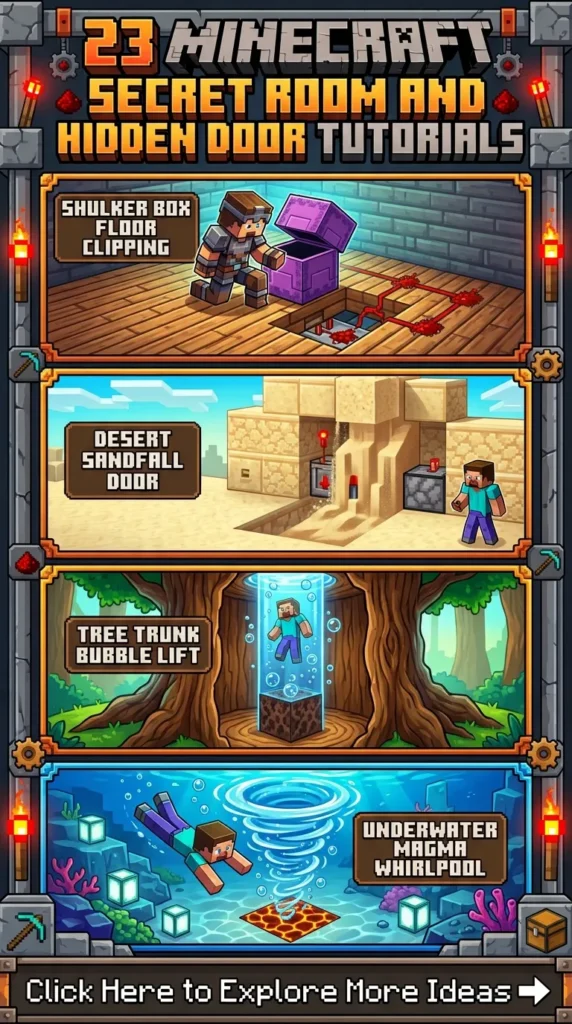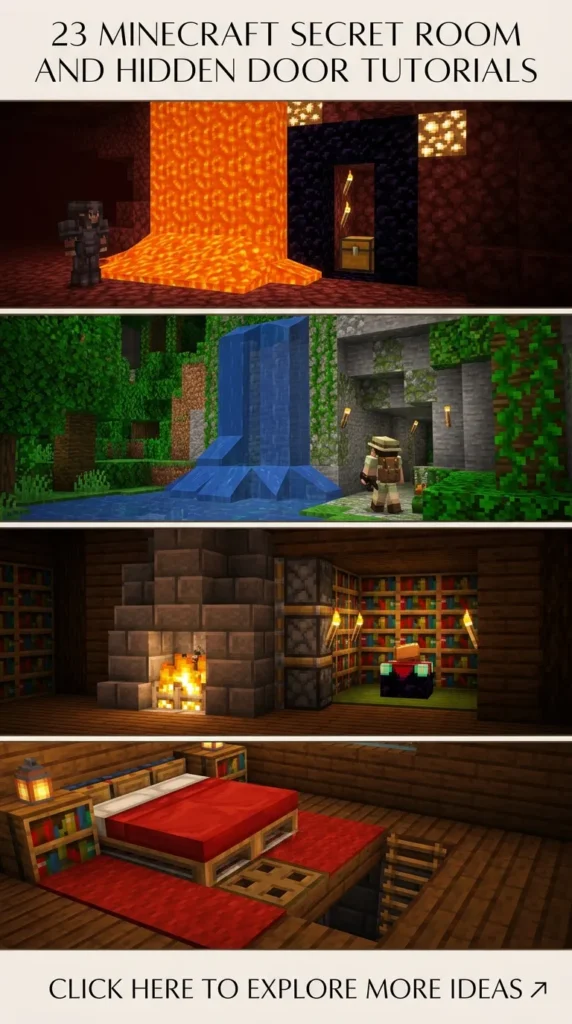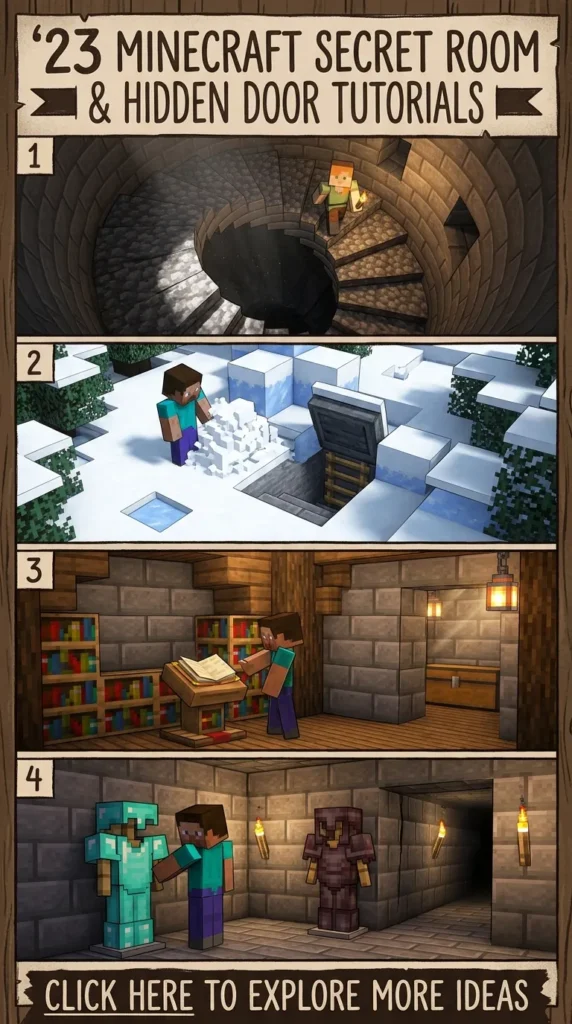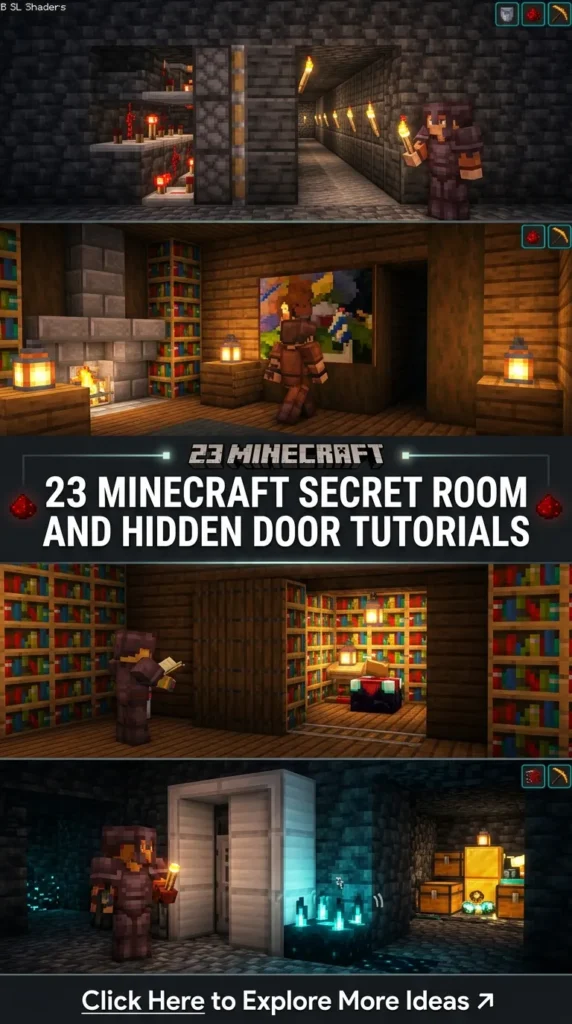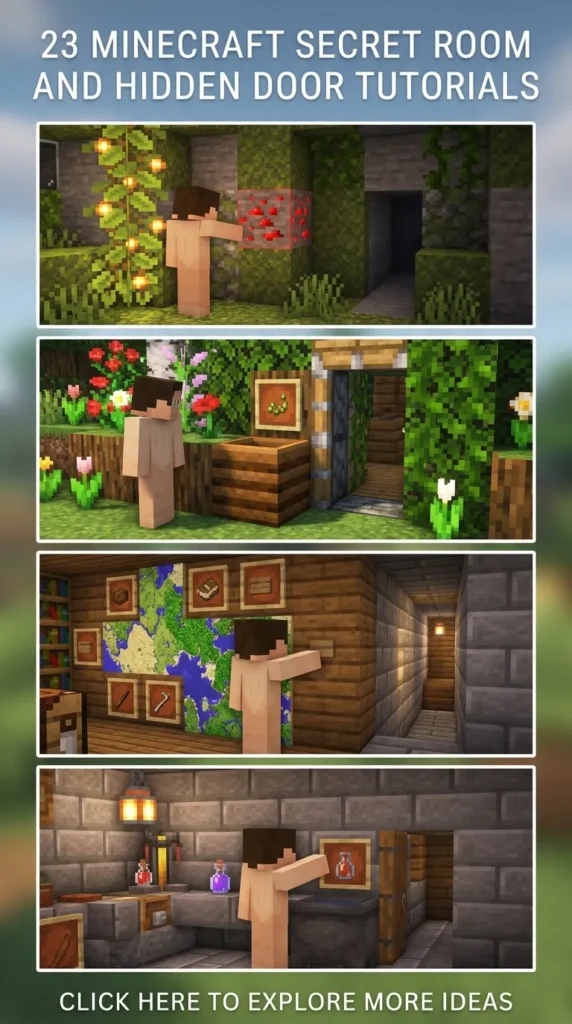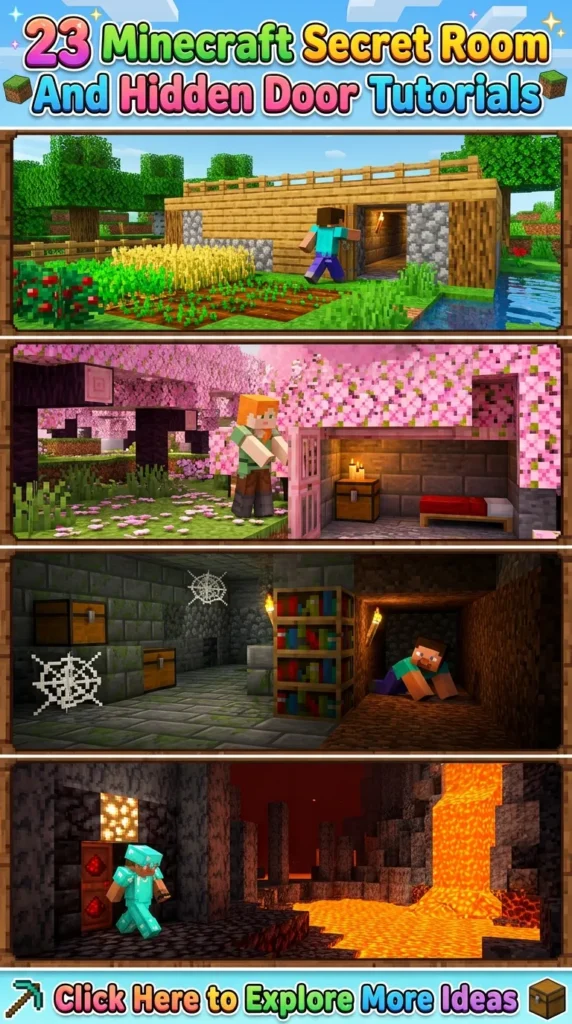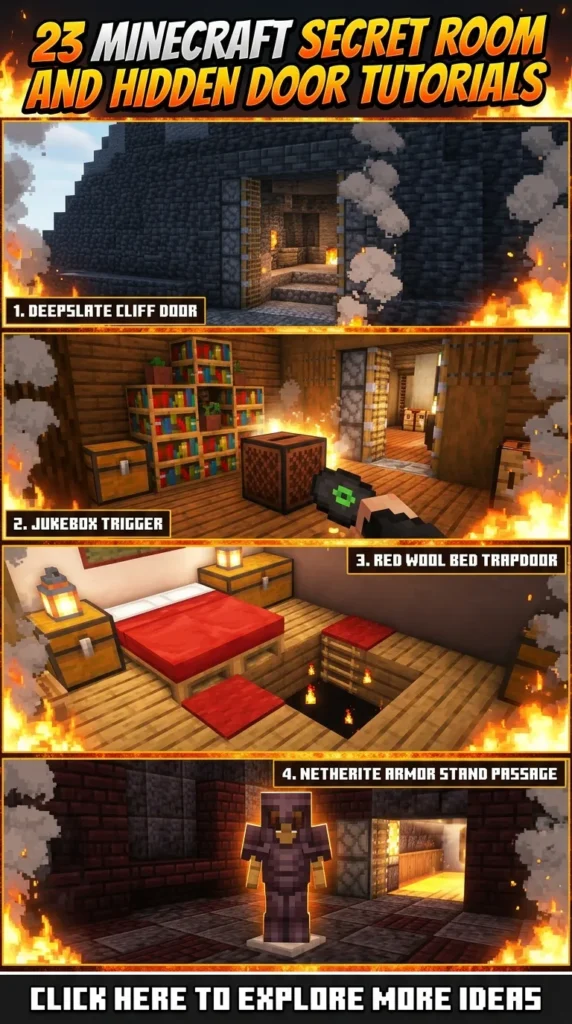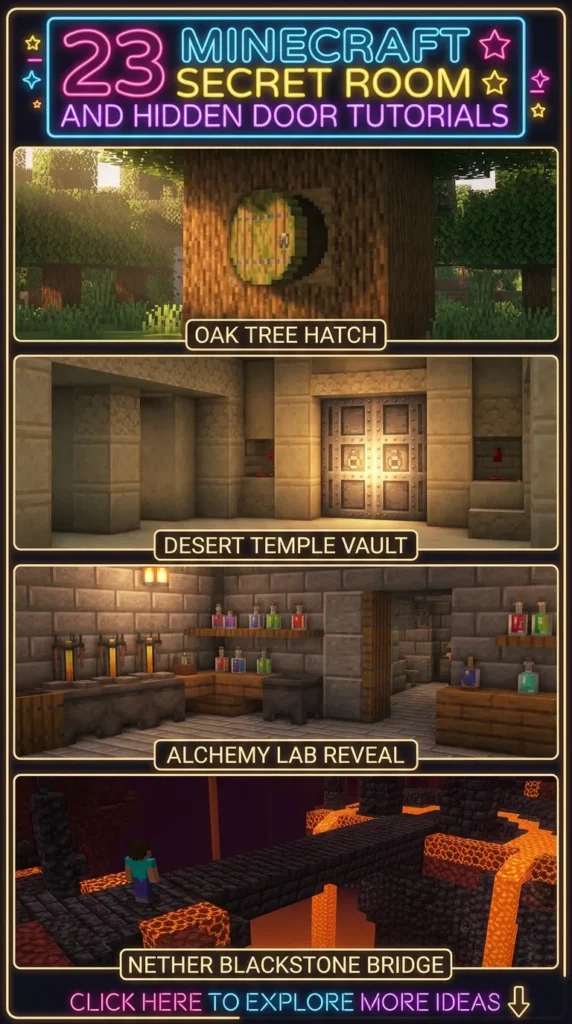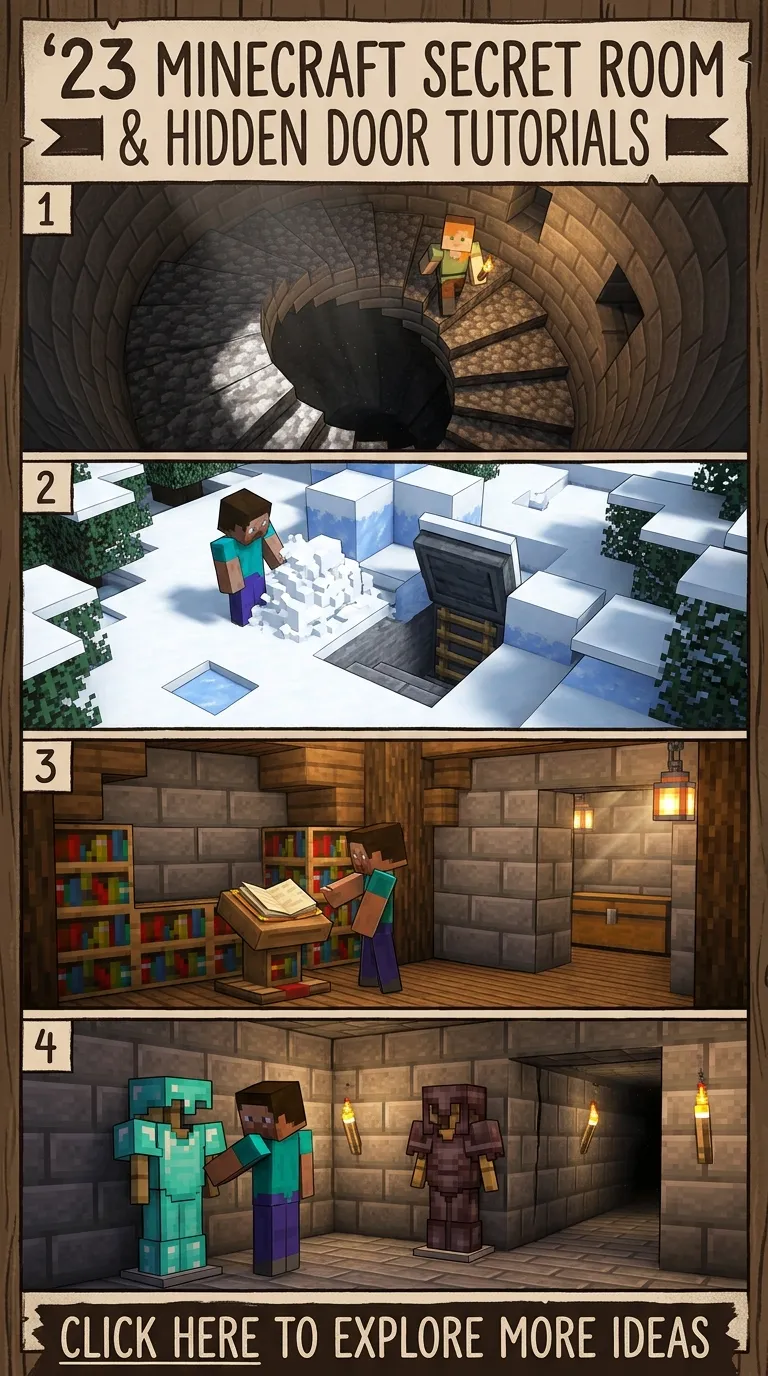
Unlocking secret bases, hidden storage vaults, and invisible escape routes is one of the most satisfying achievements in Minecraft. Whether you are playing on a multiplayer SMP server looking to keep your diamonds safe from griefers, or designing an immersive single-player world with rich hidden lore, building secret rooms adds depth and strategy to your builds.
Here are 20 secret room and hidden door tutorials, complete with mechanics, step-by-step instructions, materials, and customization tips.
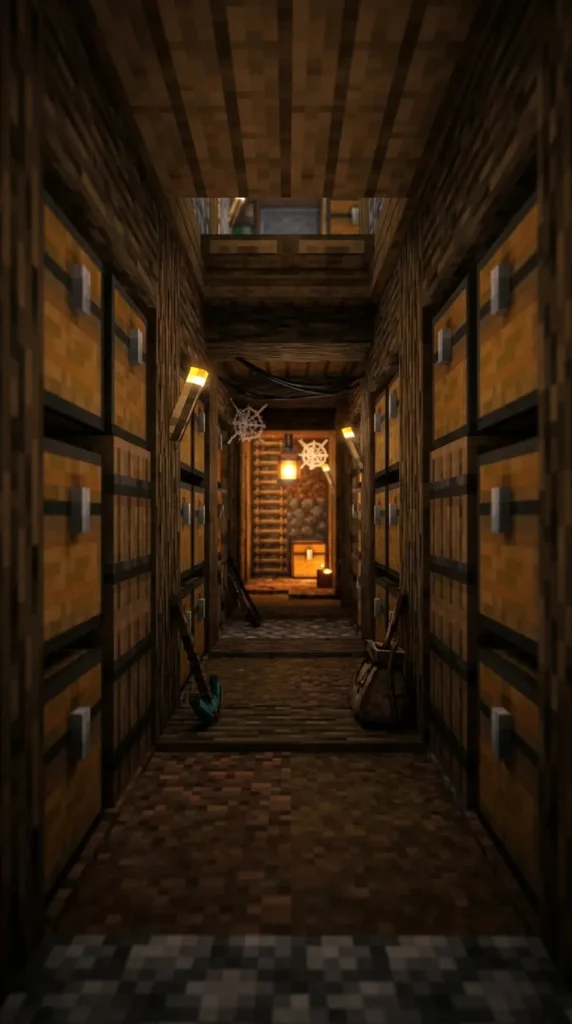
1. The Classic 2×2 Flush Piston Door (Jeb Door)
What This Idea Means
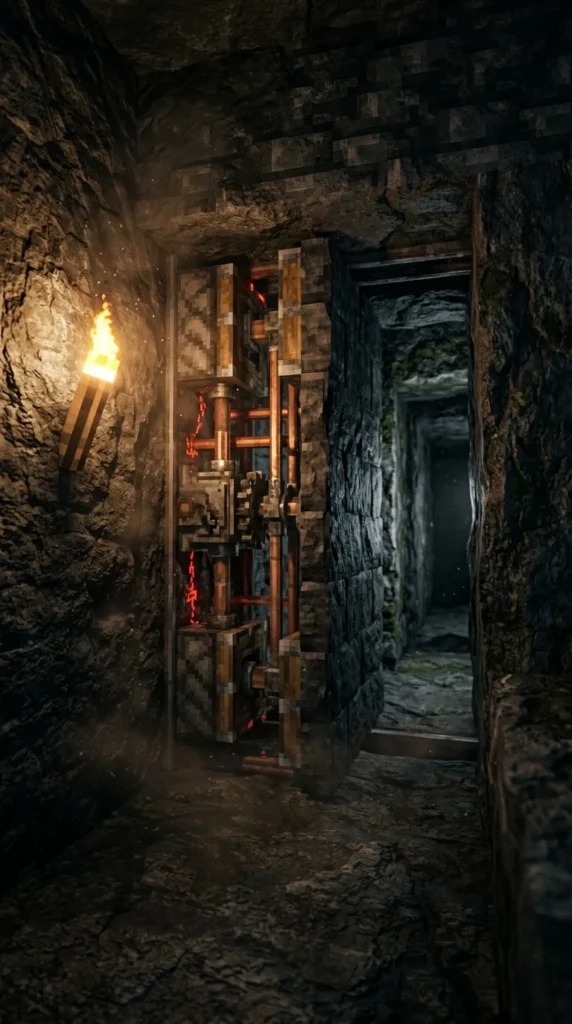
The Jeb Door is a classic Minecraft redstone build. Unlike standard piston doors that leave visible recess tracks in the wall, a flush piston door sits completely flat against the surrounding wall when closed. When activated, the blocks pull inward and retract sideways into the wall, revealing a seamless two-block wide passage.
Materials Needed
- 12 Sticky Pistons
- 2 Redstone Repeaters
- 6 Redstone Dust
- 2 Redstone Torches
- 1 Lever (or hidden input switch)
- Building blocks (matching your wall material)
Step-by-Step Tutorial: How to Make It
- Piston Placement: Place four sticky pistons facing towards you, stacked two blocks wide and two blocks tall. Next to the front two pistons, place two more sticky pistons facing perpendicular (pointing toward the hallway path). Mirror this exact layout four blocks away facing the opposite direction.
- Door Blocks: Place four wall-matching blocks in front of the forward-facing pistons.
- Top Wiring Platform: Build a flat platform of solid blocks directly on top of all the pistons.
- Redstone Circuit: Place redstone dust across the top blocks. Over the rear set of pistons on each side, place a redstone repeater facing toward the door blocks. Set both repeaters to 2 ticks (click each repeater once).
- Main Power Connection: Run a redstone line connecting the top dust circuit down to a hidden lever or redstone torch power source.
- Testing: Flip the switch. The pistons will push the wall blocks outward so they are flush with the wall. Flipping it again will retract the blocks deep into the wall and pull them aside.
Tips and Variations
- Seamless Integration: Match the material of the door directly with surrounding natural terrain like stone in a mountain side, or polished basalt in a Nether base.
- Button Delay: Swap the basic lever for a T-Flip-Flop or a button connected to a pulse extender to allow auto-closing doors.
2. The Painting Pass-Through Secret Door
What This Idea Means
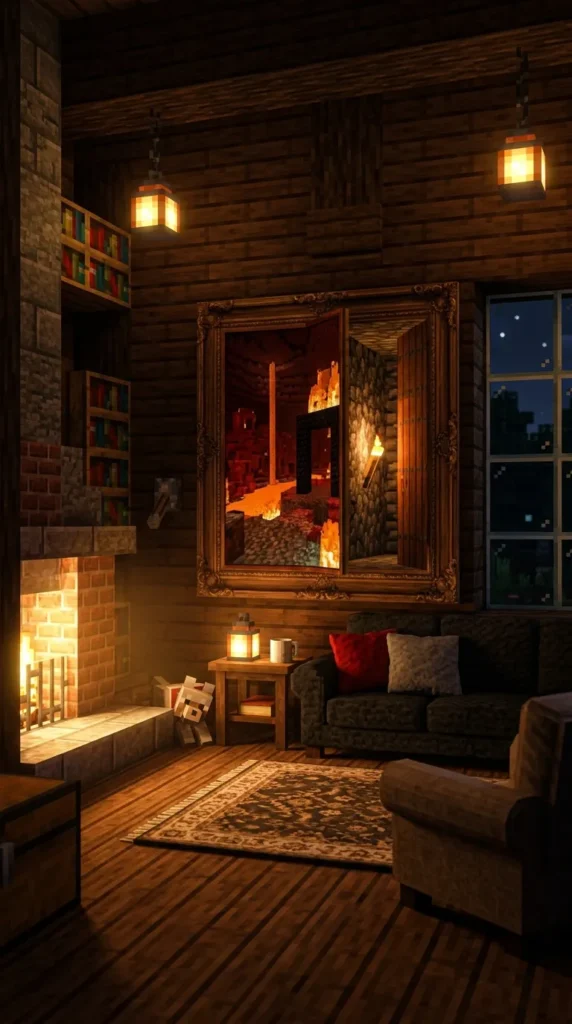
The painting doorway relies on physics tricks rather than complex redstone. Paintings in Minecraft can hang over open doorways if the door or sign supporting them allows space. You simply walk straight through a massive artwork into a hidden chamber without pulling a single switch.
Materials Needed
- 1 Painting (preferably 2×2 or 2×3 size)
- 2 Wooden Signs (or open wooden doors)
- Building blocks for the door frame
Step-by-Step Tutorial: How to Make It
- Frame the Opening: Cut a 1×2 or 2×2 doorway into your room’s wall where you want your secret entry.
- Place Support Signs: Place signs inside the doorframe on the inner side blocks. Do not write any text on them. The signs act as full solid blocks for paintings, but players can walk straight through them.
- Hang the Painting: Shift-click and place a painting on the outer edge of the doorway block.
- Adjust Size: Keep replacing the painting until you get a large piece of art that completely covers the doorway opening.
Tips and Variations
- Light Containment: Place light sources inside the secret room away from the painting. If the hidden room is too dark, light filtering through the painting can reveal the hollow space behind it.
- Door Lock: Place an iron door behind the painting connected to a remote button inside a chest to lock the painting passage when off-duty.
3. The Rotating Item Frame Lock
What This Idea Means
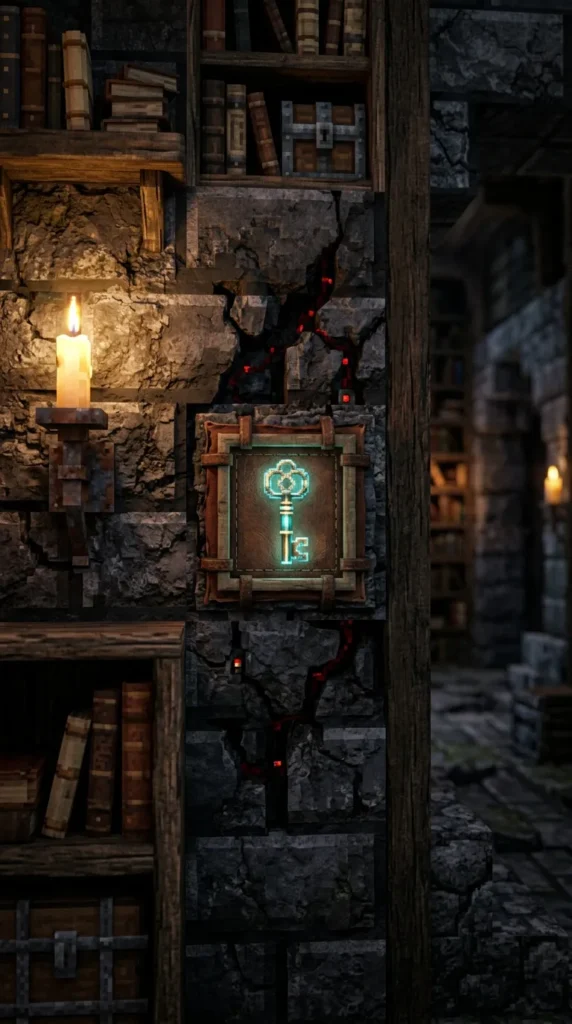
An Item Frame Lock uses a Redstone Comparator to measure the rotation state of an item inside a frame. An item in a frame can be rotated into eight different positions. Each rotation increases the redstone output strength by one level. When rotated to a specific position, the signal reaches exact strength needed to unpower a piston door.
Materials Needed
- 1 Item Frame
- 1 Any item (e.g., Sword, Feather, Clock)
- 1 Redstone Comparator
- Redstone Dust (varies based on distance, around 8-12)
- 1 Redstone Repeater
- 1 Redstone Torch
- 1 Sticky Piston
Step-by-Step Tutorial: How to Make It
- Mount the Frame: Place an item frame on the wall where your secret room will be located, and insert an item.
- Setup Comparator: Go behind the wall directly behind the item frame. Place a Redstone Comparator facing away from the block holding the item frame.
- Wire Output Line: Run a line of redstone dust extending out from the comparator output. Count out redstone dust equal to your chosen combination (e.g., if you want position 5 to open the door, run 5 redstone dust).
- Create Inverter: At the end of your desired dust length, place a solid block with a Redstone Torch attached to its side. This torch maintains power to keep your secret door locked.
- Connect Door: Run redstone from the torch to your hidden door’s piston mechanism.
- Calibration: Rotate the item in the frame. When the item hits position 5, the signal reaches the block, turns off the torch, and opens the door.
Tips and Variations
- Multi-Frame Locks: Combine two or three item frames using AND gates for high-security combination vault doors.
- Aesthetic Camouflage: Place the item frame inside a decorative storage room alongside labeled chests so it looks like standard decor.
4. The Extinguishing Fireplace Trapdoor
What This Idea Means
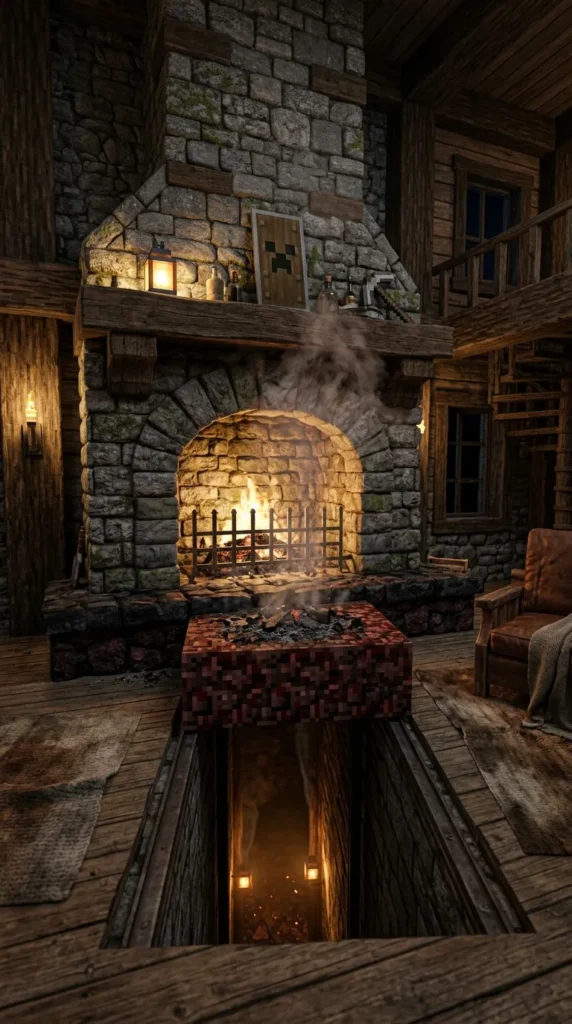
A cozy living room fireplace serves as a classic cover for a secret basement entry. Lighting the Netherrack hearth keeps the fire burning infinitely, blocking view and entrance. Extinguishing the fire (or dousing it via a hidden water trigger) temporarily disables the flame, allowing you to drop down into a hidden shaft before the hearth automatically reignites.
Materials Needed
- 1 Netherrack
- 1 Dispenser
- 1 Water Bucket
- 1 Flint and Steel
- Redstone Dust & Repeaters
- 1 Sticky Piston
- 1 Wooden or Stone Button
Step-by-Step Tutorial: How to Make It
- Hearth Setup: Dig out the center floor of your fireplace and place Netherrack one block lower than floor level.
- Dispenser Placement: Place a dispenser facing sideways into the flame space, containing a Water Bucket. Place a secondary dispenser facing the Netherrack containing Flint and Steel.
- Piston Retractor: Place a sticky piston underneath the Netherrack block pointing upward.
- Circuit Design: Wire a hidden button nearby. When pressed, the button sends a signal to:
- Activate the water dispenser (extinguishing the fire immediately).
- Retract the sticky piston down, dropping the Netherrack block to create a hole.
- After a 3-second delay via repeaters, pull the water back into the bucket, raise the Netherrack block, and trigger the Flint and Steel dispenser to reignite the fire.
- Drop Tunnel: Build a vertical drop shaft beneath the Netherrack with water or slime blocks at the bottom to prevent fall damage.
Tips and Variations
- Splash Potion Trigger: Throw a splash water potion directly at the hearth to douse it manually if you prefer zero external buttons.
5. The Lectern Page-Turner Lock
What This Idea Means
Lecterns output different redstone signal levels based on which page a Book and Quill is currently opened to. By reading a specific page, a reader triggers a signal that opens a hidden bookshelf door in your library.
Materials Needed
- 1 Lectern
- 1 Book and Quill (with at least 15 pages written)
- 1 Redstone Comparator
- Redstone Dust
- Sticky Pistons
- Decorative Bookshelves
Step-by-Step Tutorial: How to Make It
- Place Lectern: Set up a lectern in your library or study area. Place a Book and Quill on it.
- Read Output: Place a Redstone Comparator directly behind the lectern facing outward.
- Set Target Signal: If you want Page 7 to open the door, extend a line of redstone dust exactly 7 blocks long from the comparator.
- Invert Signal: Put a block at the end of the 7th dust line with a Redstone Torch on top or on the side.
- Piston Door Assembly: Connect the torch output to a set of sticky pistons holding a section of decorative bookshelves.
- Operation: When players read through the book on the lectern, turning to Page 7 sends a signal length of 7, powering the block, turning off the torch, and sliding the bookshelf wall open.
Tips and Variations
- Lore Integration: Write actual custom story lore or hints on the pages leading up to the secret page number.
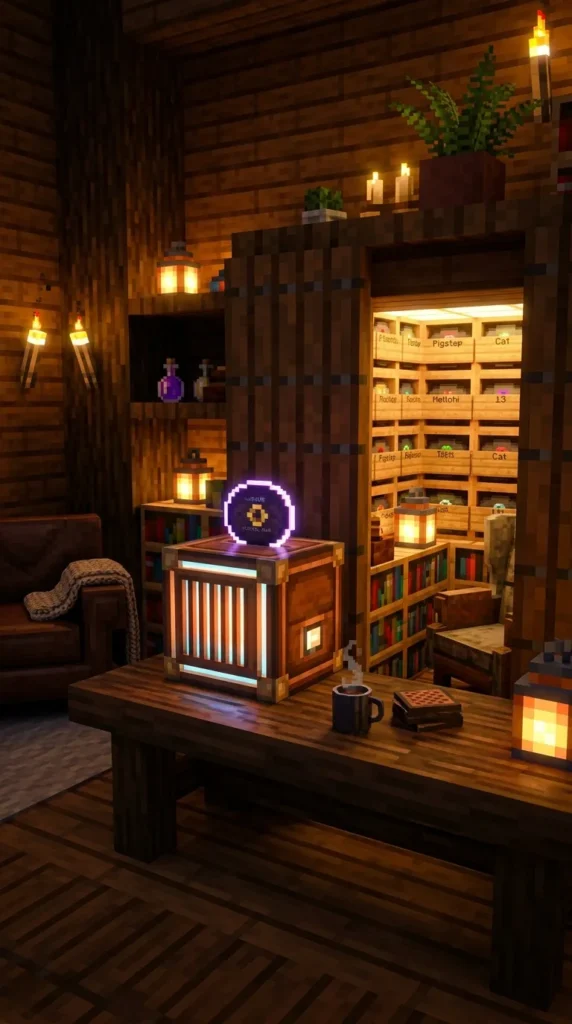
6. The Waterfall Secret Drop Passage
What This Idea Means
Waterfalls flowing down natural cliffs or artificial base walls make excellent natural concealments. By swimming or dropping directly through the flowing water curtain, players can slip into a hidden alcove or shaft built behind the liquid wall without breaking movement speed.
Materials Needed
- Water Buckets
- 2 Wooden Signs (or Ladders)
- Sugar Cane or Glass (optional for aesthetics)
Step-by-Step Tutorial: How to Make It
- Locate or Build Waterfall: Create a vertical cliff face with water pouring down from top to bottom.
- Carve Passage: Stand behind the water stream and hollow out a 1×2 or 2×2 horizontal tunnel into the mountain wall.
- Block Water Flow: Place signs inside the entrance tunnel walls. Signs prevent water blocks from flooding into your secret room while leaving space for players to walk straight through.
- Decorate Interior: Build a dry entrance corridor immediately behind the sign barrier lined with lantern lighting and chest storage.
Tips and Variations
- Lava Fall Trick: Swap water for lava and use fire resistance potions or a minecart placement trick to fall through safely.
- Bubble Elevator: Connect the hidden passage behind the waterfall to a Soul Sand water elevator for swift vertical travel.
7. The Sculk Sensor Sound-Activated Door
What This Idea Means
Introduced in recent updates, Sculk Sensors detect vibrations caused by footsteps, jumping, eating, or dropping items within an 8-block radius. By tuning a Sculk Sensor with a Wool casing, you can build a completely invisible door that opens only when you perform a specific action (like jumping or dropping a specific item) near a wall.
Materials Needed
- 1 Sculk Sensor
- Wool Blocks (6-10 blocks for sound insulation)
- 1 Redstone Comparator
- Redstone Dust
- Sticky Pistons
Step-by-Step Tutorial: How to Make It
- Position Sensor: Place a Sculk Sensor under the floorboards or inside the wall near your secret passage location.
- Insulate with Wool: Surround the Sculk Sensor with Wool blocks on all sides except the direction from which you want it to receive sound vibrations. Wool blocks block acoustic frequencies in Minecraft.
- Comparator Filtering: Attach a Redstone Comparator directly to the Sculk Sensor. Different actions produce different signal strengths (e.g., footsteps = signal 1, jumping = signal 2, dropping items = signal 3).
- Filter Signal: Run a specific length of redstone dust to match your preferred input signal, outputting to a redstone inverter connected to your piston door.
- Test Trigger: Jump or drop an item on the designated trigger block to open the wall.
Tips and Variations
- Amethyst Tuning: Place Amethyst blocks nearby to create resonant acoustic chimes when your secret door activates.
8. The Cauldron Water Level Switch
What This Idea Means
A simple cauldron full of water can act as a concealed mechanical key. When a comparator is placed behind a cauldron, it measures how much water is inside. Taking a bottle of water out of the cauldron reduces the water level and changes the comparator signal, opening a hidden passage behind a kitchen counter or brewing station.
Materials Needed
- 1 Cauldron
- 1 Water Bucket
- 1 Glass Bottle
- 1 Redstone Comparator
- Redstone Dust
- 1 Redstone Torch
- Sticky Pistons
Step-by-Step Tutorial: How to Make It
- Install Cauldron: Place a cauldron on the floor against a wall in a brewing area or kitchen. Fill it completely using a water bucket (Level 3).
- Comparator Setup: Place a comparator directly behind the wall block touching the cauldron. A full cauldron outputs a signal strength of 3.
- Circuit Calibration: Run 3 blocks of redstone dust from the comparator output. Place a redstone torch at the end of the 2nd redstone dust block to keep the door locked when the cauldron is full.
- Wire to Pistons: Connect the torch output to the sticky pistons holding your hidden door shut.
- Operation: Use a glass bottle to remove one unit of water from the cauldron. The water level drops to 2, reducing the signal strength. The redstone torch turns on, opening the secret passage. Refilling the cauldron closes the door.
Tips and Variations
- Brewing Stand Integration: Place this mechanism directly in a potion-making laboratory where cauldrons look completely natural.
9. The Retracting Staircase Secret Entrance
What This Idea Means
Stairs in Minecraft have partial solid geometry. When pulled backward by sticky pistons, they leave a wide open diagonal gap. This tutorial creates a standard interior wooden or stone staircase where a set of step blocks retract into the floor, revealing a illuminated staircase leading underground.
Materials Needed
- 4 Sticky Pistons
- 4 Stair Blocks (matching your floor/staircase)
- Redstone Dust & Repeaters
- 1 Hidden Lever or Button
Step-by-Step Tutorial: How to Make It
- Build Main Stairs: Construct a normal 3-block or 4-block wide staircase in your base.
- Isolate Target Steps: Select 2-3 step blocks near the middle of the staircase to serve as your hidden hatch.
- Piston Rigging: Mount sticky pistons directly behind and beneath those target stair blocks, pointing away and down.
- Wiring Circuit: Wire the pistons to a single redstone line. Ensure that when unpowered, the pistons extend forward, making the stairs look complete and seamless.
- Switch Connection: Connect the circuit to a hidden lever (such as a lever placed behind an item frame or under a floor trapdoor).
- Trigger: Pulling the lever causes the pistons to pull the stair blocks down and back into the wall, revealing a passage beneath.
Tips and Variations
- Smooth Animation: Adjust repeater tick delays to make the stairs pull back sequentially for a smooth opening motion.
10. The Forest Tree Trunk Secret Drop
What This Idea Means
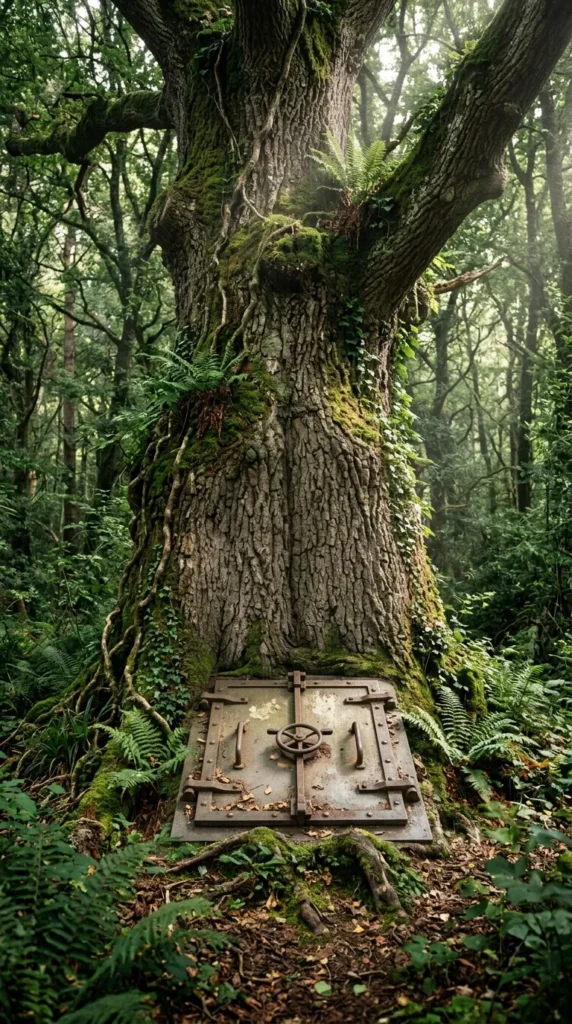
Natural environments like forests offer built-in camouflage. This design hides a secret vertical drop inside the trunk of a large custom or natural 2×2 Oak or Dark Oak tree, featuring a hidden lever buried in leaves or underground roots.
Materials Needed
- Wood Logs & Leaves
- 1 Ladder or Water Bucket
- 1 Trapdoor
- 1 Wooden Button or Lever
- Redstone Dust
Step-by-Step Tutorial: How to Make It
- Find/Build Large Tree: Locate a 2×2 Dark Oak/Spruce tree or build a custom large oak tree with a thick trunk.
- Hollow the Core: Hollow out a 1×1 vertical shaft straight down through the center of the trunk into the ground beneath.
- Conceal Entry: Place a leaf block or wooden trapdoor at the top opening of the trunk to keep wild animals and foliage from exposing the hole.
- Add Input: Hide a lever on the underside of a root block or behind high tree leaves.
- Drop Safety: Place vines, ladders, or a water source block at the bottom of the long fall to prevent fall damage when dropping down.
Tips and Variations
- Soul Sand Elevator: Turn the hollow trunk into a high-speed water bubble elevator to shoot upward out of your underground bunker into the forest canopy.


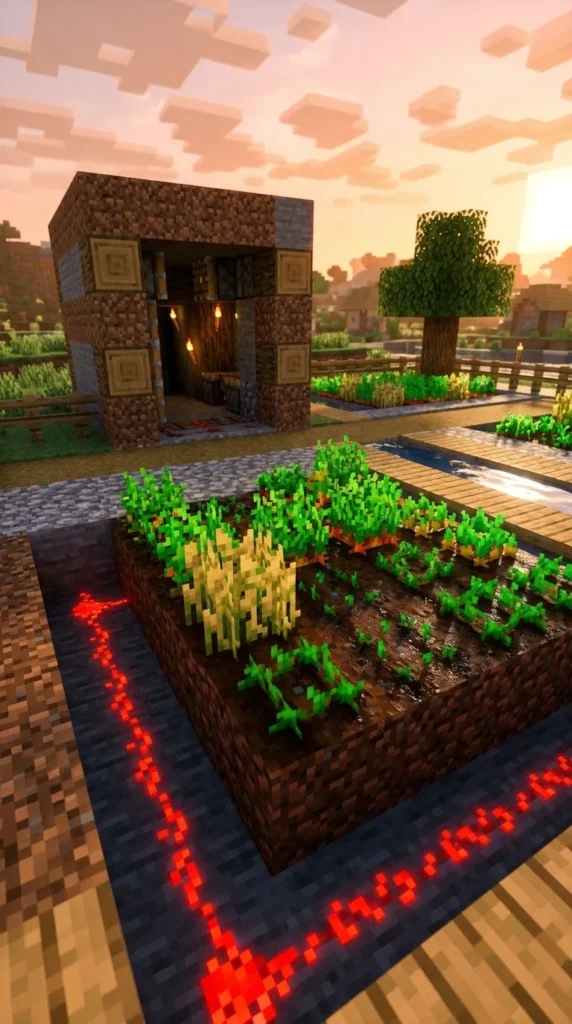
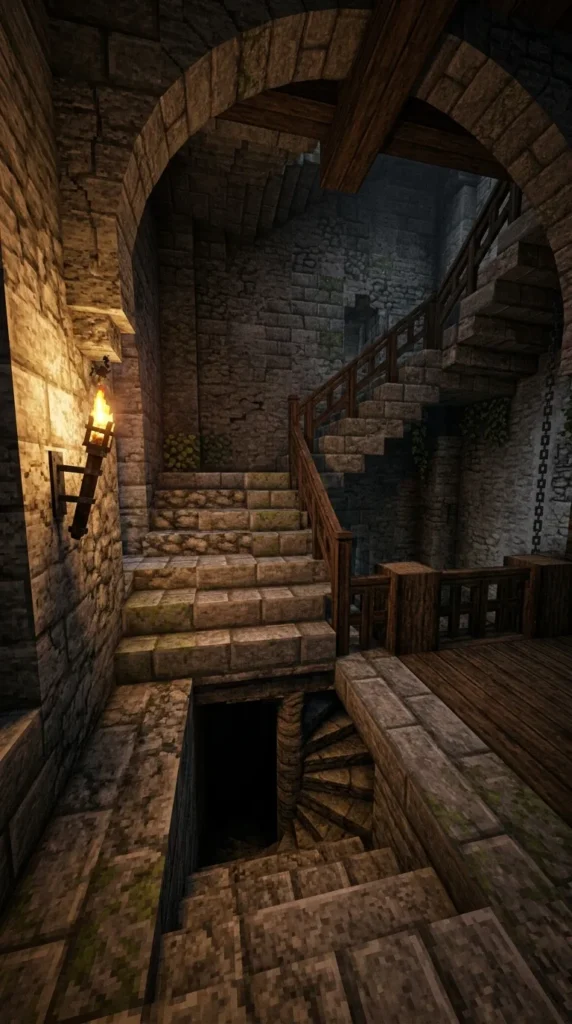
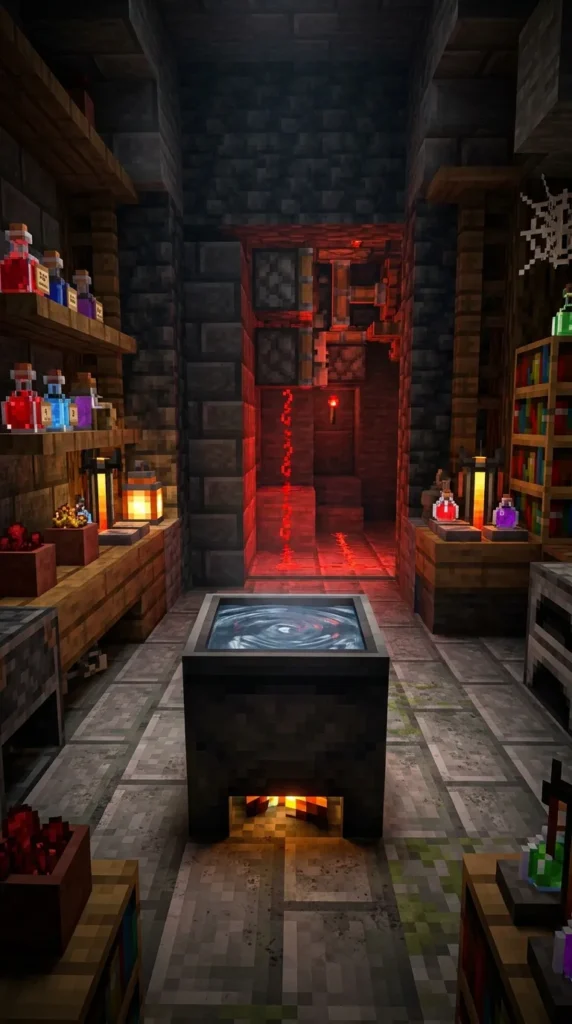
11. The Composter Signal Vault
What This Idea Means
Composters increase in fill levels as organic materials are added, progressing from level 0 to level 7. A comparator attached to a composter reads these fill levels. Filling a composter completely triggers a signal that opens a hidden trapdoor into an underground farm storage vault.
Materials Needed
- 1 Composter
- Seeds, Crops, or Leaves (to fill composter)
- 1 Redstone Comparator
- Redstone Dust
- 1 Sticky Piston
- 1 Redstone Torch
Step-by-Step Tutorial: How to Make It
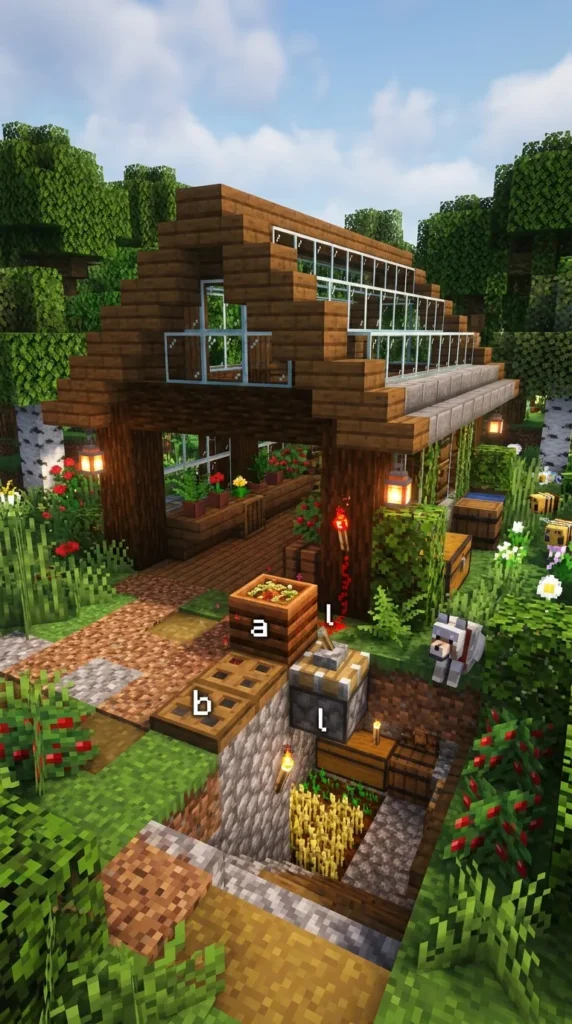
- Place Composter: Set a composter into a wall corner inside your greenhouse or farm barn.
- Attach Comparator: Place a comparator directly behind the composter block.
- Wire Signal Line: Run 7 blocks of redstone dust out from the comparator. Place an inverted redstone torch configuration at the end of the 7th dust block.
- Connect Door Hatch: Connect the torch output to a sticky piston controlling a floor block next to the composter.
- Trigger: Fill the composter with excess seeds or saplings until it reaches full capacity (Level 7). The signal extends 7 blocks, unpowering the torch and retracting the floor block.
- Reset: Collect the bone meal from the composter to reset the signal and close the door behind you.
Tips and Variations
- Hopper Automation: Connect a hopper underneath the composter with a delayed repeater so it automatically drains the bone meal after 10 seconds, auto-closing your vault door.
12. The Tillable Dirt Observer Switch
What This Idea Means
Tilling a dirt block with a hoe changes the block state from Dirt to Farmland. Observers detect block state changes instantly. By placing an Observer underneath a specific patch of dirt in your base garden, tilling the dirt sends a rapid redstone pulse that opens a temporary hidden entrance.
Materials Needed
- 1 Dirt Block
- 1 Hoe (Wooden, Stone, or Iron)
- 1 Observer
- 1 T-Flip-Flop or Pulse Extender
- Sticky Pistons
Step-by-Step Tutorial: How to Make It
- Set Up Dirt Target: Choose a dirt block on your farm floor or landscape.
- Position Observer: Dig beneath the dirt block and place an Observer facing directly upward toward the dirt block.
- Wire Pulse Line: Run a redstone line from the back of the Observer to a pulse extender circuit (2 comparators looping into each other).
- Connect Passage: Direct the output from the pulse extender to a sticky piston door in an adjacent wall or floor hill.
- Operation: Till the dirt block using your hoe. The Observer detects the block change instantly, sending a signal that opens the door for 5 seconds before closing.
- Reset: Jumping on the farmland reverts it back to dirt, making it ready for another trigger pulse.
Tips and Variations
- Self-Restoring Farmland: Place a water block nearby so the farmland remains moist, or remove water so it dries out and reverts back to dirt automatically over time.
13. The Jukebox Disc Key Door
What This Idea Means
Each music disc played in a Jukebox outputs a different redstone signal strength when read by a comparator. For example, Music Disc “Pigstep” outputs a different signal strength than “Cat” or “13”. Inserting a specific music disc into a jukebox acts as a unique physical key card to open your secure vault.
Materials Needed
- 1 Jukebox
- 1 Specific Music Disc (e.g., Pigstep or Mellohi)
- 1 Redstone Comparator
- Redstone Dust
- Redstone Repeaters
- Sticky Pistons
Step-by-Step Tutorial: How to Make It
- Place Jukebox: Place a jukebox in your living room area or music lounge.
- Measure Signal Output: Attach a comparator behind the jukebox. Note the signal strength produced by your chosen key disc:
- Disc 13: Signal 1
- Blocks: Signal 3
- Chirp: Signal 4
- Pigstep: Signal 13
- Signal Filter Line: Create a redstone signal length line matched to your specific disc strength so that weaker or stronger discs won’t activate the circuit.
- Connect Door Mechanics: Connect the output to your sticky piston hidden wall door.
- Operation: Insert the correct disc into the jukebox. The exact signal unlocks your secret room. Ejecting the disc locks the door instantly.
Tips and Variations
- Disc Hopper Collector: Place a hopper beneath the jukebox attached to a button that automatically ejects and deposits your key disc into a hidden chest below.
14. The Bedside Trapdoor Shaft
What This Idea Means
When a player wakes up from a bed in Minecraft, the game places the character on an adjacent safe floor block. By placing a secret trapdoor underneath or directly alongside the bed, players can exit sleep mode and slide straight down an underground access chute without standing up in the bedroom.
Materials Needed
- 1 Bed (any color)
- 1 Trapdoor
- Ladders or Water (for fall landing)
- Decorative Carpet / Rugs
Step-by-Step Tutorial: How to Make It
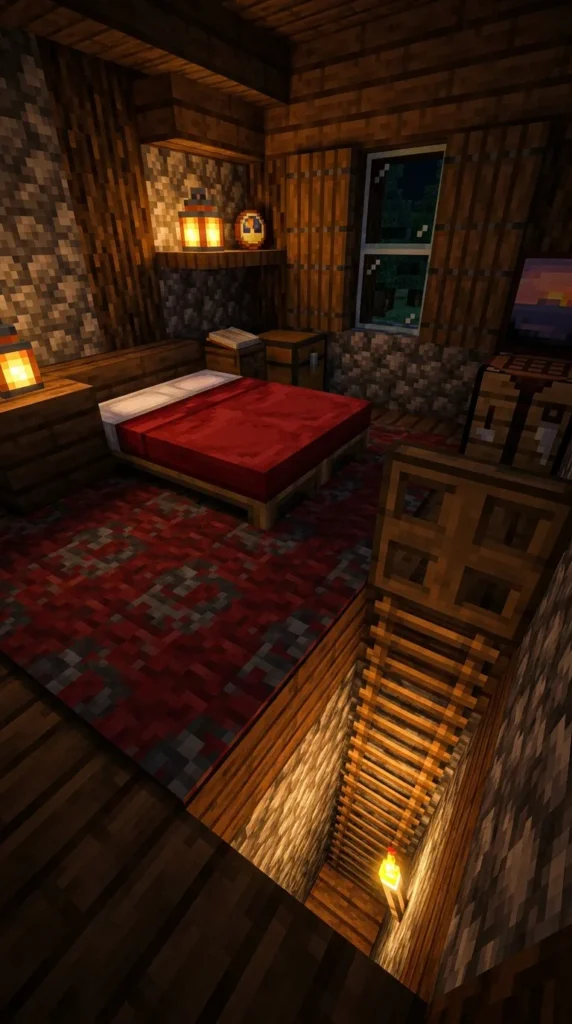
- Set Bed Location: Place a bed in the corner of your bedroom.
- Dig Drop Shaft: Break the floor block directly adjacent to where your character lands when exiting the bed (usually right beside the pillow). Dig a vertical shaft down into your secret lower room.
- Cover with Trapdoor: Place a trapdoor over the top of the hole. Cover surrounding floor areas with decorative carpet to disguise the setup.
- Operation: Sleep in the bed. Before night completes or right as you wake up, open the trapdoor. Exiting the bed drops your character straight down into the secret room shaft.
Tips and Variations
- Bed Base Teleport: Combine this layout with an Ender Pearl stasis chamber system to teleport across the base the moment you enter the bed.
15. The Armor Stand Pressure Plate Sensor
What This Idea Means
An Armor Stand placed precisely on the boundary line of a wooden pressure plate can be subtly nudged to trigger redstone signals through solid walls. By shifting or interacting with an decorative armor stand on display, you can trigger a hidden mechanism without exposing redstone wiring.
Materials Needed
- 1 Armor Stand
- 1 Wooden Pressure Plate
- 1 Piston
- Redstone Dust
- Sticky Pistons (for hidden door)
Step-by-Step Tutorial: How to Make It
- Set Sensor Floor: Dig a 2-block deep hole in the wall corner where you want your armor stand display. Place a pressure plate at the bottom.
- Place Armor Stand: Drop an armor stand onto the edge of the pressure plate.
- Wall Enclosure: Use a piston to gently push a solid decorative wall block over the lower half of the armor stand space so the plate is completely hidden inside the wall geometry.
- Wire Signal: Connect the pressure plate signal underneath the floor to your hidden door’s piston circuit.
- Trigger: Walk up to the armor stand and interact with it or bump slightly against its hit-box to trigger the plate beneath and open the door.
Tips and Variations
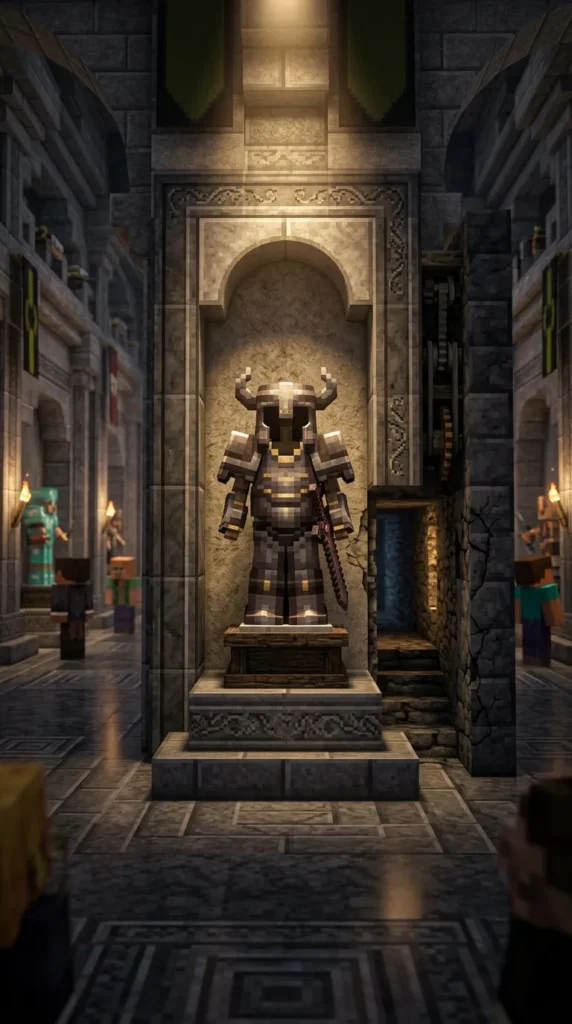
- Custom Armor Display: Dress the armor stand in Netherite armor or decorative mob heads so it looks like an ordinary armor display pedestal.
16. The Shulker Box Wall Push Passage
What This Idea Means
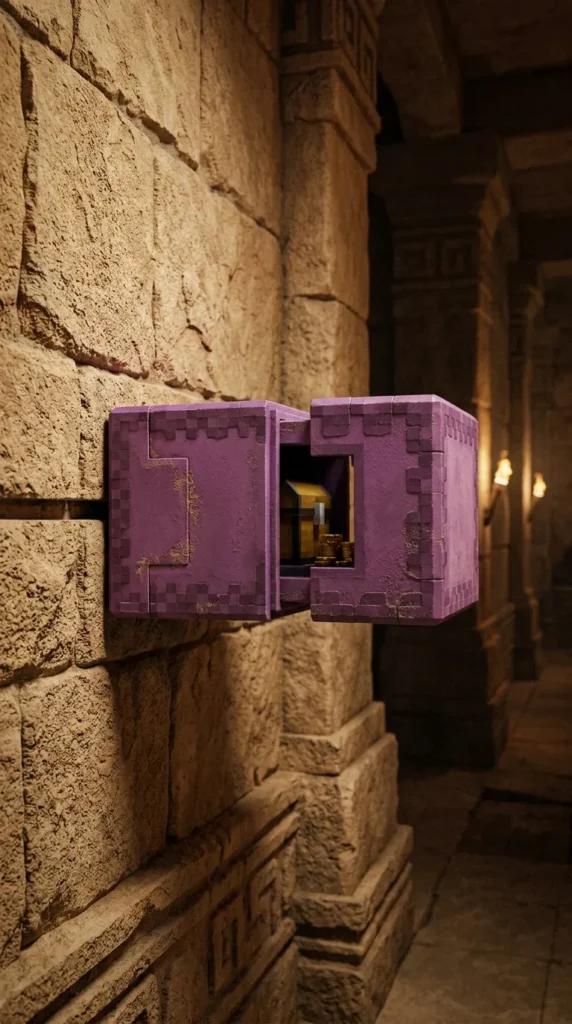
When a Shulker Box opens, its top lid expands outward by half a block. If a player stands directly in front of a wall mounted Shulker Box in a 2-block tall space and opens it, the expanding lid collision box pushes the player backwards through a corner wall gap or down through a trapdoor.
Materials Needed
- 1 Shulker Box (any color)
- 1 Trapdoor
- Building blocks for corner framing
Step-by-Step Tutorial: How to Make It
- Wall Setup: Create a tight 1×1 floor space against a corner wall in your vault or storage room.
- Mount Shulker Box: Place a Shulker Box horizontally on the wall at torso level (1 block off the ground) facing toward the player standing area.
- Floor Hatch: Place a closed trapdoor on the floor directly beneath where the player stands in front of the shulker box. Unlatch the trapdoor.
- Operation: Stand on the trapdoor directly in front of the Shulker Box and right-click to open it. The expanding lid pushes your player model down through the floor trapdoor into a secret room below.
Tips and Variations
- Zero Redstone: This secret room door uses zero redstone components, making it undetectable to redstone bugs and x-ray scanners on servers.
17. The Crawl-Space Trapdoor Entrance
What This Idea Means
Using a trapdoor or bucket of water allows players to enter the 1-block high crawling animation introduced in modern Minecraft versions. This allows you to build entire secret mini-rooms, chest vaults, and escape tunnels that are only 1 block tall and completely hidden behind low furniture or counters.
Materials Needed
- 1 Trapdoor (Oak, Spruce, or Iron)
- Building blocks for 1-block high hidden corridors
- Chests / Barrel storage
Step-by-Step Tutorial: How to Make It
- Build Crawl Network: Dig a 1-block high horizontal network of tunnels behind your base walls or under your floorboards. Fill it with barrels and chest storage.
- Create Entry Port: Make a 1×1 opening in a lower wall panel, disguised under a table, desk, or behind a workbench.
- Mount Trapdoor: Place a trapdoor at the top edge of the 1×1 entry hole.
- Operation: Stand in front of the hole and close the trapdoor onto your character. Your character will instantly force-crawl into a 1-block high position.
- Explore: Crawl through the low passage into your compact hidden storage vault.
Tips and Variations
- Piston Trapdoor Crawl: Wire a hidden button to automatically close a trapdoor on your head for quick access into crawl spaces.
18. The Lava Fall Minecart Drop
What This Idea Means
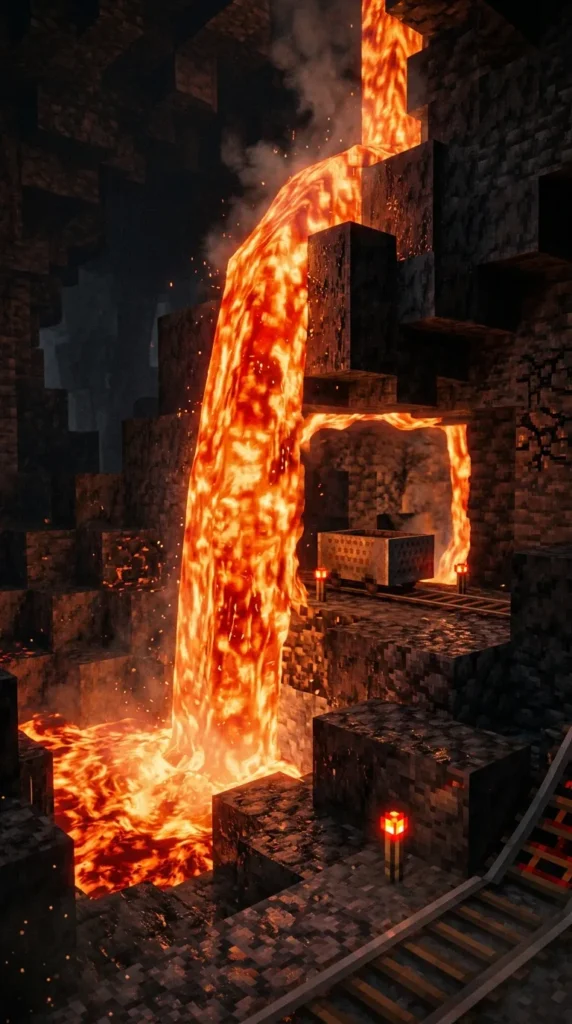
Lava blocks obscure vision completely and incinerate players quickly. However, minecarts placed on tracks directly behind or beneath a thin 1-block thick flowing lava curtain can be right-clicked through the fire, instantly teleporting the player into the minecart and through the lava safely without taking fire damage.
Materials Needed
- 1 Lava Bucket
- 1 Minecart
- 1 Rail
- Signs (to contain lava flow)
- Solid building blocks
Step-by-Step Tutorial: How to Make It
- Create Lava Column: Build a 1-block wide vertical channel and place a Lava Bucket at the top to let it flow down into a catch hole.
- Contain Lava: Place signs on the inside blocks directly behind the lava stream to hold the liquid back from flowing sideways into your secret cave.
- Place Minecart: Place a rail and a minecart on a block directly behind the sign boundary, hidden right behind the lava wall.
- Operation: Walk up to the lava stream, look closely at the center of the liquid, and right-click to mount the hidden minecart. You will immediately teleport through the lava into the cart inside your hidden room unharmed.
Tips and Variations
- Fire Resistance Safeguard: Keep a Fire Resistance potion in your off-hand when using this door on high-lag multiplayer servers to prevent accidental lava tick damage.
19. The Redstone Ore Pressure Step Switch
What This Idea Means
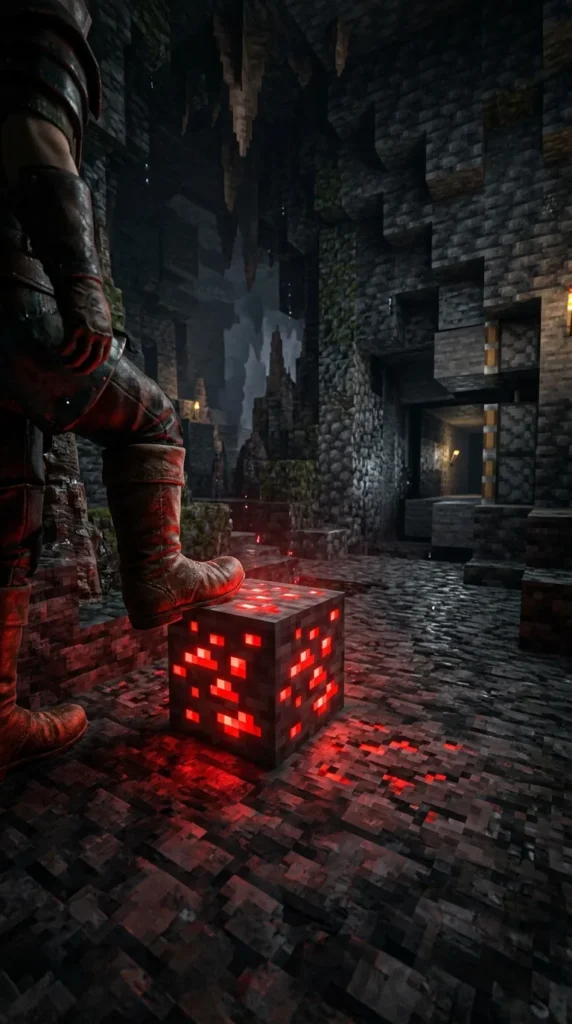
When stepped on or struck, natural Redstone Ore blocks light up and change state from unlit to glowing redstone ore. An Observer placed beneath an ore block detects this lighting change instantly, creating an invisible, floor-integrated footstep trigger.
Materials Needed
- 1 Redstone Ore Block (obtained with Silk Touch pickaxe)
- 1 Observer
- Redstone Dust
- Sticky Pistons
Step-by-Step Tutorial: How to Make It
- Set Floor Block: Replace a floor block in a cave base or stone hall with a Silk-Touch harvested Redstone Ore block.
- Install Observer: Dig beneath the ore block and place an Observer with its detecting eye pointing straight up at the Redstone Ore.
- Wire Signal Line: Run a redstone line from the back of the Observer to your hidden wall door mechanism.
- Operation: Walk directly over the Redstone Ore block. The block glows upon contact, sending an instant pulse through the Observer to open the secret door.
Tips and Variations
- Deepslate Version: Use Deepslate Redstone Ore inside Deepslate mountain caves for seamless natural texture blending.
20. The Smelter Smoke Detector Passage
What This Idea Means
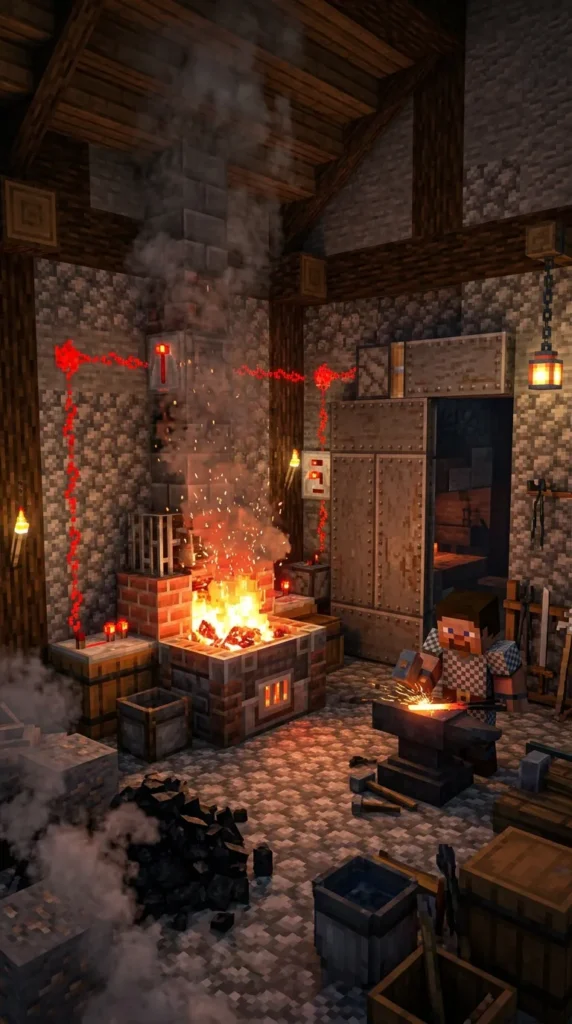
Furnaces, Smokers, and Blast Furnaces output an active redstone signal through a comparator only when actively smelting items. Placing fuel and raw ores into a decorative wall furnace activates a comparator that opens a secret wall door into a hidden crafting workshop.
Materials Needed
- 1 Furnace, Smoker, or Blast Furnace
- 1 Redstone Comparator
- Redstone Dust
- 1 Redstone Torch
- Sticky Pistons
- Smelting materials (Coal & Raw Iron/Kelp)
Step-by-Step Tutorial: How to Make It
- Build Smelting Station: Place a furnace inside a wall array in your workshop or kitchen.
- Attach Comparator Output: Place a comparator directly behind the furnace facing outward.
- Invert Signal: Run redstone dust from the comparator to a redstone torch attached to the side of a solid block. Wire this torch to keep your hidden piston wall closed.
- Operation: Open the furnace and drop in a piece of coal and raw iron. As soon as the furnace begins smelting, the comparator reads the active state, unpowers the torch, and slides open the secret workshop door.
- Close Door: Taking the items back out stops smelting and closes the door behind you.
Tips and Variations
- Kelp Smelter Lock: Use Dried Kelp Blocks as a long-burning fuel source to keep your secret workshop unlocked for extended build sessions.