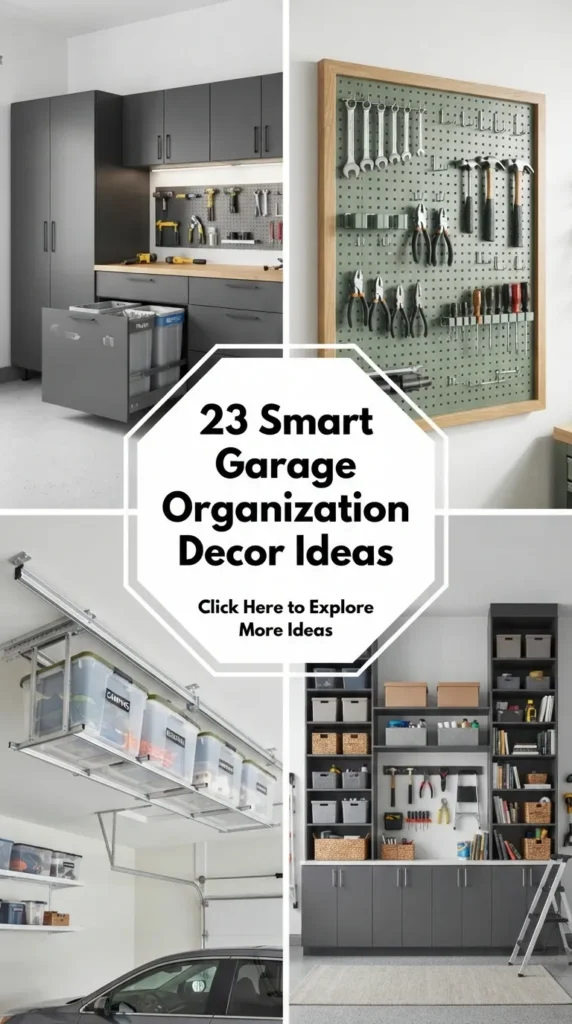
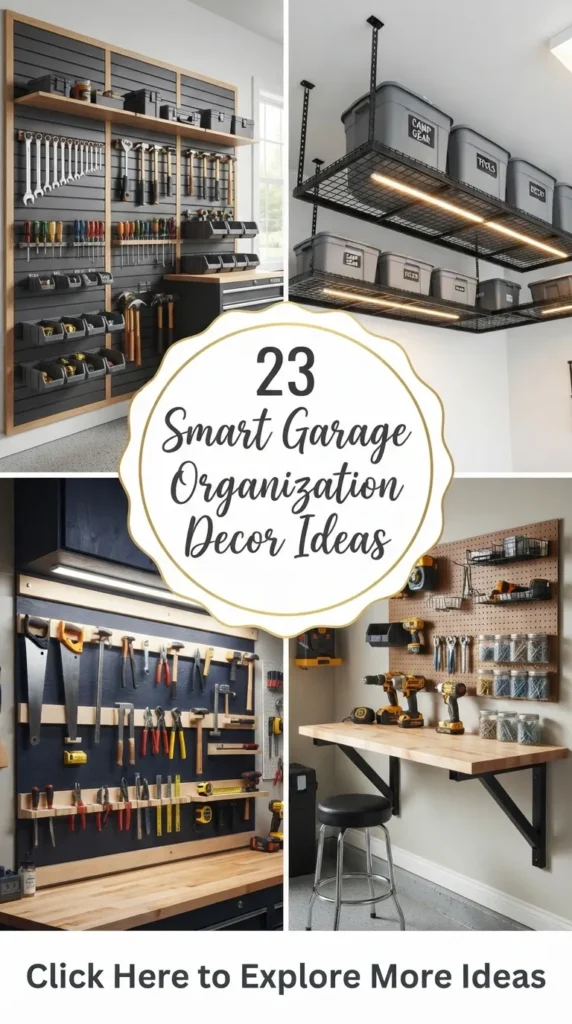
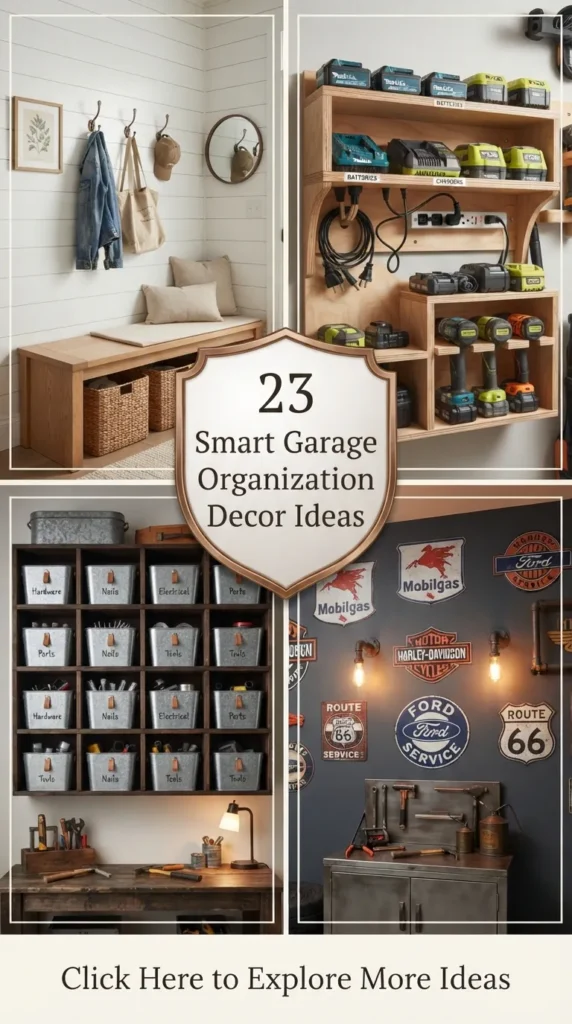
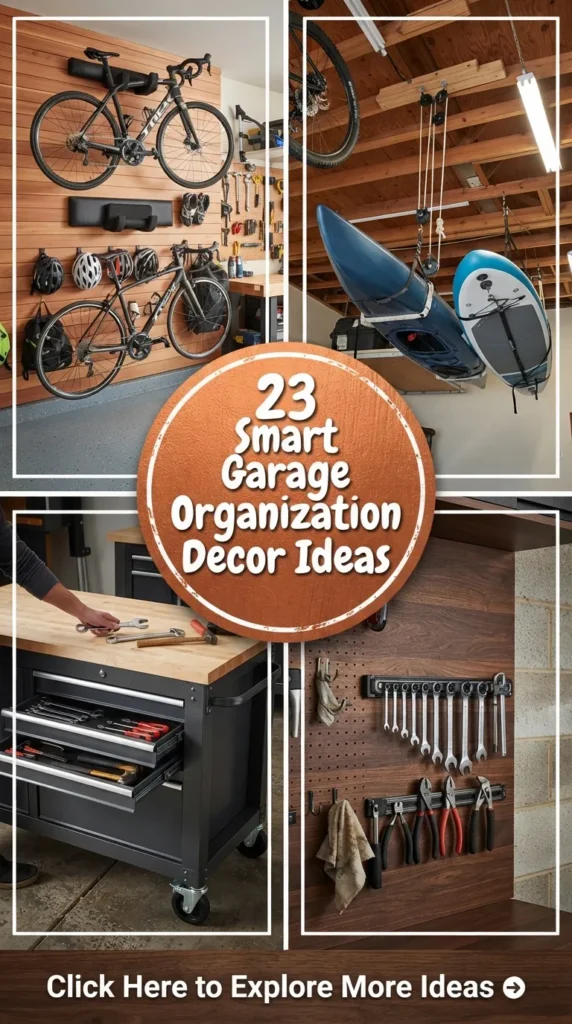
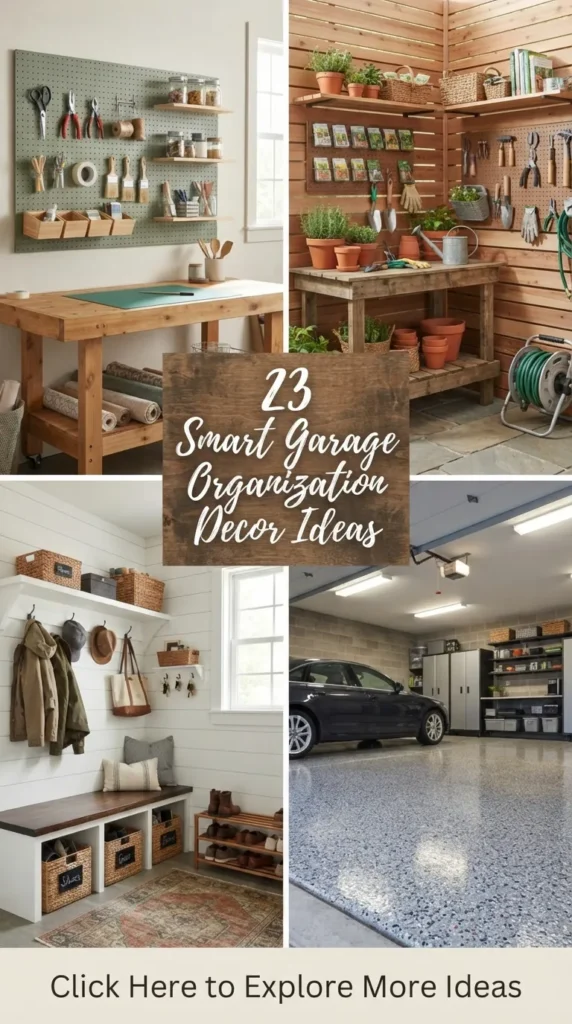
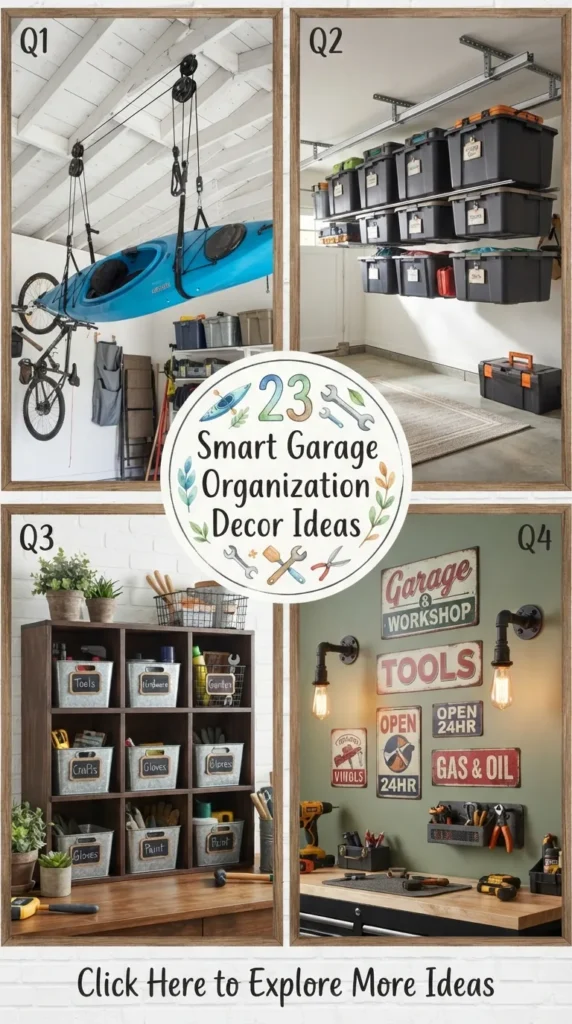
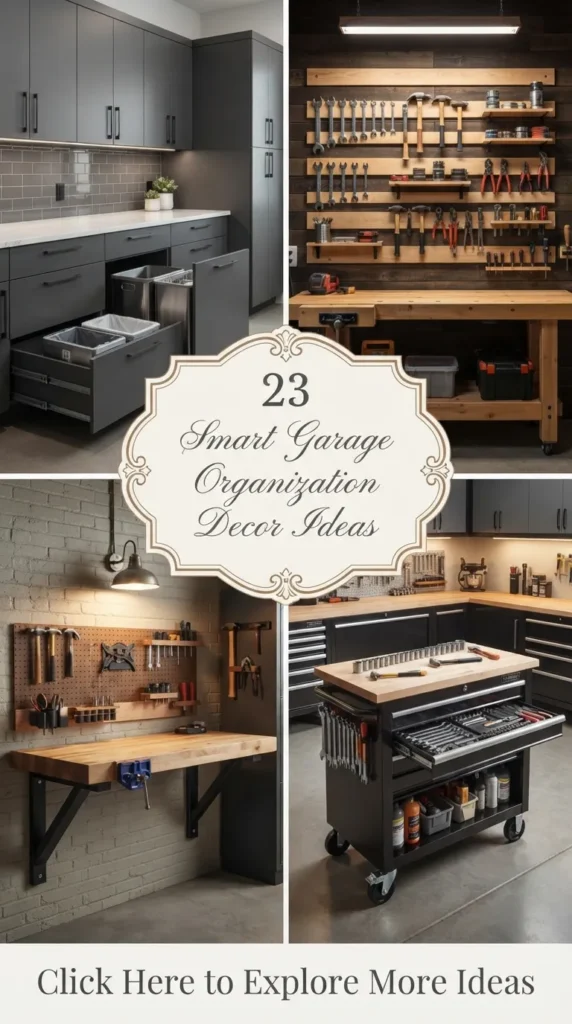
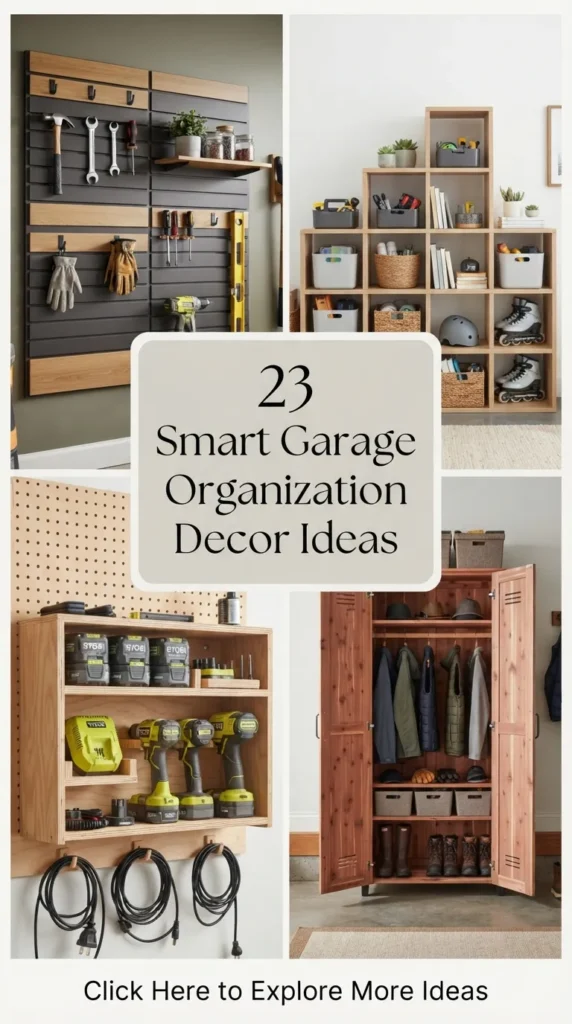
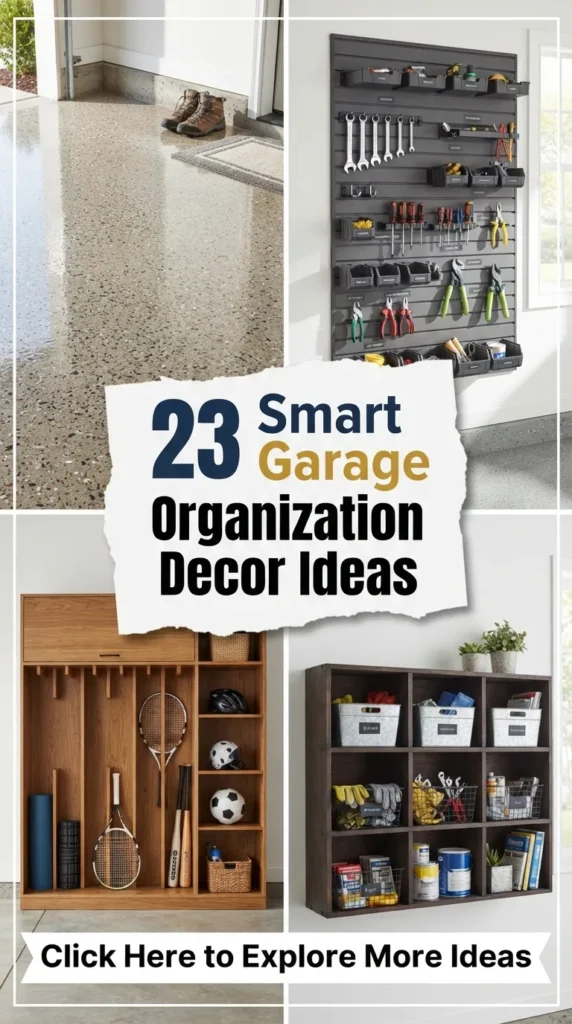
Transforming a garage from a chaotic dumping ground into a sleek, functional, and visually stunning haven is one of the most rewarding home improvement projects you can undertake. The modern garage is no longer just a cold concrete box for parked cars and neglected boxes; it is an extension of your home’s living space. Whether you use your garage as a workshop, gym, garden center, craft room, or simply want a pristine, drop-dead gorgeous space to pull your vehicle into every evening, blending smart organization with elevated decor is the key.
Here are 20 smart garage organization decor ideas that seamlessly fuse heavy-duty utility with warm, inspirational aesthetic appeal.
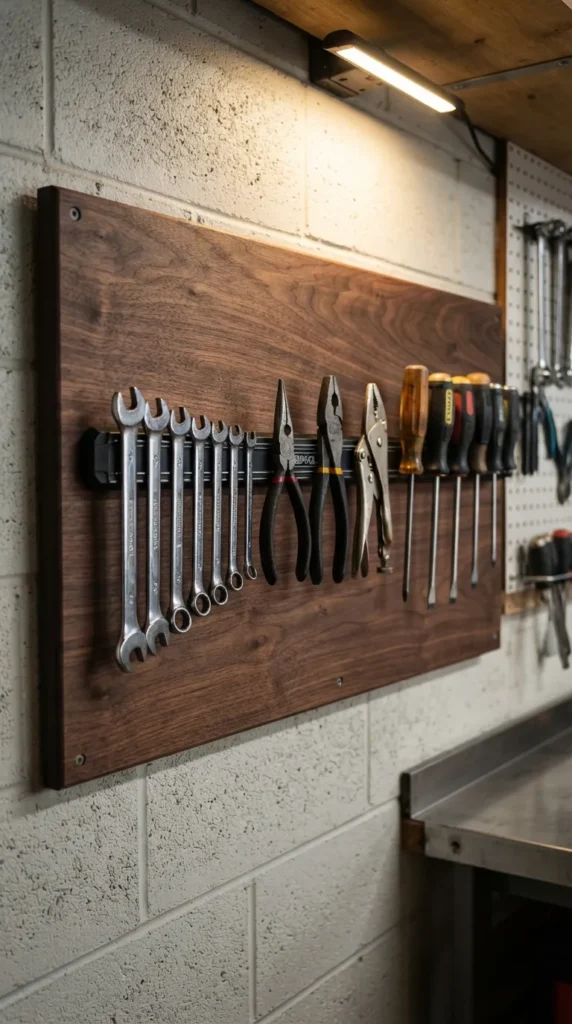


1. Slatwall Modular Wall Systems with Warm Wood Accents
Introduction
If you want a seamless, seamless floor-to-ceiling storage solution that looks like it belongs in a high-end design showroom, a modular slatwall system with warm faux-wood or rich timber finish panels is the gold standard.
What This Idea Means
Instead of drilling individual hooks into bare drywall or exposed studs, slatwall paneling covers entire walls with horizontal grooves. Accessories like baskets, hooks, shelves, and bins lock securely into these grooves and can be rearranged in seconds without tools. Combining utility PVC or aluminum panels with natural wood accents elevates the aesthetic from industrial to modern mid-century or Scandinavian design.
How to Make It
- Clear and prep your garage wall, ensuring studs are located and marked with a stud finder.
- Install a vapor barrier if mounting directly onto concrete or masonry walls.
- Screw horizontal furring strips into wall studs to create a level mounting base.
- Mount your chosen slatwall panels, starting from the bottom and working upwards, interlocking the panel seams.
- Add matching perimeter trim and warm timber accent slats along the top or sides to frame the installation.
- Click in your custom configuration of matte-black or brushed-metal hooks, baskets, and shelves.
Tips and Variations
- Monochrome Chic: Match black slatwall panels with light oak accents for a contemporary contrast.
- Integrated Lighting: Install slim, recessed LED channel lights between the top slats to wash warm light down the wall.
- Sectioning: Dedicate specific wall zones to specific tasks—like lawn care on the left and power tools on the right.
Needs to Make That Thing
- Slatwall panels (PVC, MDF, or aluminum)
- Wood veneer or composite wood accent trim
- 2×4 furring strips and drywall screws
- Level, stud finder, drill, and miter saw
- Slatwall accessory kit (hooks, brackets, baskets)
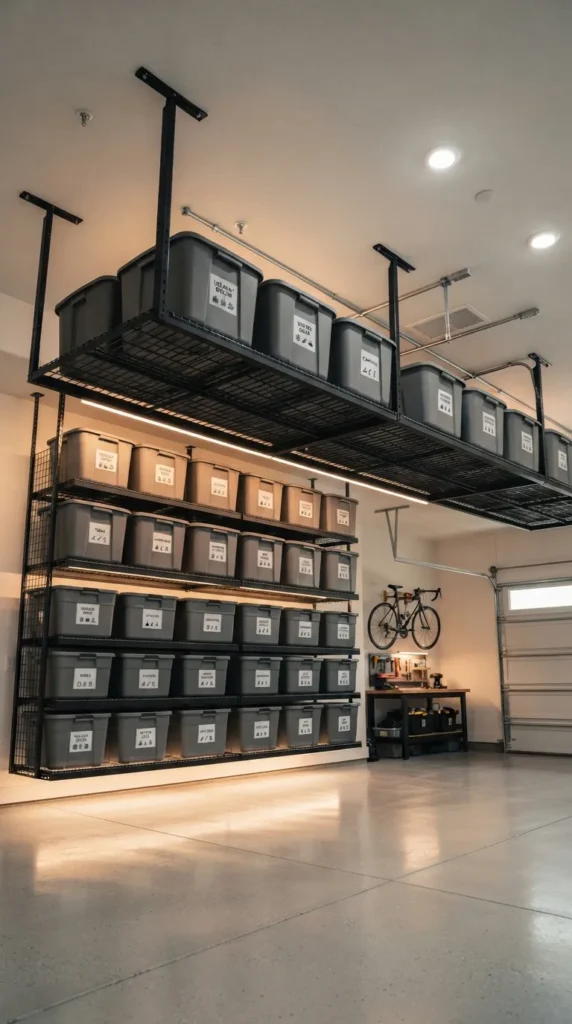
2. Overhead Ceiling-Mounted Wire Racks with Warm LED Strip Lighting
Introduction
The ceiling is often the most underutilized real estate in any garage. Heavy-duty overhead wire racks take seasonal clutter off the floor while integrated downward-facing LED lighting turns high-up storage into an architectural feature.
What This Idea Means
Suspended metal ceiling racks utilize unused vertical airspace above the garage door or perimeter walls. By adding subtle, warm LED strip lighting underneath the racks, you eliminate harsh dark shadows beneath ceiling units, creating a warm, ambient glow that illuminates your workspace below.
How to Make It
- Locate ceiling joists using a stud finder and mark your anchor points.
- Secure heavy-duty vertical drop posts into the ceiling joists using lag bolts.
- Connect the horizontal corner frames and assemble the wire rack platform.
- Mount warm white (2700K–3000K) diffusers with LED light strips along the bottom frame of the rack.
- Cable-tie all electrical cords neatly along the rack frame and plug into an overhead ceiling outlet or smart plug.
Tips and Variations
- Color Uniformity: Paint the ceiling racks the same color as your ceiling (or a striking matte black) to match your wall trim.
- Uniform Storage Totes: Store items in identical, opaque, neutral-toned bins (like smoke grey or matte white) with crisp printed labels for a tailored, clutter-free look.
Needs to Make That Thing
- Heavy-duty ceiling rack kit (e.g., 4×8 ft)
- Heavy lag bolts and washers
- Waterproof LED light strips with diffusers
- Zip ties and cord concealers
- Drill, socket wrench, and stud finder
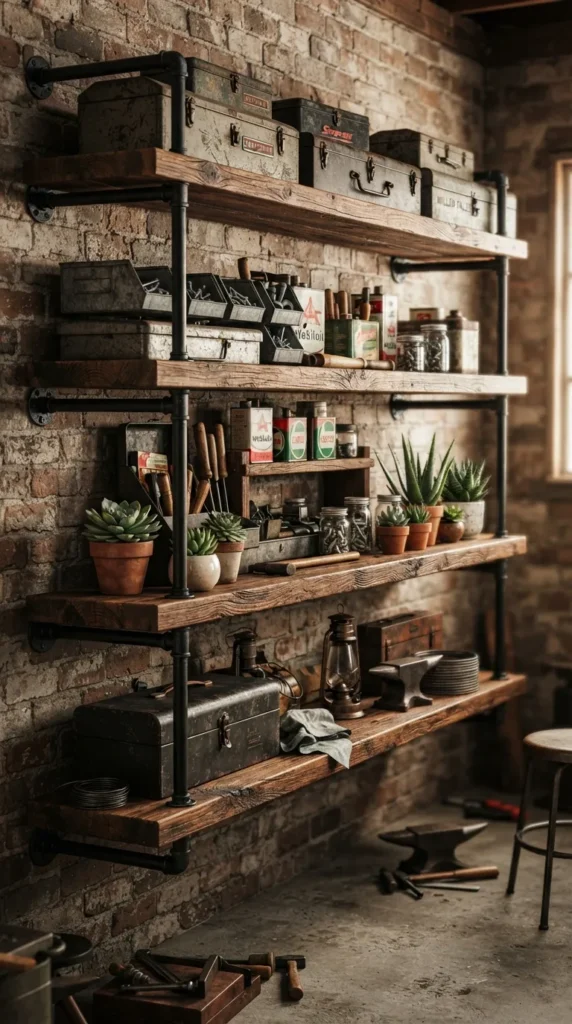
3. Custom Industrial Pipe & Reclaimed Wood Shelving
Introduction
Merge rustic charm with heavy-duty structural integrity by crafting custom open shelving using black iron plumber’s pipe and thick, richly stained reclaimed timber.
What This Idea Means
Industrial pipe shelving provides immense weight capacity while introducing textured, architectural decor into the garage. The warm tones of reclaimed wood soften the cold metal pipes, transforming utilitarian storage into a gorgeous display wall for vintage toolboxes, potted plants, and organized bins.
How to Make It
- Cut and sand reclaimed timber boards to your desired shelf lengths. Apply a clear coat or dark walnut stain to reveal the wood grain.
- Assemble black iron pipe flanges, nipples, tees, and caps to construct floor-anchored or wall-mounted ladder brackets.
- Secure pipe flanges directly into wall studs using heavy-duty wood screws.
- Set timber boards across the iron pipe arms and secure them underneath with pipe straps or U-brackets.
Tips and Variations
- Live-Edge Appeal: Use live-edge timber slabs for an organic, artisanal workshop aesthetic.
- Distressed Finish: Lightly distress the black iron pipes with bronze spray paint for a vintage antique look.
Needs to Make That Thing
- 3/4-inch black iron pipe fittings (flanges, nipples, elbows)
- Thick reclaimed wood or scaffold boards
- Wood stain and polyurethane sealant
- Heavy-duty wall screws and wall anchors
- Pipe wrenches, drill, and level
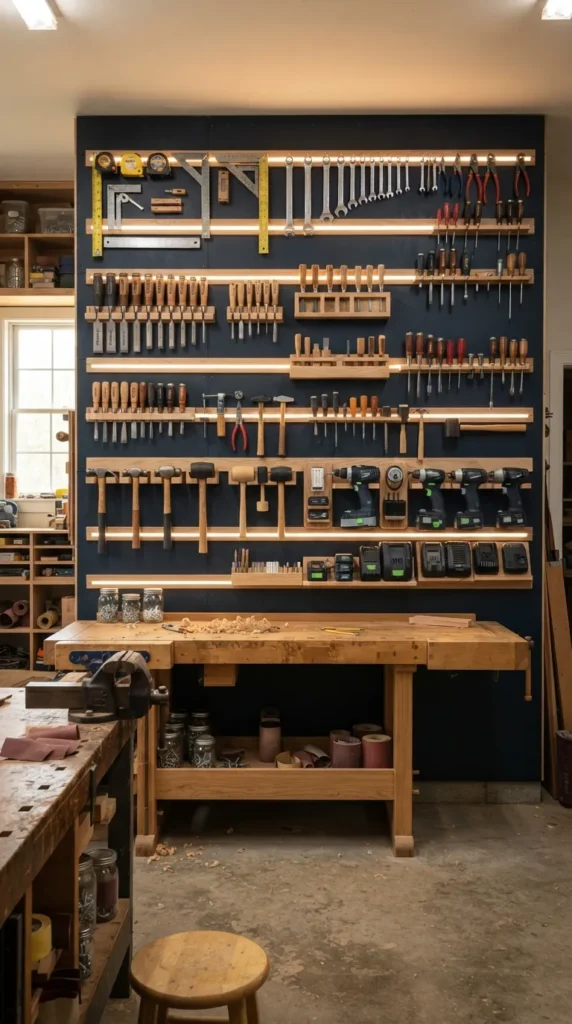
4. French Cleat Tool Wall with Color-Coded Backing
Introduction
The French cleat system is the ultimate DIY craftsman storage design, delivering unmatched versatility, rustic visual warmth, and customizable wall organization.
What This Idea Means
A French cleat consists of matching 45-degree bevel-cut wood strips—one mounted horizontally to the wall and the matching piece attached to the back of tool holders. Gravity locks them securely together. Painting or staining the backing wall in a rich hue creates an eye-popping focal wall that highlights your custom tool holders.
How to Make It
- Paint your backing plywood sheet in a deep tone (such as slate grey, navy, or dark forest green) and mount it to wall studs.
- Rip 3/4-inch plywood strips down the center at a 45-degree bevel angle using a table saw.
- Mount the bottom bevel strips horizontally across the backing wall, angled side facing up and inward.
- Build custom wooden holders, boxes, and holsters for your specific hand tools, attaching the opposite 45-degree bevel strip to the rear.
- Hang tool holders onto the wall cleats and rearrange as desired.
Tips and Variations
- Tool Silhouette Outlines: Trace tool shapes onto the backing wall so every item has a dedicated, obvious visual spot when returned.
- Mix Materials: Add acrylic tool holders or brushed copper accents onto the wooden cleat blocks.
Needs to Make That Thing
- 3/4-inch furniture-grade hardwood plywood
- Table saw, circular saw, and miter saw
- Wood glue and brad nailer
- Interior wall paint and rollers
- Heavy-duty wood screws and level
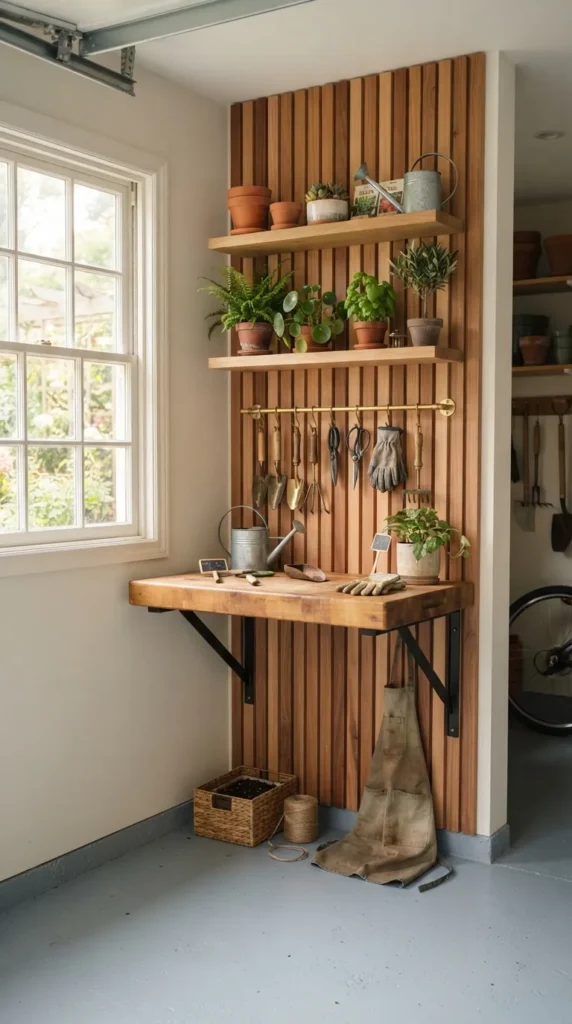
5. Corner Garden Workstation with Fold-Down Worktable
Introduction
Turn an unused corner of your garage into an inviting, Scandinavian-inspired potting and gardening sanctuary equipped with a space-saving fold-down workbench.
What This Idea Means
Gardening tools, soil bags, and planters often clutter garage floors. A dedicated corner workstation combines wall-hung lattice or slatboards, open shelving, and a hinged, wall-mounted table that folds flat when not in use, keeping the floor space clear for parking vehicles.
How to Make It
- Install water-resistant vertical wooden slats or cedar trellis panels in the chosen garage corner.
- Mount heavy-duty folding shelf brackets to wall studs at a comfortable standing workbench height (typically 36 inches).
- Secure a durable, sealed butcher block or marine-grade plywood top to the folding brackets.
- Mount small shelves, brass rail rods, and S-hooks above the table to hold hand trowels, twine, and pots.
- Place a decorative terracotta or galvanized metal bucket underneath for soil storage.
Tips and Variations
- Sealed Protection: Apply a water-resistant marine varnish to the wooden tabletop to protect against soil and damp pots.
- Herbal Accent: Hang small grow lamps above the station to keep potted herbs thriving indoors during colder seasons.
Needs to Make That Thing
- Butcher block panel or thick exterior plywood
- Pair of heavy-duty folding wall brackets (rated for 150+ lbs)
- Cedar slats or lattice backing panel
- Brass rail rod and S-hooks
- Marine varnish, brushes, screws, and level

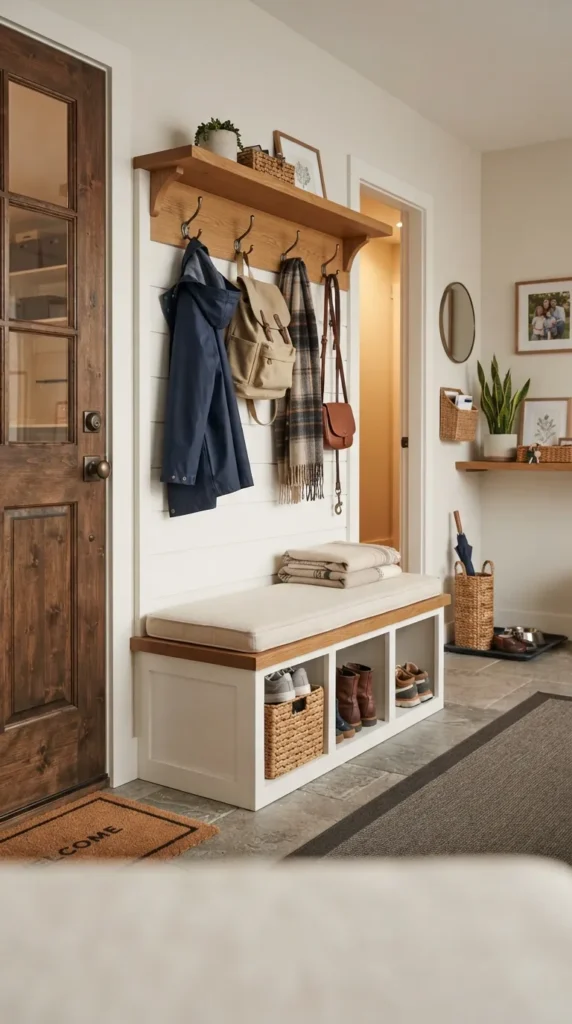


6. Epoxy Terrazzo-Style Garage Floor Coating
Introduction
Replace dull, stained, cracked concrete with a high-shine, durable terrazzo-style epoxy floor that reflects light, resists oil stains, and instantly gives your garage a luxury gallery feel.
What This Idea Means
Terrazzo epoxy floor coatings blend base-color epoxy resins with multi-colored decorative vinyl flecks, topped with a clear polyaspartic topcoat. It provides an indestructible, easy-to-clean surface that turns the floor into a sleek design highlight.
How to Make It
- Thoroughly clean, degrease, and diamond-grind or acid-etch the concrete floor to create a proper bonding profile.
- Patch all cracks and spalls with epoxy filler and sand flush.
- Apply a thick coat of base epoxy primer mixed in your chosen color (e.g., soft grey or white).
- Broadcast decorative terrazzo vinyl color flakes heavily into the wet epoxy until saturated.
- Allow to cure, sweep off excess flakes, and apply a clear, high-gloss polyaspartic protective topcoat.
Tips and Variations
- Custom Flake Blend: Select a vinyl flake mixture featuring warm metallics, copper, white, and black for a sophisticated terrazzo aesthetic.
- Anti-Slip Additive: Mix fine aluminum oxide non-slip powder into the topcoat for extra grip when wet.
Needs to Make That Thing
- Epoxy garage floor coating kit with polyaspartic topcoat
- Decorative terrazzo vinyl color flakes
- Concrete degrease chemical or diamond floor grinder
- Squeegee, medium-nap rollers, and extension pole
- Spiked shoes and protective respirator mask
7. Cabinetry with Hidden Trash & Recycling Stations
Introduction
Hide unsightly trash cans, recycling bins, and lawn chemicals behind custom floor-to-ceiling modular cabinetry for a spotless, minimalist look.
What This Idea Means
Exposed trash cans and loose chemical jugs make even organized garages feel messy. Integrating pull-out tilt bins and slide-out hardware into sleek garage cabinets keeps waste completely out of sight while maintaining quick, effortless access.
How to Make It
- Measure your wall space and purchase or construct full-height utility cabinets.
- Install heavy-duty bottom-mount drawer slides inside the lower cabinet compartment.
- Build a wooden pull-out drawer box fitted with dual plastic recycling and trash bins.
- Mount soft-close hinges and sleek edge-pull cabinet handles on doors for a modern look.
- Secure the entire cabinet bank to wall studs to prevent tipping.
Tips and Variations
- Matte Black or Charcoal Finish: Paint cabinet fronts in matte charcoal or deep slate with warm wood counter surfaces.
- Ventilation: Install small, louvered vent caps on the cabinet side panels to ensure air circulation inside the bin compartment.
Needs to Make That Thing
- Modular garage tall cabinets
- Heavy-duty slide-out drawer runners
- Dual plastic tall trash bins
- Screws, cabinet wall anchors, and drill
- Cabinet handles and magnetic door catches
8. Pegboard Craft & Hardware Station with Antique Brass Hooks
Introduction
Elevate the traditional, utilitarian pegboard into a stunning design feature by using framed wooden or metal pegboards paired with antique brass hardware and matte accents.
What This Idea Means
Standard white masonite pegboard often sags and looks cheap. Framing a powder-coated steel or thick hardwood pegboard with decorative picture-frame molding and using elevated antique metal hardware transforms hardware storage into artful organization.
How to Make It
- Cut a heavy-duty steel or hardwood pegboard sheet to your preferred size.
- Build a perimeter wooden frame on the back to space the board 1/2-inch away from the wall.
- Frame the exterior edges with decorative wooden trim or picture molding.
- Paint or stain the frame and board in contrasting tones (e.g., sage green board with a natural oak frame).
- Secure the frame to wall studs and insert antique brass peg hooks, wire baskets, and small jars.
Tips and Variations
- Glass Jar Storage: Screw metal jar lids beneath small wooden shelves on the pegboard to hold small screws, nails, and craft items.
- Mood Lighting: Add an overhead picture frame light pointing down at the board to emphasize the craftsmanship.
Needs to Make That Thing
- Metal or hardwood pegboard panel
- Decorative wood molding for frame
- Antique brass pegboard hooks and accessories
- Wood stain, paint, and finishing sealant
- Mitre saw, nail gun, and wall mounting hardware
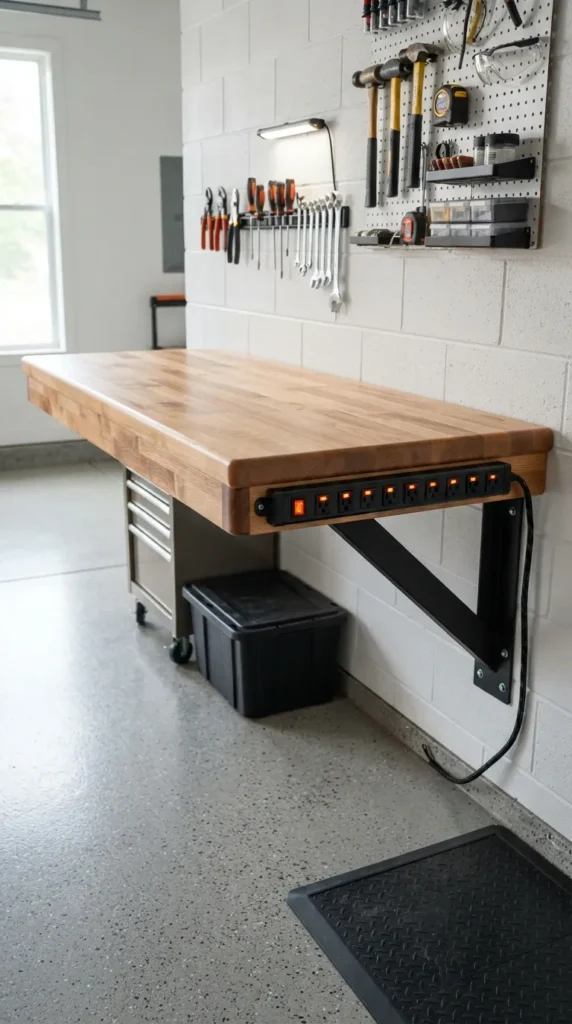
9. Wall-Mounted Foldable Heavy-Duty Workbench
Introduction
Maximize floor space in compact garages with a wall-mounted workbench that provides a rugged workspace when raised and folds flat against the wall when parked.
What This Idea Means
A traditional stationary workbench takes up permanent floor space, preventing car doors from opening comfortably. A drop-leaf style bench utilizes heavy-duty locking brackets, providing maximum work area on demand without sacrificing floor space.
How to Make It
- Select a solid hardwood top, such as a thick maple butcher block or solid core door.
- Locate wall studs using a stud finder and mark your ideal work surface height.
- Attach heavy-duty locking drop-leaf bench brackets into the studs using structural timber screws.
- Fasten the hardwood top onto the bracket arms from underneath.
- Apply a clear coat of protective oil or polyurethane to protect the wood grain from grease and moisture.
Tips and Variations
- Integrated Power Strip: Mount an industrial power strip along the front or side edge of the wooden bench for convenient tool plug-in.
- Under-Bench LED Light: Attach a slim rechargeable puck light to the bottom surface so it lights up the area when folded up against the wall.
Needs to Make That Thing
- 1.5-inch thick hardwood workbench top
- Pair of locking folding workbench brackets (rated 300+ lbs)
- Structural wood screws and washers
- Drill, level, and stud finder
- Protective wood finish oil
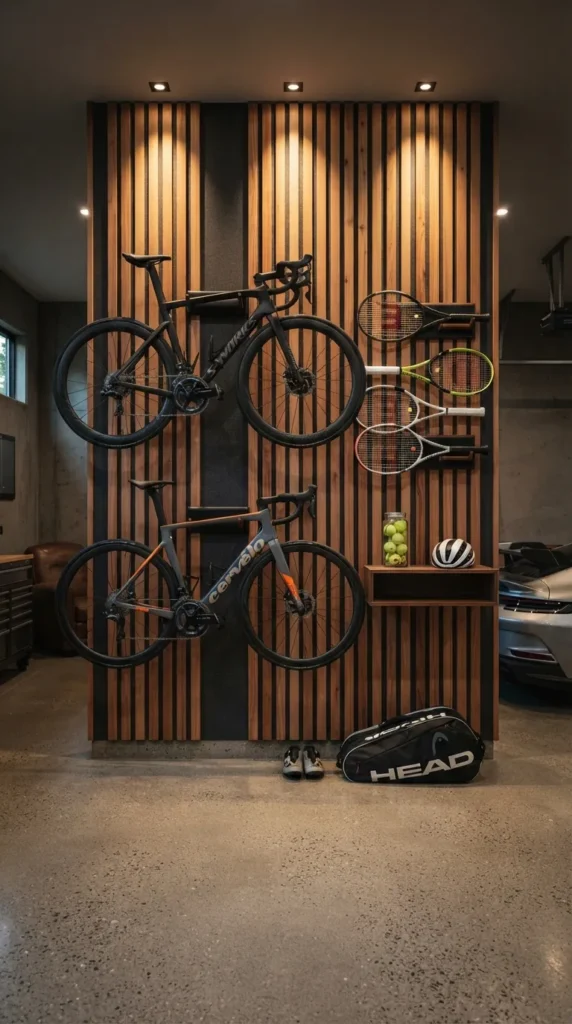
10. Wall-Mounted Bike & Sports Rack with Wooden Slat Backdrop
Introduction
Transform sports equipment and bicycles into a striking wall feature by mounting them on a decorative timber slat display wall.
What This Idea Means
Bikes resting on kickstands take up floor area and tend to tip over. Elevating bikes horizontally or vertically on wall hooks set against a timber slat accent wall protects equipment, saves space, and creates a stylish focal point.
How to Make It
- Paint the target wall section in a dark charcoal or matte black tone.
- Mount vertical 1×2-inch stained timber slats across the wall with uniform spacing (e.g., 1-inch gaps).
- Anchor heavy-duty padded bike hooks or rubberized wall mounts directly into the wall studs behind the slats.
- Hang bikes, tennis rackets, and helmets neatly onto the wall mount supports.
Tips and Variations
- Vertical vs. Horizontal: Hang bikes horizontally for a modern gallery display, or vertically side-by-side to maximize width.
- Integrated Shelf: Add a matching top wooden shelf above the bike wall to hold sports balls and water bottles.
Needs to Make That Thing
- 1×2-inch timber slats (oak, pine, or cedar)
- Dark wall paint and wood stain
- Heavy-duty padded bike wall hooks
- Brad nailer, level, and stud finder
- Screws and wall anchors
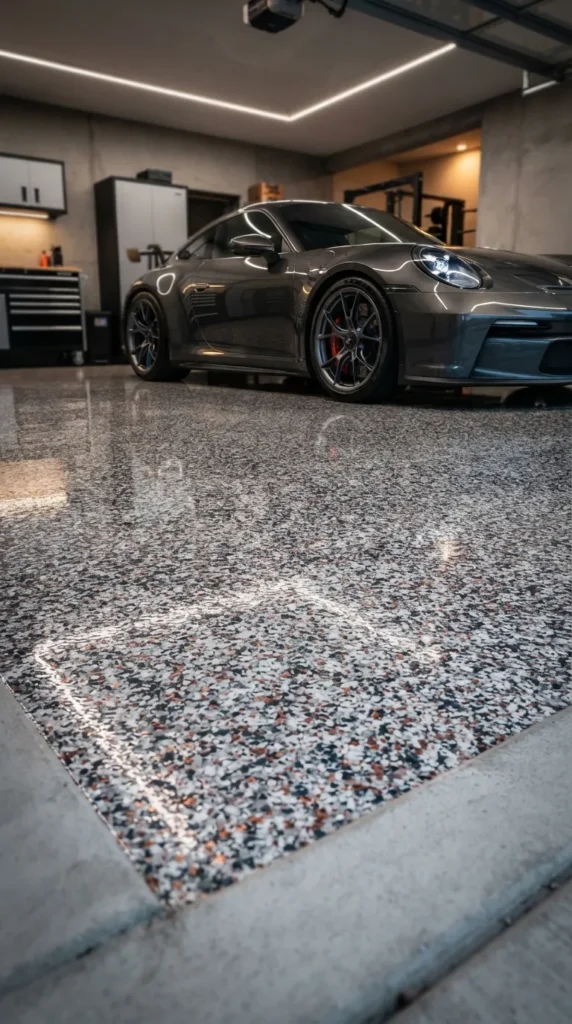
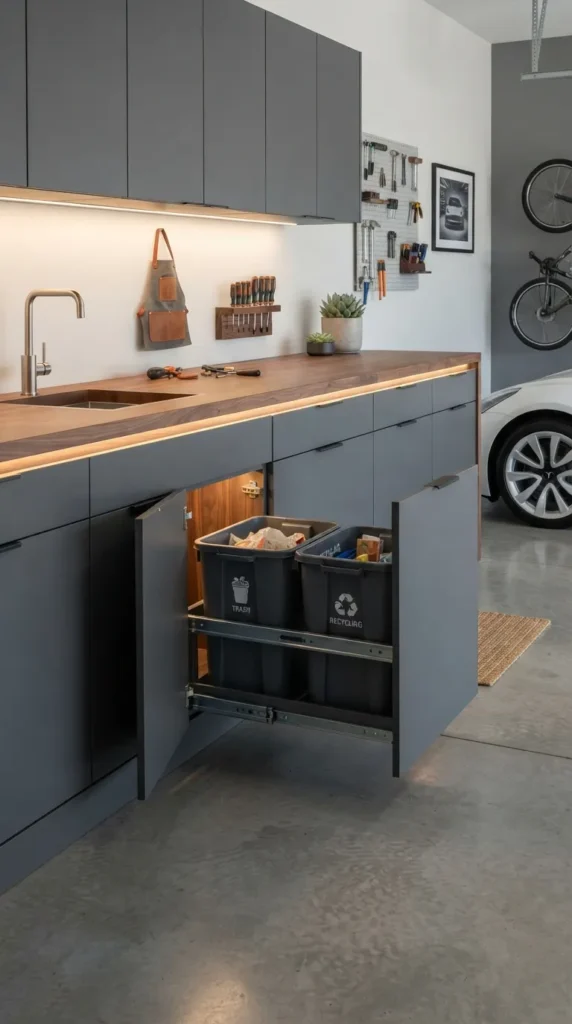

11. Galvanized Metal Storage Bin Grid with Chalkboard Labels
Introduction
Combine industrial charm with easy organization by building an open cubby grid system loaded with matching galvanized metal storage bins featuring custom chalkboard labels.
What This Idea Means
Open shelves loaded with mismatched plastic containers quickly look disorganized. Using uniform galvanized steel bins within a dark wooden grid frame offers durable, rust-proof storage while bringing a clean industrial look to your garage.
How to Make It
- Construct or buy an open-back wooden cubby bookshelf frame sized to hold standard metal bins.
- Paint or stain the wooden cubby frame in an espresso or dark walnut color.
- Insert uniform galvanized metal tote bins with front handles into each compartment.
- Clip re-usable chalkboard metal labels onto the front lip of each bin and label items with chalk markers.
Tips and Variations
- Wire vs. Solid Bins: Use solid galvanized bins for small loose hardware and wire mesh metal baskets for athletic gear or towels.
- Color Contrast: Pair galvanized silver metal with warm cedar wood frames for a rustic aesthetic.
Needs to Make That Thing
- Plywood or pre-built cubby bookcase
- Uniform galvanized metal storage bins
- Clip-on metal chalkboard labels
- Chalk markers
- Wood stain, drill, and screws
12. Overhead Kayak & Paddleboard Hoist Pulley System
Introduction
Store bulky kayaks, canoes, and stand-up paddleboards safely out of the way near the garage ceiling using a smart pulley hoist system that turns watercraft into ceiling decor.
What This Idea Means
Large water sports gear takes up massive amounts of floor or wall space. A mechanical ceiling hoist allows one person to easily lift heavy kayaks up to the ceiling rafters using a mechanical advantage rope system.
How to Make It
- Locate main ceiling joists directly above an accessible open area in the garage.
- Mount pulley ceiling brackets securely into the joists using long lag bolts.
- Thread high-strength hoist rope through the pulleys and double-paddled lift straps.
- Secure the wall-mounted rope cleat at a comfortable hand height on an adjacent wall.
- Strap your kayak or paddleboard, pull the hoist rope to lift it to the ceiling, and tie off the rope securely onto the cleat.
Tips and Variations
- Dual Hoist Setup: Install two parallel systems to hang both paddleboards and kayaks side-by-side.
- Coordinated Colors: Match the color of your hoist straps with your garage decor color theme.
Needs to Make That Thing
- Overhead kayak/paddleboard pulley hoist kit
- Heavy-duty lag bolts and washers
- Wall rope cleat
- Stud finder, drill, and socket wrench
- Stepladder
13. Rustic Mudroom Bench & Shoe Locker Transition Zone
Introduction
Create a seamless, stylish transition area right inside your garage door to catch dirty boots, coats, and backpacks before they enter the house.
What This Idea Means
Garages are the primary entry point for many homes. A dedicated mudroom drop-zone equipped with a comfortable wooden bench, lower shoe cubbies, and upper coat hooks prevents dirt from tracking indoors while organizing daily outdoor wear.
How to Make It
- Measure the wall area adjacent to the interior home entry door.
- Build or install a wooden hall tree unit featuring a lower storage bench and open shoe cubbies underneath.
- Add vertical wall paneling (such as beadboard or shiplap) behind the bench.
- Mount heavy-duty double coat hooks along the upper paneling.
- Top the bench with a durable, easy-to-clean cushion or sealed solid wood bench seat.
Tips and Variations
- Under-Bench Drawers: Add woven wicker or wire storage baskets inside shoe cubbies to hide clutter.
- Key & Mail Rack: Mount a small side rack with key hooks and a mail holder right next to the entry door handle.
Needs to Make That Thing
- Wooden bench base or sturdy timber
- Shiplap or beadboard wall panels
- Matte black or bronze coat hooks
- Wood stain or interior paint
- Bench cushion and storage baskets
14. Ceiling T-Track Tote Storage Slider System
Introduction
Utilize unused ceiling channels between joists by installing an invisible aluminum T-track channel system that lets plastic storage totes slide along the ceiling.
What This Idea Means
Instead of stacking plastic totes on top of each other on shelves, a T-track slider system supports totes by their structural top lips. Totes slide horizontally along ceiling channels, allowing you to access individual bins without moving others.
How to Make It
- Purchase heavy-gauge aluminum T-channel rails or construct custom wooden channel flanges.
- Measure the exact width of your plastic storage tote lips.
- Snap chalk lines across ceiling joists to ensure straight parallel track alignment.
- Screw the T-track channels directly into ceiling joists using heavy-duty lag screws.
- Slide plastic tote rims into the tracks to verify smooth sliding action.
Tips and Variations
- Clear or Labeled Totes: Use clear totes or apply bold end-caps labels so you can instantly identify contents from below.
- Safety Stop Pins: Insert removable cotter pins at the open ends of the channels to prevent totes from sliding out accidentally.
Needs to Make That Thing
- Aluminum T-channel rails or 2×4 timber flanges
- Tough, uniform lip-rimmed plastic storage totes
- Heavy lag screws and washers
- Chalk line, drill, and level
- Safety stop pins
15. Rolling Mobile Tool Island with Butcher Block Top
Introduction
Build a flexible, professional-grade mobile tool island that serves as a spacious center worktable and slides out of the way when you need to park cars.
What This Idea Means
Fixed workbenches lock you into one spot. A heavy-duty rolling island on locking caster wheels allows you to position your work table right next to your project or vehicle, while providing deep drawers and cabinet storage underneath.
How to Make It
- Construct a sturdy cabinet box frame out of 3/4-inch hardwood plywood or utilize a metal tool cabinet base.
- Install heavy-duty 4-inch locking polyurethane caster wheels to the four bottom corners.
- Mount deep drawer slides and cabinet doors on the front face for tool storage.
- Attach a thick, smooth butcher block top securely onto the upper cabinet frame.
- Sand and seal the tabletop with food-safe butcher block oil or durable varnish.
Tips and Variations
- Side Accessories: Attach a paper towel holder, trash ring, and magnetic tool strip along the exterior sides of the mobile island.
- Fold-Down Extension: Add a hinged side drop-leaf panel to instantly double your surface area when working on large projects.
Needs to Make That Thing
- 3/4-inch hardwood plywood sheet or base cabinet
- Thick maple butcher block slab
- 4-inch heavy-duty locking caster wheels
- Drawer slides and cabinet hardware
- Drill, screws, and wood finish

16. Magnetic Tool Strips & Accent Wooden Backsplashes
Introduction
Keep your most frequently used hand tools organized, instantly accessible, and beautifully displayed using heavy-duty magnetic tool bars mounted against rich wooden backsplash accents.
What This Idea Means
Digging through cluttered drawer dividers for pliers, wrenches, and screwdrivers wastes time. Magnetic tool holders suspend steel tools flat against the wall, creating a visual display that turns everyday hand tools into decorative elements.
How to Make It
- Mount a polished wood backsplash panel (such as walnut or oak) onto the wall behind your workbench.
- Screw extra-strength neodymium magnetic metal bars horizontally onto the wood panel.
- Arrange metal wrenches, pliers, scissors, and drill bits neatly onto the magnetic bars by size.
Tips and Variations
- Hidden Magnets: Counterbore deep holes into the back of a thin wooden strip and insert neodymium disc magnets from behind for an invisible, floating magnetic strip.
- Dual Strips: Mount two parallel magnetic strips spaced 4 inches apart to securely hold longer tools like hammers and heavy pry bars.
Needs to Make That Thing
- Hardwood accent board (walnut, oak, or teak)
- Heavy-duty magnetic tool bar strips or neodymium magnets
- Wood sealer or clear varnish
- Screws, level, and drill
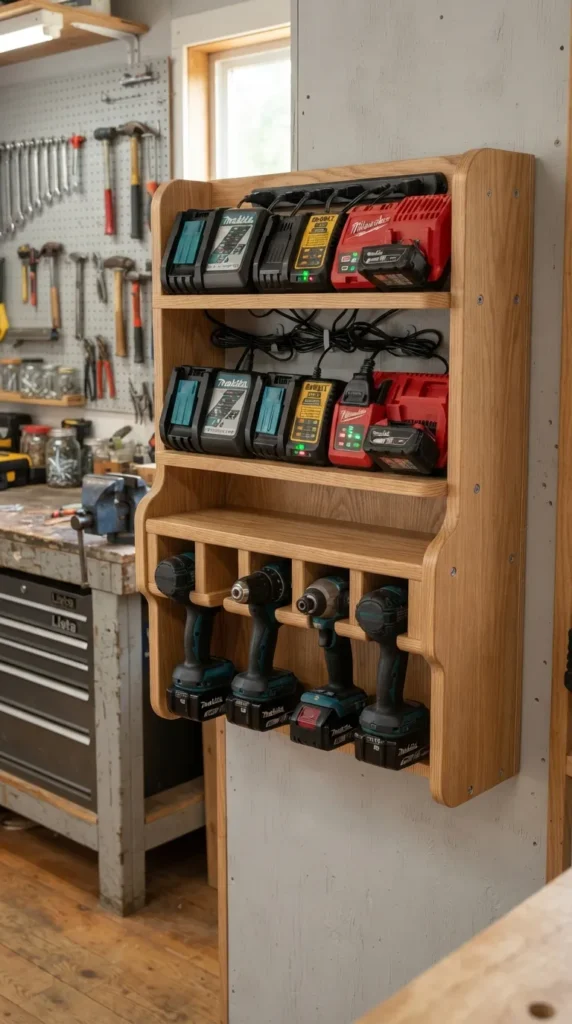
17. Customized Battery Charging & Cord Management Station
Introduction
Tame messy power tool battery chargers and tangled extension cords by building a dedicated, fire-safe charging cabinet equipped with integrated power strips and cord concealers.
What This Idea Means
Multiple cordless tool chargers scattered across work surfaces create visual chaos and consume outlet space. A dedicated charging locker organizes chargers vertically, conceals power strips behind hidden panels, and offers holsters for power drills.
How to Make It
- Build an open wooden wall-mounted cabinet box with multiple internal shelves.
- Cut vertical slots into the bottom shelf to serve as hanging holsters for cordless drills.
- Install an industrial surge protector power strip with wide outlet spacing inside the main shelf cavity.
- Drill rear pass-through holes behind each shelf to route charger cords neatly behind a false back panel.
- Mount battery chargers to the internal shelves and plug them into the hidden power strip.
Tips and Variations
- Master Power Switch: Use an illuminated master switch or smart outlet so you can turn off all chargers with one click when leaving the garage.
- Cooling Vents: Drill small side ventilation holes to dissipate heat generated by fast chargers during operation.
Needs to Make That Thing
- 3/4-inch plywood or pine boards
- Industrial surge protector power strip
- Hole saw bit and power drill
- Brad nailer and wood screws
- Wall mounting cleat or brackets
18. Vintage Automotive Sign Wall with Ambient Edison Lighting
Introduction
Infuse your garage with retro personality and warmth by curating a wall filled with vintage automotive memorabilia, classic tin signs, and warm Edison bulb lighting.
What This Idea Means
Pure storage solutions without decorative elements can leave a garage feeling cold. An artfully arranged accent wall featuring vintage garage art, enamel signs, and warm lighting creates character and makes the space inviting for hanging out.
How to Make It
- Select a focal wall (such as above a workbench or transition zone) and paint it in a dark accent color.
- Gather a collection of vintage-inspired metal enamel signs, classic clock faces, or retro license plates.
- Lay out the art pieces on the floor first to refine your gallery wall composition.
- Install black iron pipe sconce light fixtures with warm amber Edison filament bulbs above or flanking the display.
- Hang the signs securely on the wall using wall anchors or finish nails.
Tips and Variations
- Dimmable Lighting: Put the sconce lights on a dimmer switch so you can dial down the brightness for ambient evening lighting.
- Framed Art Prints: Mix flat metal tin signs with framed vintage patent drawings of classic cars for added sophistication.
Needs to Make That Thing
- Assorted metal tin garage signs and art prints
- Industrial pipe sconce wall light fixtures
- Warm amber LED Edison bulbs
- Dark accent wall paint and roller
- Level, measuring tape, and picture hangers
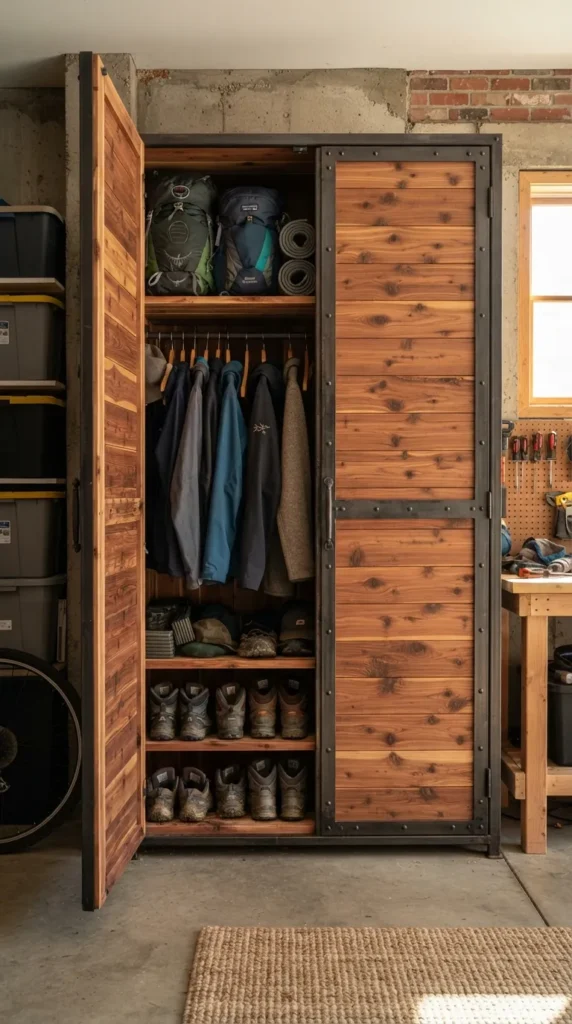
19. Weatherproof Outdoor Gear Closet with Cedar Slat Doors
Introduction
Protect sports gear, camping equipment, and bulky winter coats from garage dust and moisture by housing them in custom cedar-lined wardrobes.
What This Idea Means
Open storage leaves outdoor gear exposed to dust, cobwebs, and garage exhaust fumes. Cedar-lined closed cabinets protect fabrics, repel pests with natural cedar aromatics, and hide bulky items behind beautiful slat doors.
How to Make It
- Construct a tall cabinet frame using exterior-grade plywood.
- Line the interior back walls with aromatic red cedar tongue-and-groove planking.
- Install internal adjustable shelves, gear hooks, and a hanging clothes rod.
- Build cabinet doors using vertical cedar slats framed in dark aluminum or timber.
- Mount the doors using concealed soft-close cabinet hinges.
Tips and Variations
- Boot Warmer Insert: Install a low-wattage electric shoe dryer on the bottom shelf for damp ski boots or work boots.
- Louvers for Airflow: Ensure door slats have small gaps to maintain air circulation inside the wardrobe.
Needs to Make That Thing
- Exterior-grade plywood and cedar tongue-and-groove planks
- Timber or aluminum door frame stock
- Concealed cabinet hinges and magnetic latches
- Hanging rod and shelf brackets
- Saw, drill, and screws
20. Ceiling-Shed Golf Bag & Sports Equipment Locker
Introduction
Keep golf bags, helmets, and athletic gear organized and off the floor with a specialized sports locker designed for quick grab-and-go access before a game.
What This Idea Means
Golf bags are bulky, top-heavy, and awkward to store on standard flat shelves. A dedicated sports equipment locker features specialized vertical stand slots, padded strap hooks, top shoe shelves, and lower ventilated compartments for sports equipment.
How to Make It
- Build a vertical cabinet frame partitioned into wide open compartments.
- Line the bottom base of the golf section with soft rubber matting to protect bag bases.
- Install top curved cradle brackets or padded hooks to secure golf bags and stand bags upright.
- Add open upper shelves for golf shoe boxes, balls, and accessories.
- Paint the locker in a sleek matte finish and add custom sports hook hardware.
Tips and Variations
- Integrated Turf Mat: Place a strip of artificial green grass turf at the base of the locker for a golf clubhouse feel.
- Golf Ball Display: Add a small tilted shelf with lip molding to display collectible logo golf balls.
Needs to Make That Thing
- 3/4-inch MDF or hardwood plywood sheets
- Rubber floor mat or artificial grass turf strip
- Padded bag hooks and equipment hangers
- Paint, wood glue, and pocket hole screws
- Pocket hole jig, drill, and level