Mornings before school are often a race against the clock. Between hunting down missing homework, grabbing a quick breakfast, and making it out the door before the bell rings, spending hours on your hair simply isn’t realistic. Yet, starting the day with a hairstyle that feels put-together, stylish, and secure can boost your confidence and set a positive tone for the rest of the afternoon.
Enter the classic ponytail. It is the undisputed champion of practical hair styling. However, wearing the exact same basic ponytail day after day can feel repetitive. The great news is that with just a few subtle tweaks—a simple twist, a small accent braid, a strategically placed bow, or a touch of volume—you can transform an ordinary ponytail into an eye-catching, chic statement.
Whether your hair is long, medium, straight, curly, fine, or thick, this guide features 20 versatile ponytail ideas designed specifically for busy school schedules. Each style requires minimal tools, takes only minutes to create, and holds up against long school days, gym classes, and after-school activities.



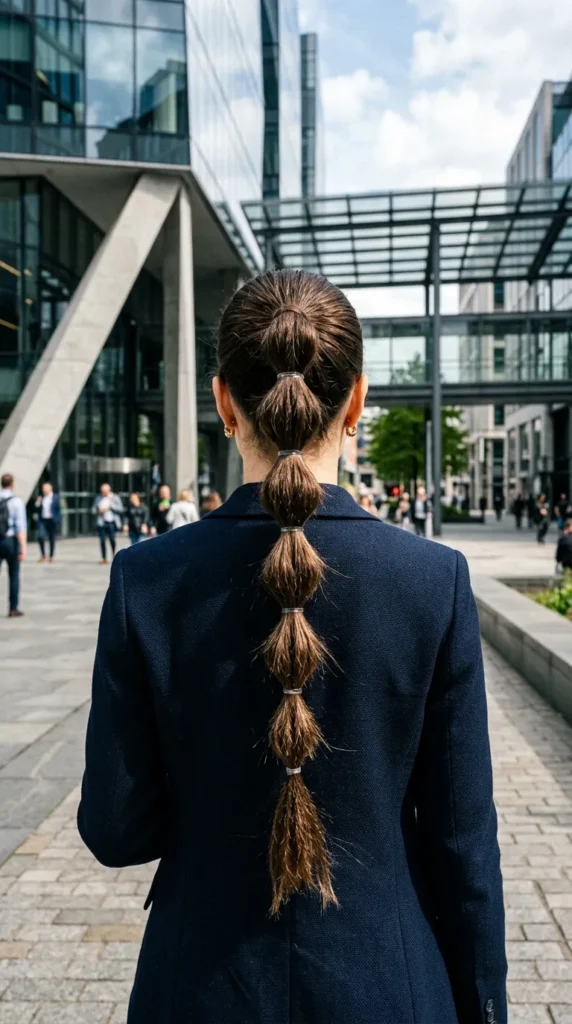
1. The Classic Bubble Ponytail
What This Idea Means
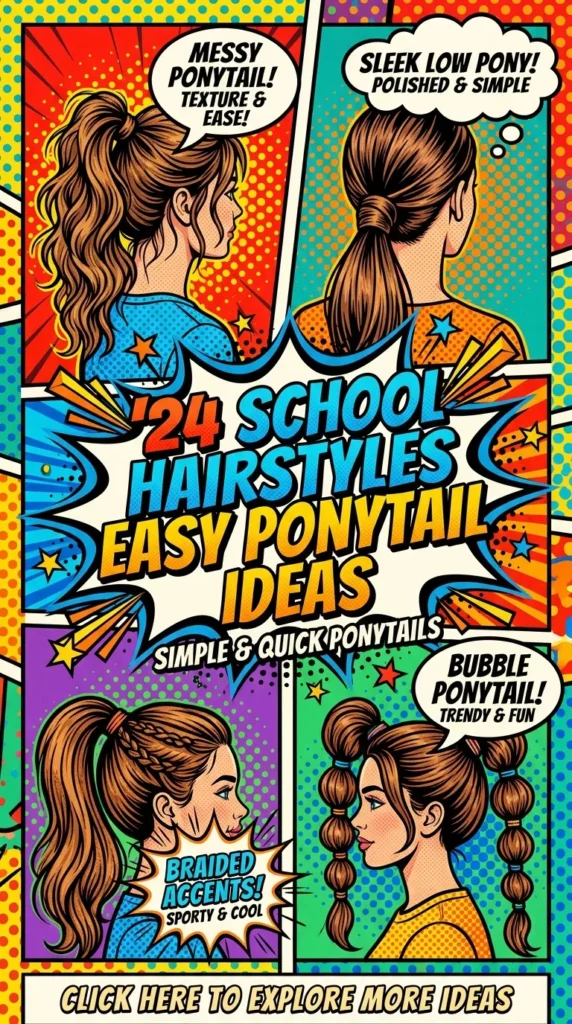
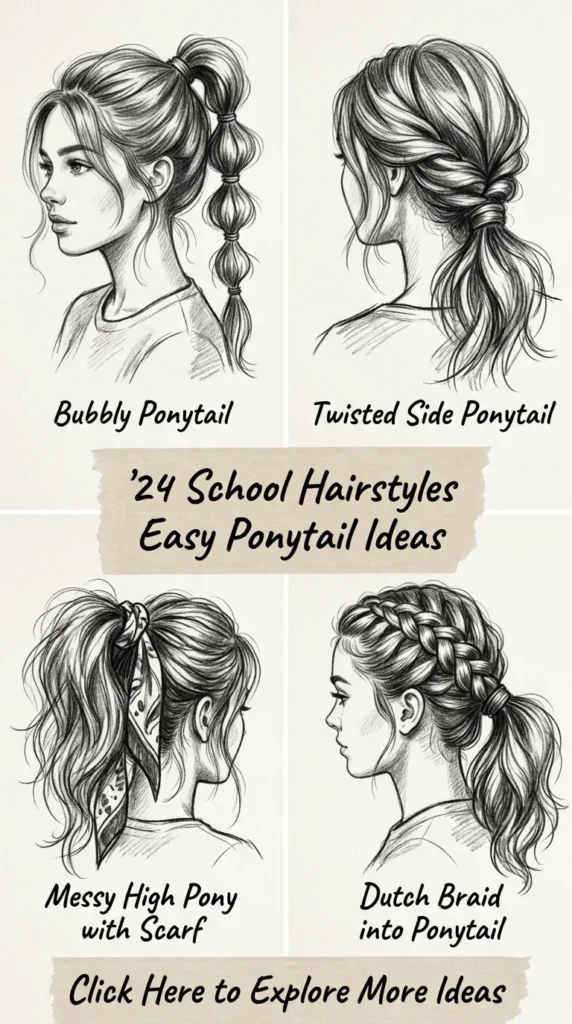
The Bubble Ponytail takes a standard low or mid-height ponytail and divides the tail into rounded, volumetric “bubbles” using small elastic bands. It adds instant playfulness, texture, and visual length without needing complex braiding skills.
How to Make It
- Brush all hair thoroughly to eliminate tangles and pull it back into a standard mid-height ponytail. Secure with a strong elastic.
- Place a small, clear elastic band roughly two to three inches down from the main pony base.
- Hold the elastic in place with one hand and gently tug outward on the section of hair between the two elastics using your fingers. Pull light sections from all sides to puff it out into a spherical bubble shape.
- Repeat this process every two to three inches down the length of the ponytail until you reach near the ends.
- Finish with a light mist of hairspray to tame any flyaways.
Tips and Variations
- Tips: Use clear or hair-matching elastics for a seamless look, or choose bright pastel elastics for a colorful pop.
- Variations: Try a Double Bubble Ponytail by splitting your hair into pigtails first, or create a Micro-Bubble Pony using smaller intervals for shorter hair lengths.
What You Need
- Hairbrush
- 1 primary hair tie
- 4–8 small clear elastics (depending on hair length)
- Flexible hold hairspray
2. The Sleek Wrapped-Base Ponytail
What This Idea Means
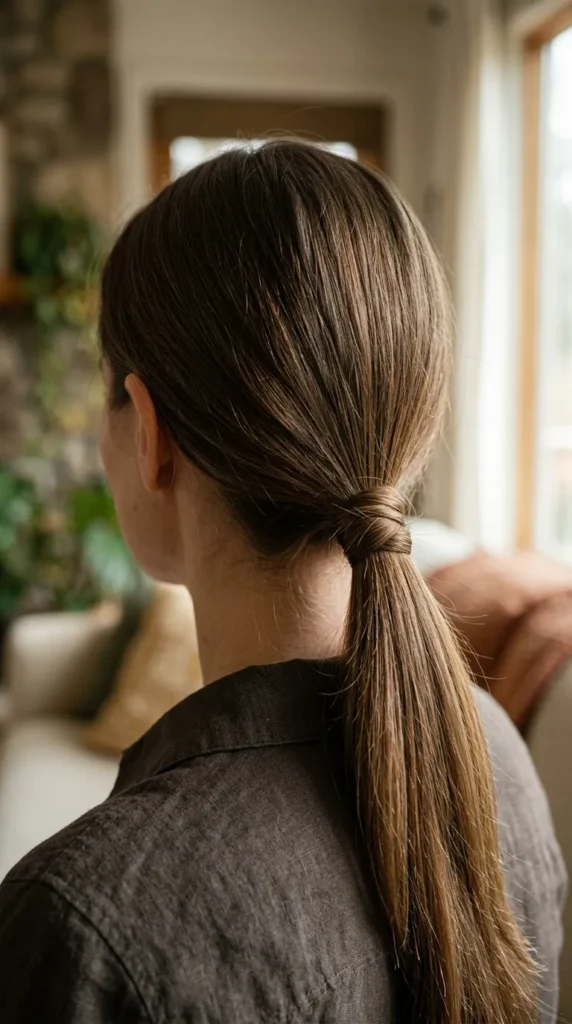
This timeless look elevates a plain ponytail by concealing the exposed hair elastic with a strand of your own hair. It results in a clean, sophisticated aesthetic that feels polished enough for presentation days or school picture day.
How to Make It
- Smooth hair back into your desired position (high or mid-level) using a fine-tooth comb and secure tightly with a sturdy elastic band.
- Take a small, half-inch section of hair from the underside of the ponytail.
- Wrap this section tightly around the base of the ponytail, completely covering the elastic band.
- Secure the tail end of the wrapped section under the ponytail base using a bobby pin pushed inward toward the scalp.
- Apply a tiny drop of smoothing serum or edge control to slick down any stray hair along the crown.
Tips and Variations
- Tips: Lightly mist the strand of hair with hairspray before wrapping it to ensure it stays flat and doesn’t fray.
- Variations: Braid the thin strand first before wrapping it around the base to add a delicate braided detail.
What You Need
- Fine-tooth comb
- 1 strong hair elastic
- 1–2 bobby pins
- Smoothing serum or edge control
3. The Dutch Side-Braid Ponytail
What This Idea Means
Combining a classic Dutch braid (an inverted French braid where strands cross under rather than over) along the side of the head with a soft ponytail, this style holds back long bangs and adds dynamic structural dimension.
How to Make It
- Create a deep side part. On the side with more hair, section out a three-inch portion near the hairline.
- Begin a Dutch braid: divide the section into three strands, crossing the outer strands underneath the middle strand while gathering small sections of hair into the braid as you move along the hairline toward the ear.
- Once the braid reaches past the ear, secure its end temporarily with a small band.
- Gather the rest of your hair, along with the braided section, into a mid-height ponytail.
- Remove the temporary band from the braid, integrate it into the ponytail, and secure everything together with a hair tie.
Tips and Variations
- Tips: Gently pancake (pull outward on the edges of) the braid before securing the ponytail to give it a fuller, more romantic appearance.
- Variations: Do a Dutch braid on both sides, bringing them together in the center back to form a single ponytail.
What You Need
- Sectioning comb
- 1 temporary elastic
- 1 main hair tie
- Texturizing spray (optional)
4. The Half-Up High Ponytail
What This Idea Means
The Half-Up High Ponytail delivers the face-framing benefits of pulling hair away from the eyes while keeping the length and bounce of wearing your hair down. It adds height at the crown and works exceptionally well on medium to long hair.
How to Make It
- Use your thumbs to section off the top half of your hair, starting from the tops of your ears and tracing upward toward the crown.
- Comb the top section smoothly upward to the high crown of your head.
- Secure this upper section tightly with a clear or thin elastic band.
- Lightly tug the ponytail upward at the base to tighten it and create natural lift at the front.
- Leave the bottom half of your hair flowing natural, or add soft waves using a heatless curler or curling wand.
Tips and Variations
- Tips: To conceal the band, take a small strand from the half-pony and wrap it around the hair tie, pin it down underneath.
- Variations: Add a cute velvet scrunchie over the elastic band for a trendy vintage touch.
What You Need
- Wide-tooth comb
- 1 thin hair elastic
- Scrunchie or ribbon (optional)
5. The Topsy-Tail Flip Ponytail
What This Idea Means
A quick throwback style that requires no special tools. The topsy-tail flip twists the side sections of your hair inward, adding an elegant, rolled texture right above the ponytail elastic with virtually zero extra effort.
How to Make It
- Gather your hair into a loose low ponytail at the nape of the neck and secure it with a soft elastic band.
- Slide the elastic band down about an inch or two to create a bit of slack above it.
- Use your fingers to split the hair above the elastic into two equal halves, creating a small vertical pass-through gap.
- Flip the entire tail of the ponytail up and push it down through the gap from top to bottom.
- Pull the tail through completely, then tug the ponytail into two sections to tighten the elastic back up toward the scalp.
Tips and Variations
- Tips: Keep the initial ponytail loose so you can flip the hair through without causing uncomfortable tension or pulling.
- Variations: Repeat the flip process two or three times down the ponytail length for a tiered, twisted effect.
What You Need
- Hairbrush
- 1 soft hair elastic



6. The Textured Messy Low Ponytail
What This Idea Means
Effortlessly cool and casual, the textured messy low ponytail embraces natural waves, slight imperfection, and volume. It’s perfect for third-day hair when you want a relaxed, boho-chic look for class.
How to Make It
- Apply dry shampoo or texturizing spray throughout your roots and mid-lengths to create volume and grip.
- Gently backcomb the hair at the crown using a brush to build subtle height.
- Softly gather all your hair at the nape of your neck, allowing a few wispy, face-framing strands to fall free around your cheeks and ears.
- Secure loosely with a hair tie or silk scrunchie.
- Pinch and pull small sections of hair at the crown upward slightly to enhance the relaxed texture.
Tips and Variations
- Tips: Don’t worry about perfect lines or stray hairs; the charm of this style lies in its lived-in, effortless feel.
- Variations: Pull the ponytail slightly to one side over your shoulder for a soft, side-swept silhouette.
What You Need
- Dry shampoo or texturizing spray
- Teasing brush or comb
- 1 hair elastic or scrunchie
7. The Romantic Ribbon-Accented Ponytail
What This Idea Means
Incorporating a fabric ribbon—such as velvet, satin, or grosgrain—instantly transforms a standard ponytail into a pretty, vintage-inspired style that pairs wonderfully with school sweaters and blouses.
How to Make It
- Brush your hair back into a mid or low ponytail and secure it firmly with a standard hair elastic.
- Cut a strip of your favorite ribbon (roughly 18–24 inches long depending on desired bow size).
- Tie the ribbon around the base of the ponytail directly over the hair elastic.
- Knot it once firmly, then tie a balanced bow.
- Trim the ends of the ribbon at a diagonal angle or in a V-shape to prevent fraying.
Tips and Variations
- Tips: Always secure the ponytail with a sturdy elastic band before adding the ribbon, rather than trying to rely on the ribbon alone to hold your hair.
- Variations: Leave the ribbon tails long so they drape down alongside the ponytail hair for an elegant line.
What You Need
- Hairbrush
- 1 standard hair elastic
- 18–24 inches of ribbon
- Scissors
8. The Twisted Side Ponytail
What This Idea Means
Instead of a simple gather, this style uses two twisted sections of hair along the side of the head that meet in a low, asymmetrical ponytail. It keeps hair off the back of the neck while adding soft, sweeping lines.
How to Make It
- Part your hair to one side. Separate two small sections of hair near the temple on the heavier side of the part.
- Twist the front section over the back section.
- As you continue twisting down along the hairline toward the nape, add a little bit of loose hair to the bottom strand each time you cross (similar to a French braid, but with only two strands).
- Continue twisting around the nape of the neck until all hair is incorporated and shifted to the opposite side.
- Secure the twisted bundle into a low side ponytail using a strong hair tie.
Tips and Variations
- Tips: Twist firmly while working, then gently pinch the turns of the twist to loosen them slightly for a fuller appearance.
- Variations: Split the front into three strands and do a classic rope twist instead of a two-strand roll.
What You Need
- Detangling brush
- 1 durable hair elastic
- Light hairspray
9. The French Braid Crown Ponytail
What This Idea Means
This style features a central or side French braid running along the crown of the head that flows directly into a mid-level ponytail. It locks down front flyaways and short layers, keeping hair secure through PE and active school days.
How to Make It
- Section off a piece of hair starting from the forehead center back to the crown.
- Divide this section into three equal strands and begin a traditional French braid, adding small pieces from the sides into the braid as you work backward.
- Continue French braiding until you reach the crown or upper back of the head.
- Gather the remaining loose hair from the sides and lower half, combining it with the tail end of the braid.
- Secure everything together into a high or mid ponytail with a hair tie.
Tips and Variations
- Tips: If you have short layers around the face, mist them with a little hairspray before braiding to prevent them from poking out.
- Variations: Create two French braids on either side of a middle part and merge them into a single ponytail in the back.
What You Need
- Tail comb
- 1 strong hair elastic
- Light hairspray
10. The High Cheer-Style Ponytail
What This Idea Means
Perky, energetic, and clean, the High Cheer-Style Ponytail sits right on top of the crown. It creates an instant lifting effect for your features and stays neat all day long.
How to Make It
- Tilt your head backward slightly to help sweep all hair smoothly toward the crown.
- Brush all hair upward from the nape of the neck and sides, using a boar bristle brush to eliminate bumps.
- Hold the high ponytail tightly at the crown and secure it with a heavy-duty, non-slip hair tie.
- Take a small section of hair from the pony, wrap it around the tie to hide it, and pin it underneath.
- Lightly fan out the pony tail for maximum bounce and fullness.
Tips and Variations
- Tips: Use a boar bristle brush to smooth down any stubborn bumps along the underside near the neck.
- Variations: Pair with a oversized fabric scrunchie or athletic hair bow for a bold school-spirit look.
What You Need
- Boar bristle smoothing brush
- Heavy-duty elastic tie
- Bobby pins
- Hold hairspray
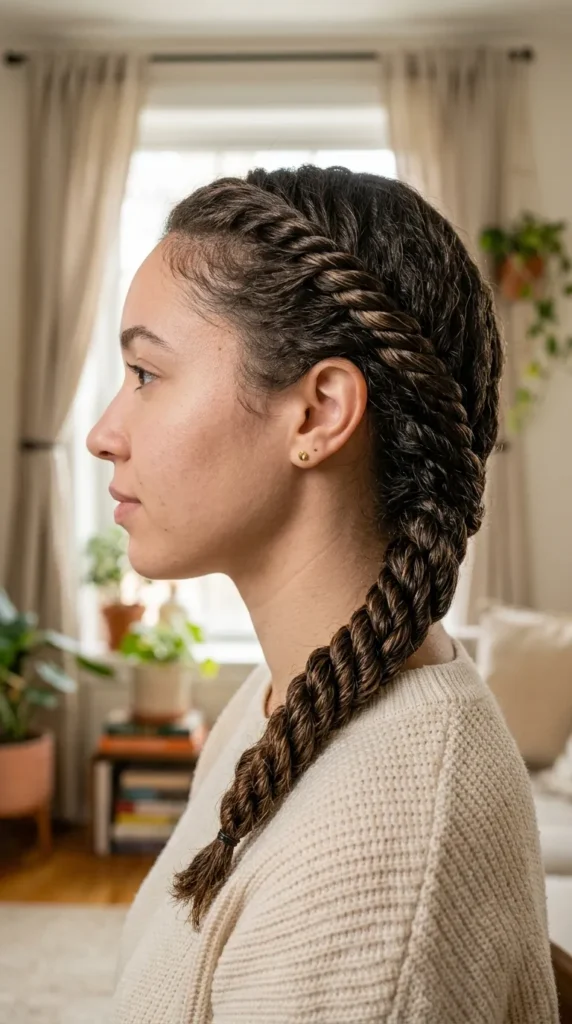


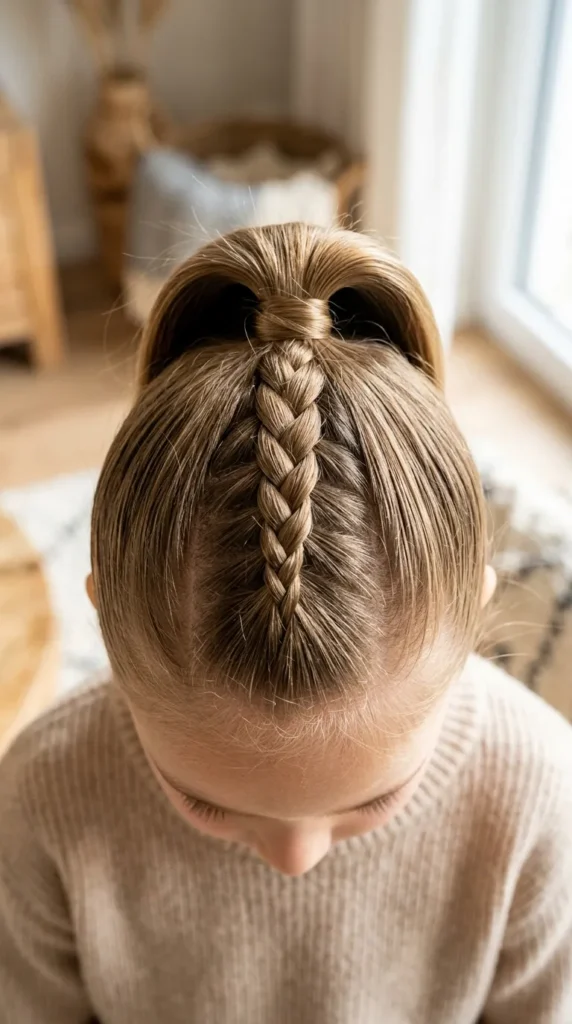
11. The Double-Twist Half-Pony
What This Idea Means
A sweet, simple style that gathers two small twisted side strands from the temples and ties them together in the back, while leaving the rest of the ponytail underneath neat and structured.
How to Make It
- Gather hair into a neat mid-height ponytail.
- Take a thin strand from the left side near the temple and twist it tightly away from your face.
- Take an equal strand from the right side and twist it away from your face.
- Bring both twists around to meet over the main elastic of your ponytail.
- Tie the two twists together with a small clear elastic band right over the main pony tie to secure them in place.
Tips and Variations
- Tips: Lightly coat your fingertips with hair wax before twisting to keep short hair strands locked inside the twists.
- Variations: Instead of two simple twists, create small fishtail braids for an intricate, bohemian flair.
What You Need
- Fine comb
- 1 main ponytail elastic
- 1 small clear elastic
- Styling wax or paste (optional)
12. The Multi-Tiered Segmented Ponytail
What This Idea Means
Ideal for long hair, this style builds on the bubble pony concept but uses neat, sleek segments tied at equal distances down the length of the tail for a structured, modern silhouette.
How to Make It
- Comb hair thoroughly and secure into a clean mid or high ponytail.
- Place a small clear elastic band three inches down from the main ponytail base. Smooth the hair between the bands so it lies flat rather than puffing out.
- Place another elastic three inches below that one.
- Continue placing elastics at equal intervals all the way down to the end of the ponytail length.
- Ensure all elastics are spaced evenly for a sleek, geometric appearance.
Tips and Variations
- Tips: Use matching colorful elastics that complement your outfit or school uniform colors.
- Variations: Alternately wrap a thin colored ribbon around each segment to create a wrapped pattern.
What You Need
- Brush
- 1 main elastic band
- 5–10 small clear or colored mini elastics
13. The Undercut Accent Braid Ponytail
What This Idea Means
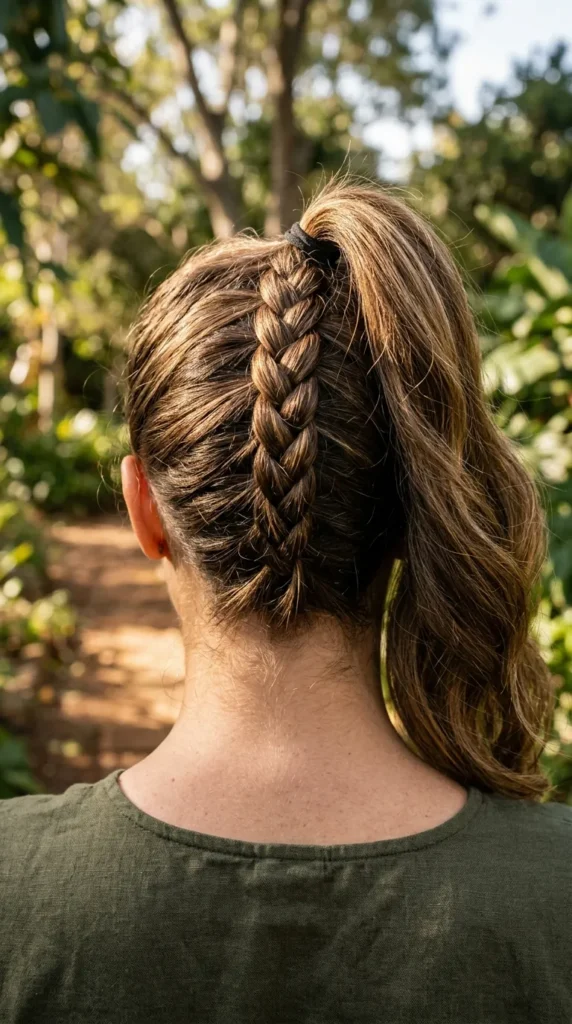
This style places a subtle Dutch or French braid along the nape of the neck heading upward into a high ponytail. It adds an unexpected style element to the back of your head while keeping short neck hairs neatly secured.
How to Make It
- Flip your head upside down so all your hair hangs forward toward the floor.
- Section off a three-inch wide portion of hair at the nape of the neck.
- Begin French or Dutch braiding this section upward from the neck toward the crown.
- Once you reach the point where you want your ponytail to sit, hold the braid firmly and flip your head right-side up.
- Gather the rest of your loose hair into the braid end and secure the complete ponytail with a hair tie at the crown.
Tips and Variations
- Tips: Braiding upside down can take a little practice; use a mirror behind you or sit on a chair and bend forward for comfort.
- Variations: Create two side-by-side accent braids running up the back instead of one central braid.
What You Need
- Tail comb
- 1 strong hair elastic
- Light hairspray
14. The Soft Scarf-Wrapped Low Ponytail
What This Idea Means
Adding a lightweight silk or cotton headscarf wrapped around a low ponytail offers instant warmth, color, and effortless European charm to everyday school outfits.
How to Make It
- Brush hair back smoothly into a low ponytail sitting right at the base of your skull.
- Secure tightly with a slim hair elastic.
- Fold a square or rectangular silky hair scarf into a thin strip.
- Center the scarf under the base of the ponytail, wrap the ends up and over the top, and tie a double knot.
- Let the soft tail ends of the scarf hang down naturally alongside the hair of your ponytail.
Tips and Variations
- Tips: Choose lightweight silk or satin scarves so they don’t weigh down the ponytail or slip out throughout the day.
- Variations: Weave one tail of the scarf directly into a simple three-strand braid along with your hair.
What You Need
- Brush
- 1 thin hair elastic
- 1 square or long lightweight hair scarf
15. The Voluminous Crown Bump Ponytail
What This Idea Means
A classic retro-inspired ponytail that incorporates gentle height and volume at the top of the crown before gathering into a sleek back ponytail. It’s fantastic for fine hair that tends to lie flat.
How to Make It
- Separate a triangular section of hair at the front crown (from the temples back to the top of the head) and clip it out of the way temporarily.
- Gather the remaining bottom hair into a neat mid-height ponytail and secure with an elastic.
- Unclip the top section. Lightly tease the underside of this section using a teasing comb to create soft height.
- Smooth the top layer of the teased section backward over the teased cushioning.
- Drape this voluminous section over the base of your ponytail and wrap its ends around the elastic, securing underneath with bobby pins.
Tips and Variations
- Tips: Use a light dusting of volumizing powder at the roots before teasing for long-lasting lift that won’t fall flat by lunchtime.
- Variations: Leave two thin strand pieces out at the front hairline to frame your face softly.
What You Need
- Teasing comb
- Sectioning clip
- 1 hair elastic
- 2–4 bobby pins
- Volumizing powder or hairspray


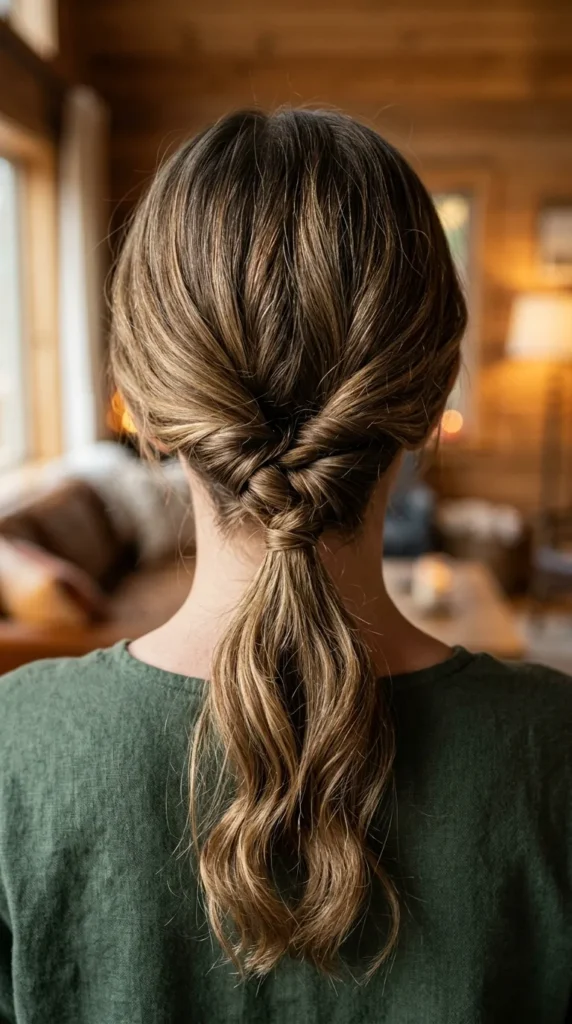
16. The Pull-Through Braided Ponytail
What This Idea Means
The pull-through braid mimics the visual appeal of a thick, complex braid, but relies entirely on small elastics and simple ponytail loops. It’s extremely durable and ideal for active school days or sports practice.
How to Make It
- Create a half-up ponytail at the top of your head and secure with a clear elastic.
- Create a second ponytail directly beneath the first one using the remaining hair along the mid-head.
- Split the top ponytail into two equal left and right halves.
- Pull the bottom ponytail up through the middle of those two halves and clip it out of the way temporarily.
- Gather the two split halves of the top pony, combine them with some fresh loose hair below, and tie with an elastic.
- Repeat this process down the length of the ponytail to create a thick, braided texture.
Tips and Variations
- Tips: Gently pull at the edges of each loop section once complete to make the braid look twice as thick and voluminous.
- Variations: Use brightly colored mini elastics to create a rainbow pattern along the length of the braid.
What You Need
- Sectioning comb
- Clip for holding hair
- 6–10 small clear elastic bands
17. The Fishtail Accent Side Ponytail
What This Idea Means
Combining a detailed fishtail accent braid with a loose, comfortable side ponytail. It balances detailed texture with casual ease, working beautifully on medium-to-long hair lengths.
How to Make It
- Sweep all hair over to your preferred shoulder.
- Take a small, one-inch section of hair from near the front hairline and create a fishtail braid: split the section into two, repeatedly taking a tiny strand from the outer edge of one side and crossing it over to the inside of the other.
- Secure the end of the small fishtail braid with a mini elastic.
- Gather the fishtail braid along with the rest of your swept-side hair into a low side ponytail.
- Fasten with a hair tie right below the ear.
Tips and Variations
- Tips: Fishtail braids look best when small, thin strands are crossed over, so take your time during the braid step!
- Variations: Instead of a single accent braid, turn the entire ponytail tail into one large, relaxed fishtail braid.
What You Need
- Brush
- 1 mini elastic
- 1 main hair tie
- Light finishing spray
18. The Twisted Crown Halo Ponytail
What This Idea Means
Two soft rope twists originate at the front temples, wrap around the sides like a delicate crown halo, and merge together into a low, polished ponytail at the nape.
How to Make It
- Part your hair down the center or slightly off-center.
- Take a two-inch section from the left side of the part and split it into two strands. Twist the strands around each other down along the hairline, adding small bits of hair as you move backward toward the nape.
- Repeat the exact same twisting process on the right side.
- Bring both finished side twists to meet at the center back of your neck.
- Join them together with the rest of your loose hair into a low ponytail and secure tightly with an elastic.
Tips and Variations
- Tips: Keep continuous light tension on the twists as you bring them around to the back so they don’t loosen prematurely.
- Variations: Secure the two twists together with a decorative hair clamp or barrette directly above the ponytail tie.
What You Need
- Tail comb
- 1 main hair elastic
- Light holding hairspray
19. The Low Knot-Detail Ponytail
What This Idea Means
A modern, minimalist hairstyle where a strand of your hair is literally knotted around the ponytail base. It gives a sleek, artistic look that requires zero extra hair accessories.
How to Make It
- Brush hair completely flat and smooth into a low ponytail at the nape of the neck.
- Before securing with a band, divide out two small, equal sections from the outer bottom edges of the ponytail.
- Bring these two sections up over the top of the remaining ponytail bundle and tie them into a simple single overhand knot (just like tying a shoelace).
- Wrap the loose ends of the knotted strands underneath the ponytail base.
- Secure the ends firmly against your scalp underneath using a bobby pin, then push an elastic band over the hidden ends to hold everything securely in place.
Tips and Variations
- Tips: Use a small amount of pomade on the two tying strands so they stay neat and knot cleanly without fraying.
- Variations: Tie a double knot for a bolder visual focal point right above the base.
What You Need
- Smoothing hairbrush
- 1–2 bobby pins
- 1 hair elastic
- Hair pomade or wax
20. The Scrunchie Statement High Ponytail
What This Idea Means
Fun, practical, and gentle on hair, the Scrunchie High Ponytail combines high-energy height with retro fabric accessories. Fabric scrunchies help reduce hair breakage and prevent unwanted elastic creases.
How to Make It
- Bend forward slightly and brush all hair smoothly up toward the high crown of your head.
- Secure the high ponytail firmly with a sturdy, snag-free hair elastic first to guarantee all-day hold.
- Take a fabric scrunchie—such as silk, velvet, cotton, or corduroy—and slip it over the base elastic.
- Twist the scrunchie twice so it sits snugly around the ponytail base.
- Tug the ponytail lightly from the sides to puff up the top volume and give the tail a lively bounce.
Tips and Variations
- Tips: Choose silk or satin scrunchies for delicate hair to prevent friction, snagging, and split ends during school days.
- Variations: Match your scrunchie fabric and pattern to your outfits, school colors, or seasonal trends (e.g., velvet for winter, pastel cotton for spring).
What You Need
- Hairbrush
- 1 sturdy inner hair elastic
- 1 decorative fabric scrunchie