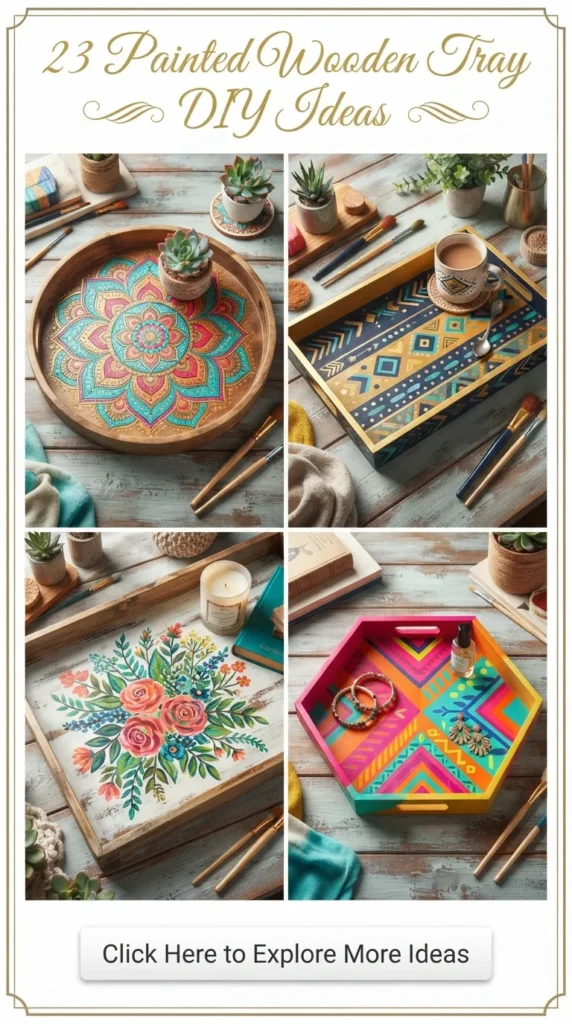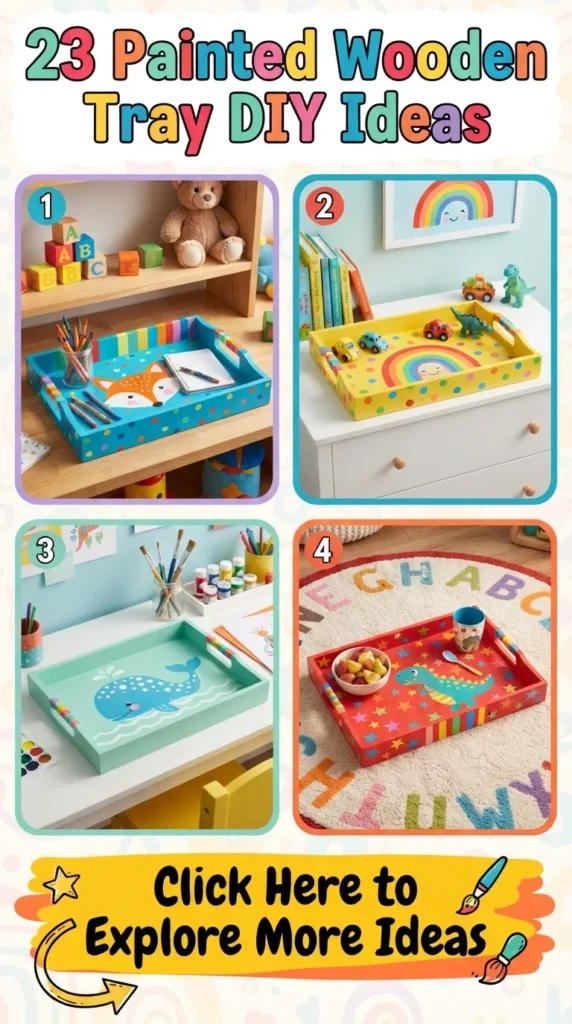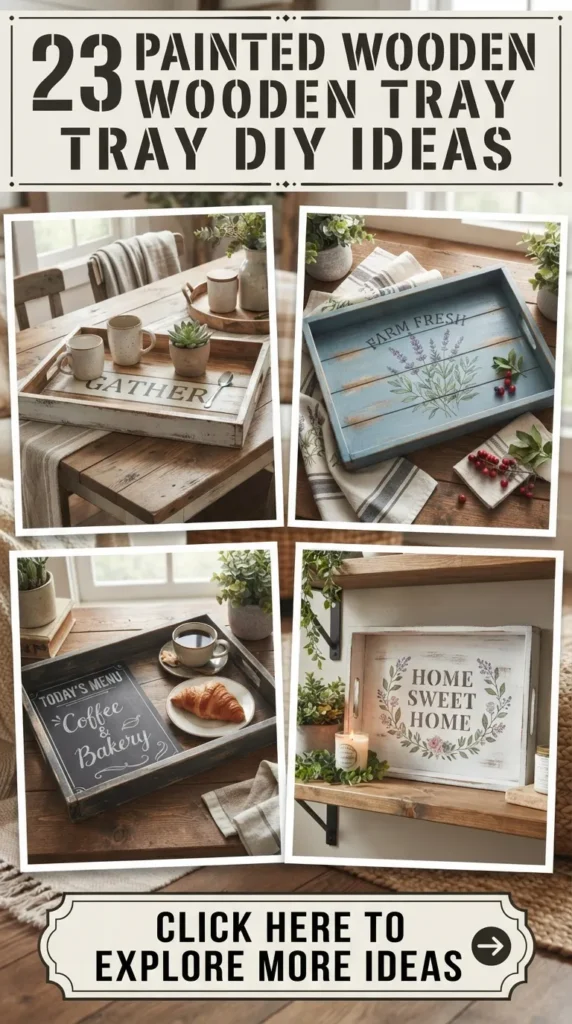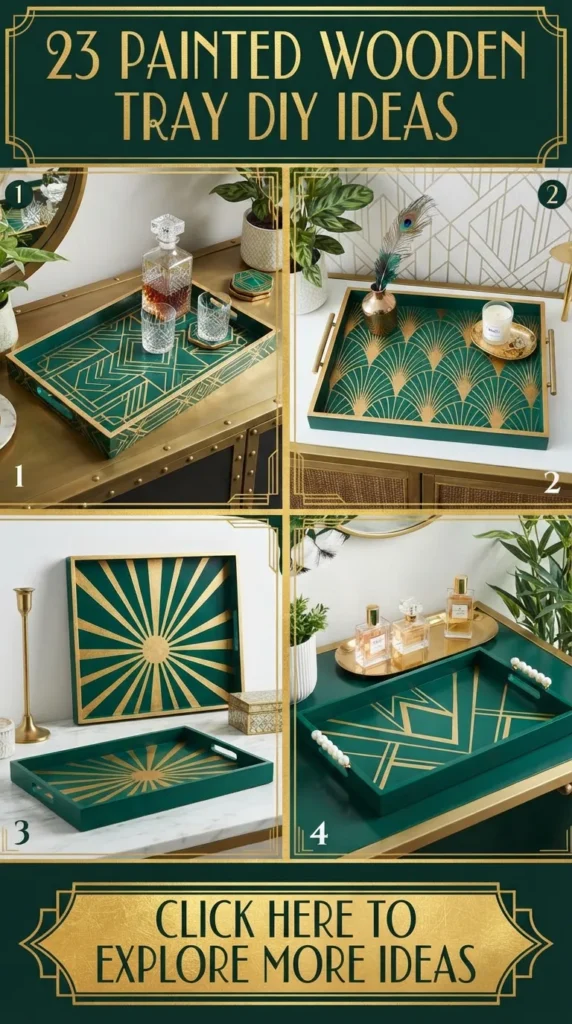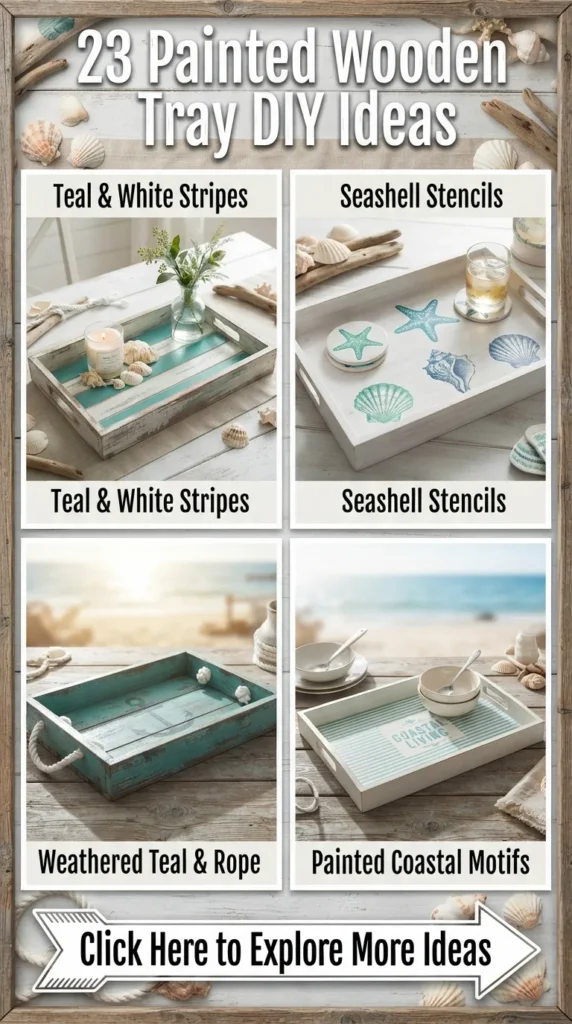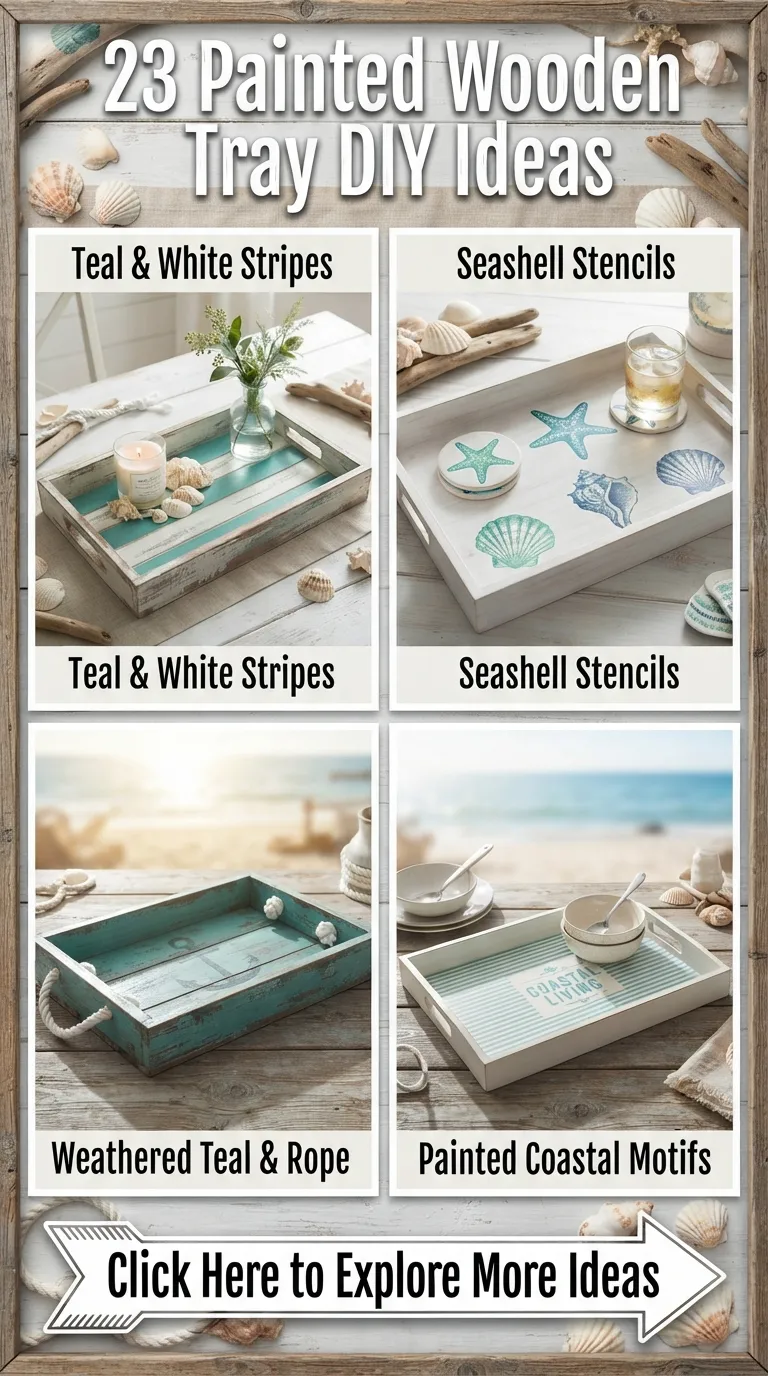
Wooden trays are among the most versatile decorative elements in interior design. A humble piece of wood can instantly become a stylish coffee table centerpiece, an organized vanity accent, or a warm serving station for afternoon tea. However, basic wooden trays can sometimes feel plain or uninspired. Painting your own custom wooden tray allows you to match your exact home aesthetic while adding a personal touch to your living spaces.
Whether you love warm vintage rustic charm, sleek modern minimalism, or vibrant boho patterns, painting a tray is a quick, rewarding, and budget-friendly project. Below, you will find 20 detailed, unique, and realistic painted wooden tray DIY ideas to elevate your decor, complete with step-by-step instructions, practical tips, and creative variations.



1. Modern Abstract Botanical Painted Tray
What This Idea Means
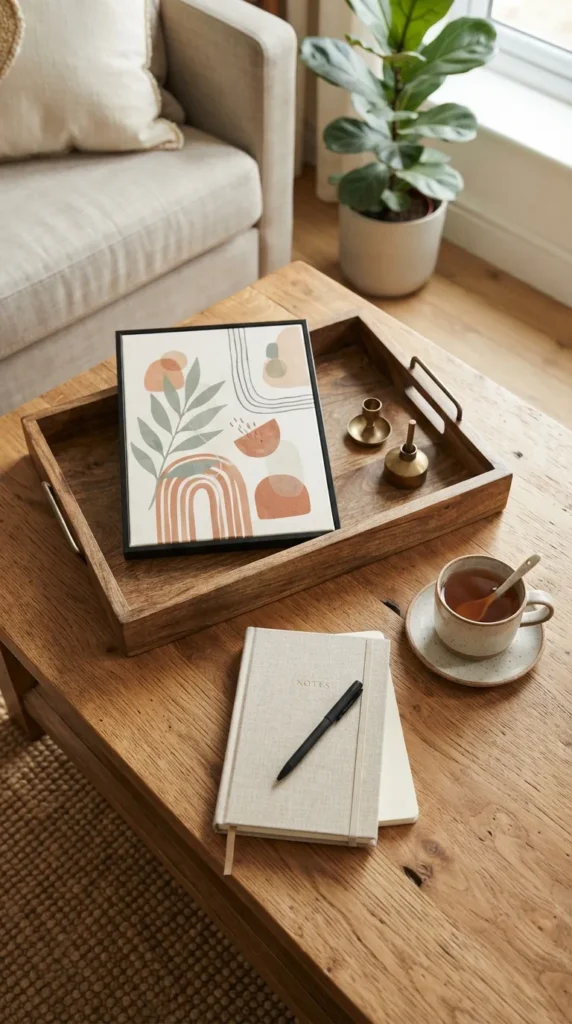
This design features loose, modern silhouette shapes of leaves, stems, and abstract geometric arches painted onto a soft neutral background. Instead of realistic botanical illustrations, this style focuses on minimalist forms using soft earthy tones like sage green, terracotta, mustard yellow, and warm cream.
Supplies Needed
- Unfinished flat wooden tray
- Acrylic paints (cream, sage green, terracotta, muted gold)
- Medium flat brush and fine detail round brush
- Matte clear varnish
- Painter’s tape
How to Make It
- Prepare the tray surface by lightly sanding it to ensure smooth paint application, then wipe away any dust.
- Apply two base coats of warm cream acrylic paint over the entire tray surface and allow it to dry completely.
- Using painter’s tape, mark off large modern arch or color-block shapes on one side of the tray.
- Paint inside the taped sections with terracotta and sage green.
- Once the base shapes are dry, use a detail brush to overlay simple leaf vines and stem silhouettes across the painted background using contrasting muted gold or deep olive green.
- Seal the entire tray with a matte acrylic clear coat for a durable finish.
Tips and Variations
- Tip: Don’t stress over perfect symmetry. Abstract art looks best when organic and slightly imperfect.
- Variation: Swap the earthy palette for pastel colors (blush pink, soft lilac, mint) for a spring-themed tray.
2. Rustic Farmhouse Distressed White Tray
What This Idea Means
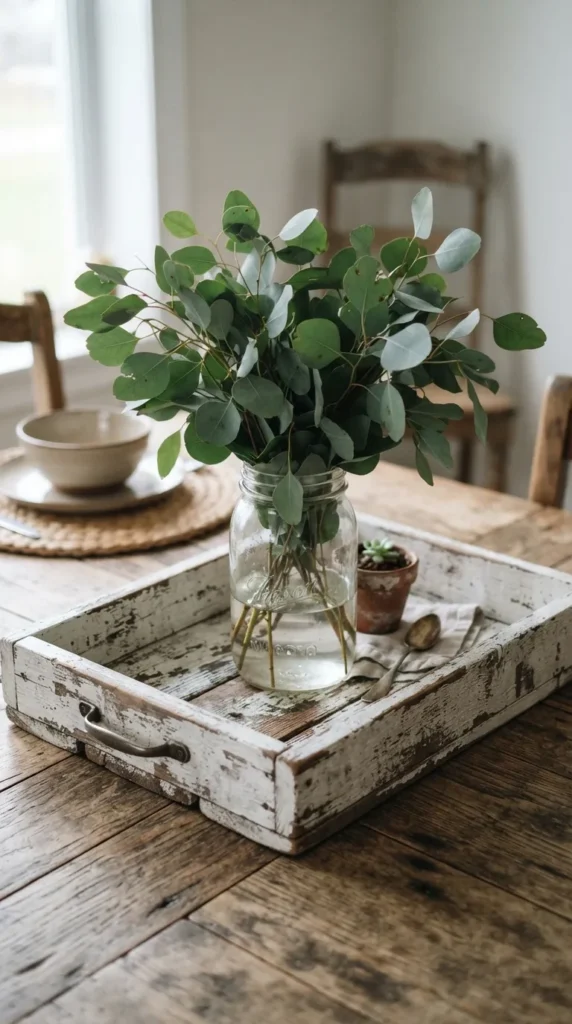
The distressed white farmhouse tray brings warm vintage character to your kitchen counter or dining table. By layering white chalk paint over a dark wood stain and lightly sanding the edges, you achieve an aged, timeworn look that feels cozy and lived-in.
Supplies Needed
- Dark stained or unfinished wooden tray
- Dark brown wood stain (if using unfinished wood)
- Matte white chalk paint
- Fine-grit sandpaper (180 to 220 grit)
- Clear sealing wax or matte polyurethane
How to Make It
- Stain the wooden tray with a deep walnut or espresso wood stain and let it dry fully.
- Paint the entire tray using white chalk paint. One or two light coats are usually enough, as you want some undertones to show through slightly.
- Once dry, take fine-grit sandpaper and gently rub along the edges, corners, handles, and raised trim where natural wear would occur over time.
- Wipe away all sanding dust thoroughly with a damp microfiber cloth.
- Apply a coat of clear protective wax with a soft cloth and buff gently for a soft sheen.
Tips and Variations
- Tip: Sand gently in one direction along the natural grain of the wood.
- Variation: Paint a rustic stenciled phrase like “Grateful” or “Gather” in dark gray in the center of the tray before applying the top sealer.
3. High-Contrast Checkerboard Grid Tray
What This Idea Means
Checkerboard patterns are trending heavily in modern bohemian and trendy contemporary home styling. Painting a bold checkerboard grid on a tray adds playfulness, geometric interest, and contrast to plain coffee tables or bookshelves.
Supplies Needed
- Wooden tray
- Grid ruler and pencil
- Painter’s tape (1-inch width)
- Black and cream acrylic paints
- Clear satin topcoat
How to Make It
- Paint the entire tray interior and exterior in a soft cream shade as your base color.
- Mark a precise grid across the tray floor using a ruler and light pencil lines.
- Carefully mask off alternating squares with painter’s tape to form the checkerboard pattern.
- Paint the unmasked squares with rich black acrylic paint.
- Peel off the painter’s tape gently while the paint is still slightly tacky to achieve crisp lines.
- Let it dry completely and apply a durable satin finish clear coat.
Tips and Variations
- Tip: Use a craft knife to trim painter’s tape cleanly at the tray corners.
- Variation: Swap traditional black and white for sage green and cream or cobalt blue and nude tones for a modern pastel look.
4. Ocean Resin-Inspired Fluid Art Tray
What This Idea Means
Capturing the beauty of sea waves hitting a coastline, this fluid paint technique uses acrylic pouring and blowing methods to create realistic ocean foam and wave patterns over a painted beach scene.
Supplies Needed
- Shallow rimmed wooden tray
- Acrylic paints (deep navy, turquoise, sky blue, white, sand beige)
- Pouring medium
- Straw or small hairdryer
- High-gloss varnish
How to Make It
- Base paint the bottom third of the tray in sand beige and the upper two-thirds in deep navy blue.
- Mix turquoise, sky blue, and white acrylic paints separately with pouring medium until fluid.
- Pour stripes of turquoise and light blue across the color transition area.
- Drizzle white acrylic mixture along the edge where the ocean meets the sand.
- Use a straw or low-power hairdryer to blow the white paint across the blue shades, creating airy ocean foam patterns.
- Seal with a thick coat of high-gloss clear varnish to mimic liquid water.
Tips and Variations
- Tip: Ensure the tray is completely flat while drying so the fluid paint doesn’t pool to one side.
- Variation: Mix fine gold glitter into the sand portion for a sunlit beach effect.
5. Moody Terrazzo Mosaic Painted Tray
What This Idea Means
Terrazzo design uses scattered flecks of various colors to mimic traditional Italian composite stone floors. Painting terrazzo speckles on a tray adds modern architectural style to your coffee table decor without requiring real stone.
Supplies Needed
- Wooden tray
- Charcoal gray or deep green base paint
- Accent paints (blush pink, mustard yellow, white, ochre, mint)
- Small flat synthetic brush
- Matte protective spray
How to Make It
- Paint the whole tray with a dark, rich color like deep charcoal gray or moody forest green.
- Dip a small flat detail brush into your accent colors one by one.
- Paint small, irregular geometric shapes, triangles, and smooth flecks randomly across the tray bed.
- Vary the size and spacing of the shapes to create an authentic stone texture.
- Finish with two coats of matte clear protective spray for an authentic, stone-like feel.
Tips and Variations
- Tip: Layer light colors over dark base coats with two thin layers so the terrazzo flecks pop.
- Variation: Use a white base with pastel flecks for a bright Scandinavian terrazzo look.


6. Elegant Gold Leaf Edged Wooden Tray
What This Idea Means
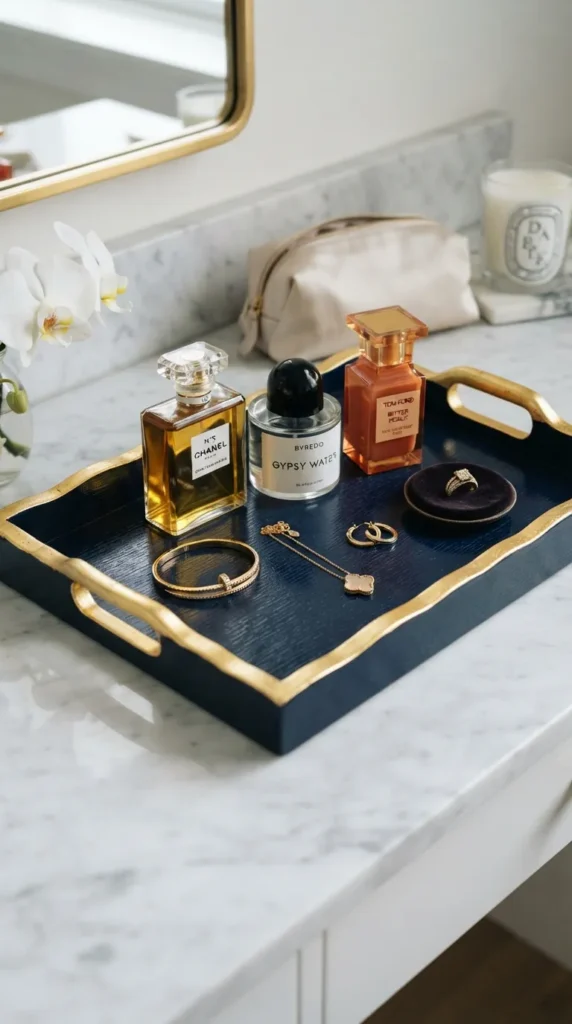
Combining a sleek solid-painted color with glowing metallic accents, this tray features rich, gold-leaf-gilded edges that catch the light beautifully. It is an ideal piece for elegant vanity organization or perfume displays.
Supplies Needed
- Wooden tray
- Deep navy, emerald green, or black acrylic paint
- Imitation gold leaf sheets
- Gilding size (adhesive glue)
- Soft makeup brush or mop brush
- Clear gloss sealer
How to Make It
- Paint the entire tray in a rich dark tone, such as matte navy or deep emerald green, and let it dry.
- Apply a thin coat of gilding adhesive size specifically along the top edge rim and handles of the tray.
- Wait a few minutes until the adhesive becomes tacky.
- Carefully press sheets of gold leaf onto the glued areas.
- Gently sweep away excess gold leaf with a soft makeup brush, leaving a smooth metallic rim.
- Apply a clear gloss sealer over the gold leaf to prevent tarnishing.
Tips and Variations
- Tip: Work in a room without drafts or fans, as gold leaf sheets fly away easily.
- Variation: Replace gold leaf with copper or silver leaf to match your existing metal home accents.
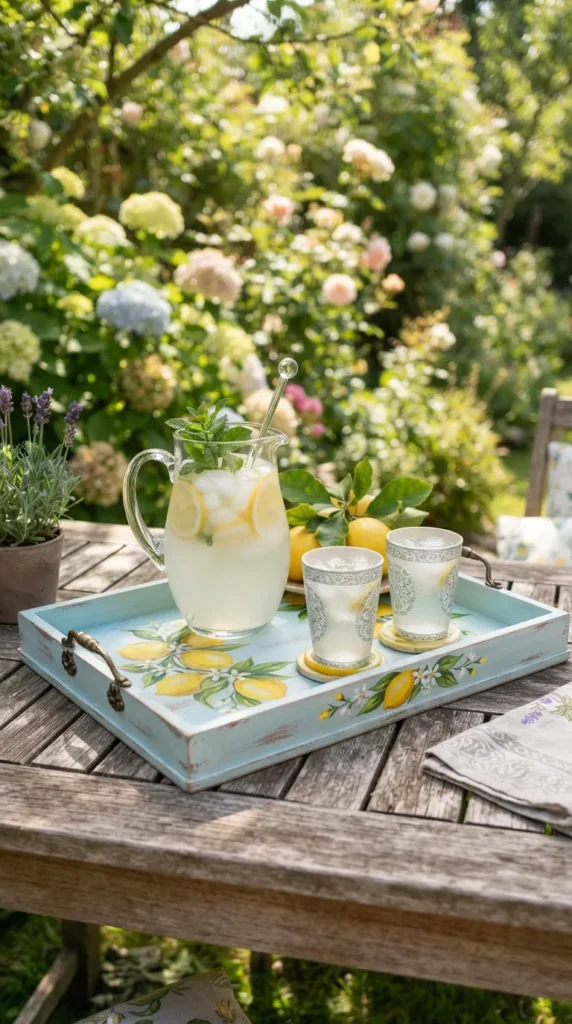
7. Vibrant Citrus Orchard Painted Tray
What This Idea Means
Bright, cheerful, and full of sunshine, the citrus painted tray features hand-painted lemon or orange slices surrounded by lush green leaves on a soft pastel background. It is perfect for summer gatherings, patio dining, or kitchen fruit displays.
Supplies Needed
- Flat wooden serving tray
- Acrylic paints (soft blue, yellow, orange, white, forest green)
- Round detail brushes
- Waterproof clear gloss polyurethane
How to Make It
- Paint the background of the tray in a pale buttermilk yellow or soft sky blue color.
- Lightly sketch lemon or orange circles and half-moon slices across the tray surface using a pencil.
- Fill in the fruit bodies with bright yellow or orange paint, leaving white borders for the citrus pith and rind outlines.
- Paint clusters of dark green leaves around the fruit to build contrast.
- Add small white highlights on the fruit pulp for depth.
- Seal with a waterproof clear coat to protect the tray from food spills.
Tips and Variations
- Tip: Dab a dry sponge with white paint onto the fruit peel areas for realistic texture.
- Variation: Paint a grapefruit motif using coral-pink tones and mint green leaves.
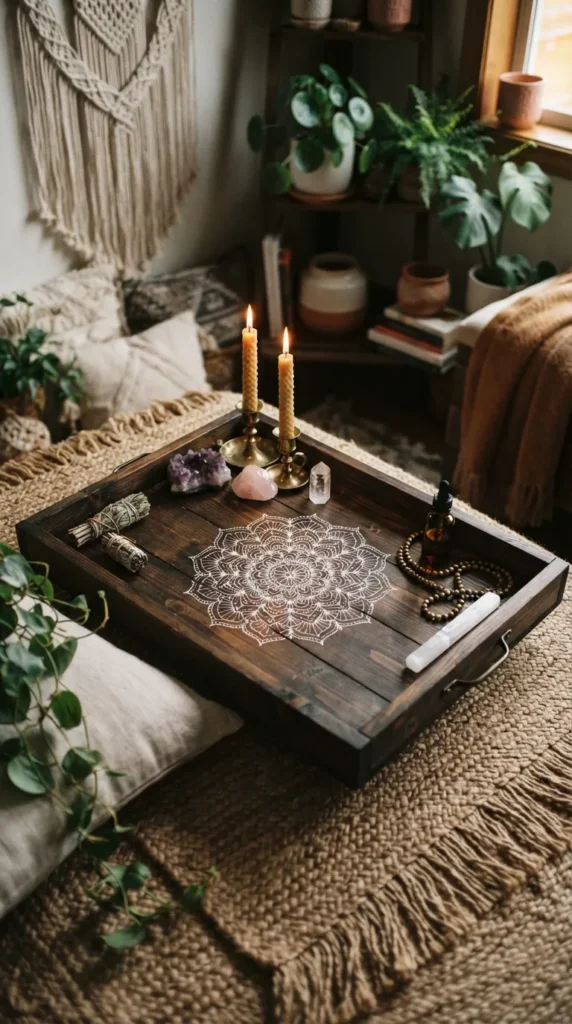
8. Boho Mandala Stencil Painted Tray
What This Idea Means
Mandala designs are recognized for their delicate, intricate geometric symmetry. Using a mandala stencil on a wooden tray creates a spiritual, relaxing bohemian aesthetic ideal for holding candles, crystals, or tea sets.
Supplies Needed
- Wooden tray
- Circular mandala stencil
- Painter’s tape
- Chalk paint or acrylic paint (white, cream, or gold)
- Stencil sponge or dabbing brush
- Clear coat spray
How to Make It
- Paint your tray in a solid, contrasting base color like deep plum, teal, or warm dark stain.
- Center the mandala stencil on the tray floor and secure all four sides firmly with painter’s tape.
- Lightly dip your stencil sponge in white or metallic gold paint, dabbing off almost all excess paint on a paper towel.
- Gently tap the sponge vertically over the stencil cutouts.
- Carefully lift the stencil straight up while the paint is still slightly damp.
- Allow the design to dry and seal with clear spray varnish.
Tips and Variations
- Tip: Less paint on your brush prevents paint from bleeding under the stencil edges.
- Variation: Paint four mini quarter-mandalas in each of the four corners of the tray instead of one large center medallion.
9. Modern Color-Block Geometric Tray
What This Idea Means
Color-blocking relies on clean lines and bold color intersections to form a striking contemporary design. This tray works exceptionally well on coffee tables in modern apartments or offices.
Supplies Needed
- Low-profile wooden tray
- Low-tack painter’s tape
- Acrylic paints (3–4 complementary colors like mustard, blush, teal, slate gray)
- Flat synthetic paintbrushes
- Satin polyurethane finish
How to Make It
- Sand and prime the wooden tray with a white base primer.
- Map out diagonal, horizontal, or intersecting triangular shapes across the tray bed using painter’s tape.
- Paint each section with a different color from your selected palette.
- Remove the tape carefully after applying two thin coats to each section.
- Re-tape dry sections if you need to create overlapping geometric shapes.
- Protect the geometric art with two thin coats of satin clear finish.
Tips and Variations
- Tip: Burnish the edge of the painter’s tape with your thumbnail before painting to get razor-sharp lines.
- Variation: Leave one geometric section as raw bare wood showing natural grain for contrast.
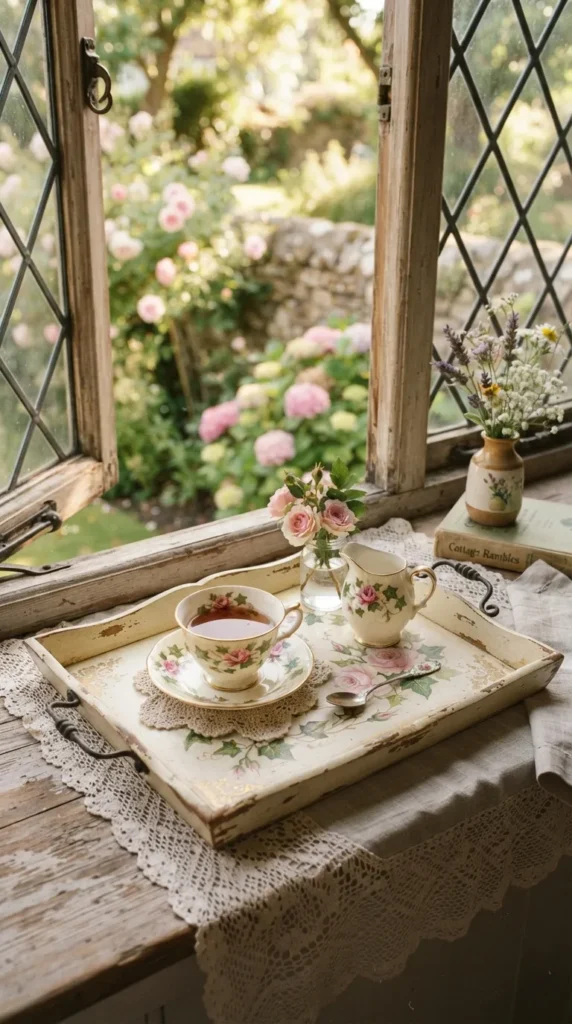
10. Vintage Floral Cottagecore Painted Tray
What This Idea Means
Inspired by classic countryside floral china and romantic cottage aesthetic, this design features delicate roses, wildflowers, and trailing ivy vines painted across a muted, moody background.
Supplies Needed
- Vintage-style wooden tray with handles
- Acrylic paint (duck egg blue, muted rose, olive green, cream)
- Small round brushes (#1 and #3 fine detail)
- Dark wax or antique glaze
How to Make It
- Base coat the tray in duck egg blue, sage, or antiqued cream.
- Pencil soft clusters of roses and delicate leafy sprigs around the edges or center of the tray.
- Paint simple flower petals using soft strokes, layering light pink over darker red or berry bases.
- Add fine olive green stems and tiny white baby’s breath blossoms to fill empty gaps.
- Once dry, lightly rub dark antiquing wax into the corners and edges to give it an authentic antique feel.
- Seal with a soft matte varnish.
Tips and Variations
- Tip: Mix a tiny bit of water with your acrylic paint for smooth, flowing floral brushstrokes.
- Variation: Paint simple lavender stalks instead of roses for a French countryside feel.

11. Scandi Line Art Silhouette Tray
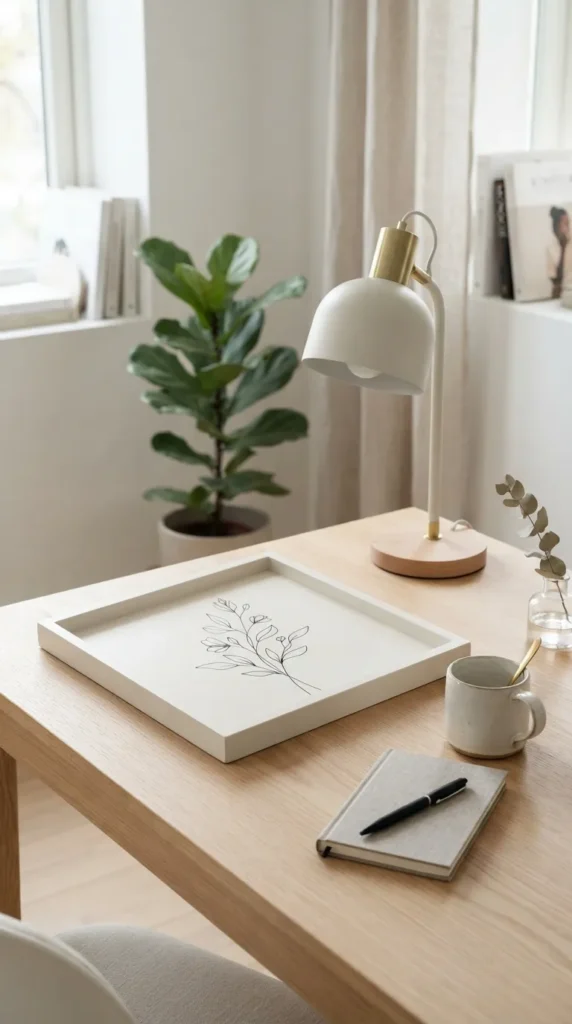
What This Idea Means
Minimalist Scandinavian line art features single continuous line drawings of faces, continuous figures, or abstract plant stems. It delivers a modern, gallery-worthy piece that feels effortless and refined.
Supplies Needed
- Smooth wooden tray
- Off-white or nude base paint
- Black acrylic paint or fine-tip black paint pen
- Graphite transfer paper (optional)
- Clear matte sealer
How to Make It
- Base coat the tray with an off-white, light greige, or soft nude acrylic paint.
- Either freehand draw a continuous line face/botanical or transfer a printed line design using graphite paper.
- Trace carefully over the pencil lines using a steady hand and a fine-tip black acrylic paint pen.
- Keep the brush strokes uniform in width across the entire drawing.
- Allow the ink or paint pen to set completely for several hours.
- Finish with a matte protective coat spray.
Tips and Variations
- Tip: A acrylic paint pen offers far better line control on wood than a traditional paintbrush.
- Variation: Use metallic copper paint pens on a jet-black background for dramatic contrast.
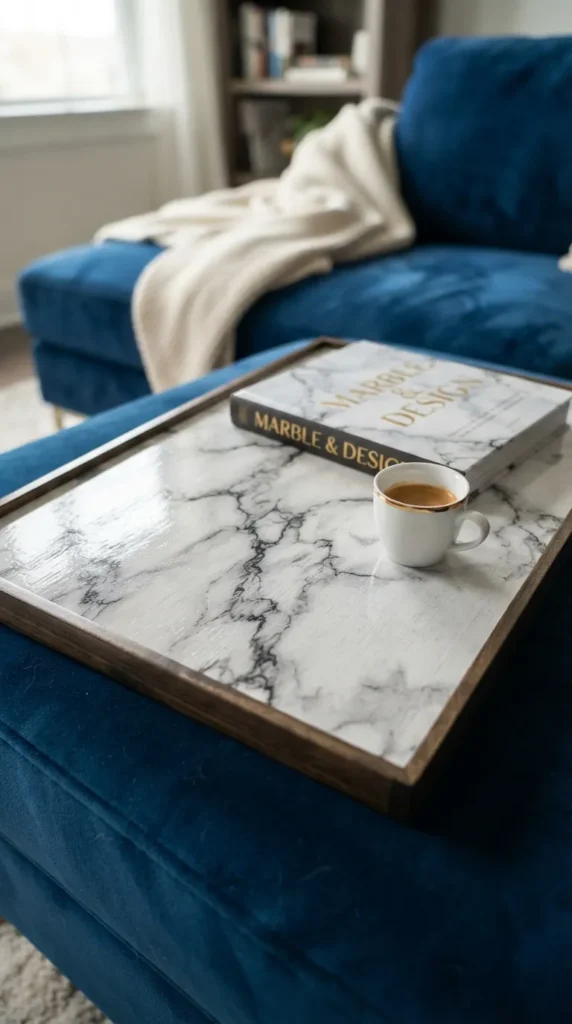
12. Faux Marble Inlay Wooden Tray
What This Idea Means
Get the luxurious look of heavy Italian marble at a fraction of the weight and cost. Painting faux marble involves blending soft gray and white veins across a pale gray ground with a feather or soft fan brush.
Supplies Needed
- Wooden tray
- White, light gray, and dark charcoal acrylic paint
- Feathers or fine detail detail brush
- Sea sponge
- High-gloss clear lacquer
How to Make It
- Paint the inner surface of the tray white and lightly dapple it with a wet sea sponge dipped in pale gray paint.
- While the paint is slightly wet, dip a feather tip into dark charcoal paint diluted with water.
- Drag and twist the feather lightly across the tray to form organic, jagged vein patterns.
- Soften the harsh edges of the veins using a clean, dry, fluffy makeup brush.
- Paint the tray sides in solid black or white to frame the marble bed.
- Seal with multiple coats of high-gloss clear finish for a real polished stone shine.
Tips and Variations
- Tip: Look at real marble photos while painting to mimic realistic, branching vein patterns.
- Variation: Paint a black marble tray using gold and white veining on a dark charcoal base.
13. Moody Celestial Night Sky Tray
What This Idea Means
This celestial theme brings constellations, crescent moons, and starry cosmic clouds right into your home. It makes a beautiful tray for nightstands, jewelries, or crystal collections.
Supplies Needed
- Dark wood tray
- Deep midnight blue, purple, black, and white paint
- Toothbrush (for splattering stars)
- Fine metallic gold paint or gold paint pen
- Gloss varnish
How to Make It
- Paint the base of the tray using a blend of deep navy blue, dark purple, and black to create a nebula cloud effect.
- Dip a stiff toothbrush into white acrylic paint, aim it at the tray, and pull your thumb back across the bristles to flick tiny star dots across the sky.
- Use a fine gold paint pen to paint a detailed crescent moon and simple constellation star maps.
- Add small clusters of larger four-pointed gold stars for focal interest.
- Protect the dark background with two coats of protective gloss sealer.
Tips and Variations
- Tip: Keep star splatters light—flicking from further away prevents large paint blobs.
- Variation: Add real zodiac constellation patterns that represent your family members’ astrological signs.
14. Retro Mid-Century Arch Tray
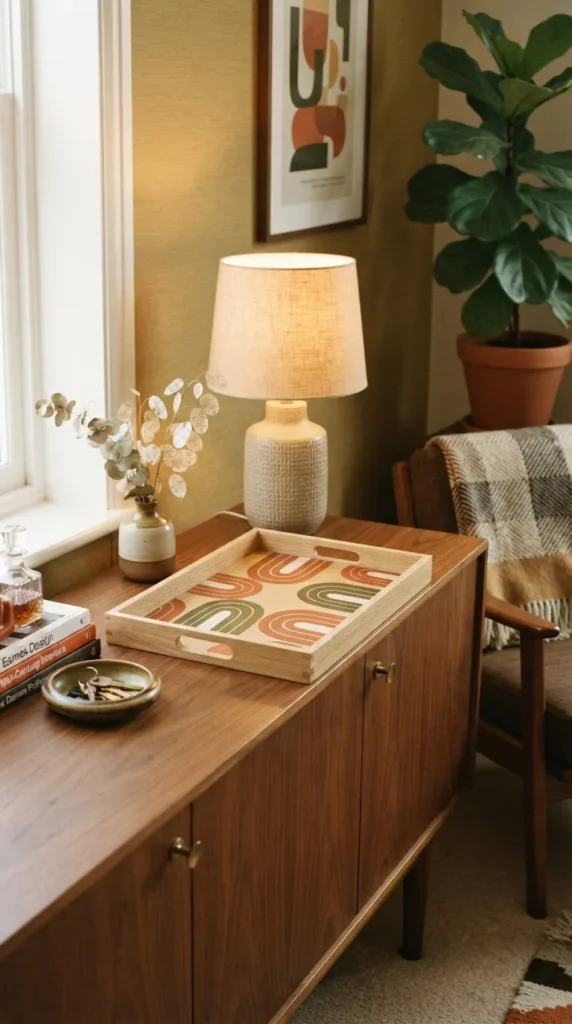
What This Idea Means
Featuring warm 1970s retro colors, nested arches, and wave lines, this mid-century modern tray brings warmth, nostalgia, and artistic character into living rooms.
Supplies Needed
- Flat wooden tray
- Earth-tone paints (mustard yellow, terracotta, olive green, warm beige)
- Compass or circular objects to trace arches
- Painter’s tape
- Satin sealant
How to Make It
- Paint the entire tray base in a warm oatmeal or soft beige color.
- Trace semi-circles and arches of varying sizes overlapping each other across the middle of the tray.
- Fill each arch section carefully with distinct earth tones like terracotta, mustard yellow, and olive.
- Paint neat straight vertical lines extending downwards from the bottom of the arches.
- Once dry, seal with a warm satin varnish.
Tips and Variations
- Tip: Flexible vinyl painter’s tape bends around smooth curves effortlessly for clean arch edges.
- Variation: Add thin gold metallic lines running between the arches to elevate the vintage look.
15. Sun-Drenched Gingham Checkered Tray
What This Idea Means
Gingham brings charming country cottage energy to your kitchen and dining spaces. By layering translucent paint strokes, you recreate the classic woven look of gingham cloth on wood.
Supplies Needed
- Rectangular wooden tray
- Off-white base paint
- Accent paint (like sky blue or sage green)
- Painter’s tape
- Matte sealer
How to Make It
- Paint the entire tray surface off-white and let it dry completely.
- Apply evenly spaced vertical strips of painter’s tape down the tray floor.
- Paint over the exposed wood strips with your accent color mixed with 50% water or glazing medium to make it semi-sheer.
- Remove vertical tape and let the paint dry completely.
- Apply evenly spaced horizontal painter’s tape strips across the tray.
- Paint over exposed areas with the same semi-sheer paint. The overlapping squares will naturally become darker, creating the classic gingham pattern.
- Seal with a matte spray coat.
Tips and Variations
- Tip: Glazing medium works much better than water to make acrylic paint translucent without breaking it down.
- Variation: Use yellow for a bright lemon-gingham picnic style.


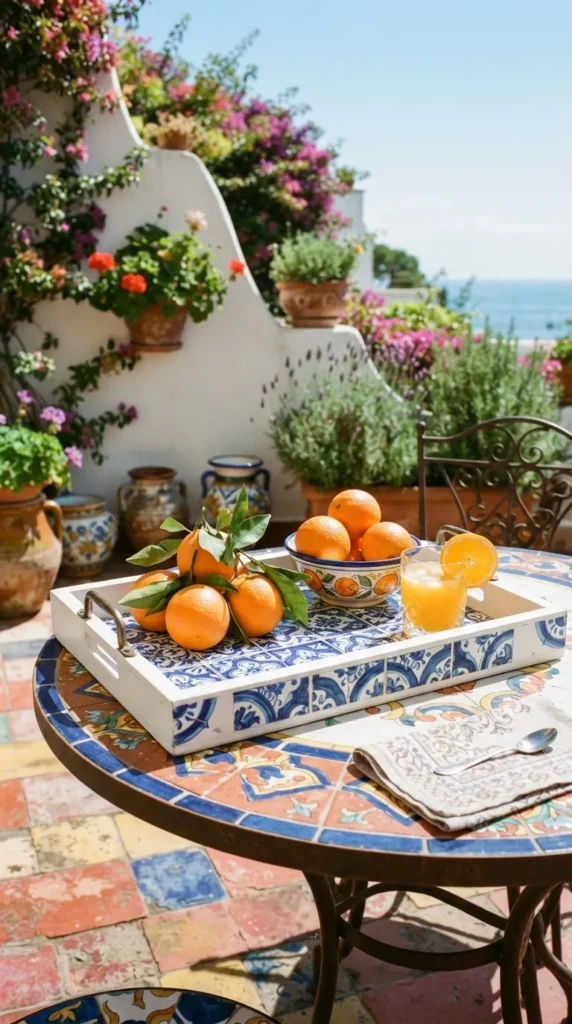
16. Mediterranean Tile Motif Painted Tray
What This Idea Means
Inspired by Portuguese Azulejos and Spanish hand-painted Talavera ceramic tiles, this tray showcases intricate tile patterns painted side-by-side on the bottom of the tray.
Supplies Needed
- Square or long rectangular tray
- Cobalt blue and brilliant white paint
- Tile pattern stencil or ruler
- Fine detail brushes
- Glossy topcoat
How to Make It
- Base coat the interior of the tray with bright ceramic white paint.
- Divide the base into equal square sections using a light pencil and ruler to represent individual tiles.
- Using cobalt blue paint, fill each square with matching or alternating tile motifs (florals, diamonds, and scrollwork).
- Outline each tile square with a thin blue border line to separate them visually.
- Apply a high-gloss topcoat to give the painted wood the glossy shine of real glazed ceramic tiles.
Tips and Variations
- Tip: Stencils can speed up this process if you don’t want to hand-draw every tile motif.
- Variation: Use vibrant terracotta, teal, and yellow hues for a Mexican Talavera tile effect.
17. Coastal Driftwood Wash Tray
What This Idea Means
If you prefer natural, breezy, beach-inspired styling, a coastal driftwood finish softens harsh wood tones using a watery gray and white paint wash that allows natural wood grain to shine through.
Supplies Needed
- Bare, unsealed wooden tray with strong wood grain
- Light gray and white latex or acrylic paint
- Water
- Lint-free cotton rag
- Matte clear wax or flat varnish
How to Make It
- Mix equal parts light gray paint and water to create a thin color wash.
- Brush the gray wash generously over the raw wooden tray along the direction of the grain.
- Immediately wipe away the excess paint with a cotton rag, leaving gray pigments settled in the wood pores.
- Repeat this process with a watery white paint wash to add highlights.
- Let the wood dry completely.
- Protect the tray with a flat, non-glossy matte sealer so it keeps its natural weathered feel.
Tips and Variations
- Tip: Wire brush the bare wood before painting to open the grain and absorb washes better.
- Variation: Wrap jute twine or rope around the wooden tray handles to complete the nautical theme.
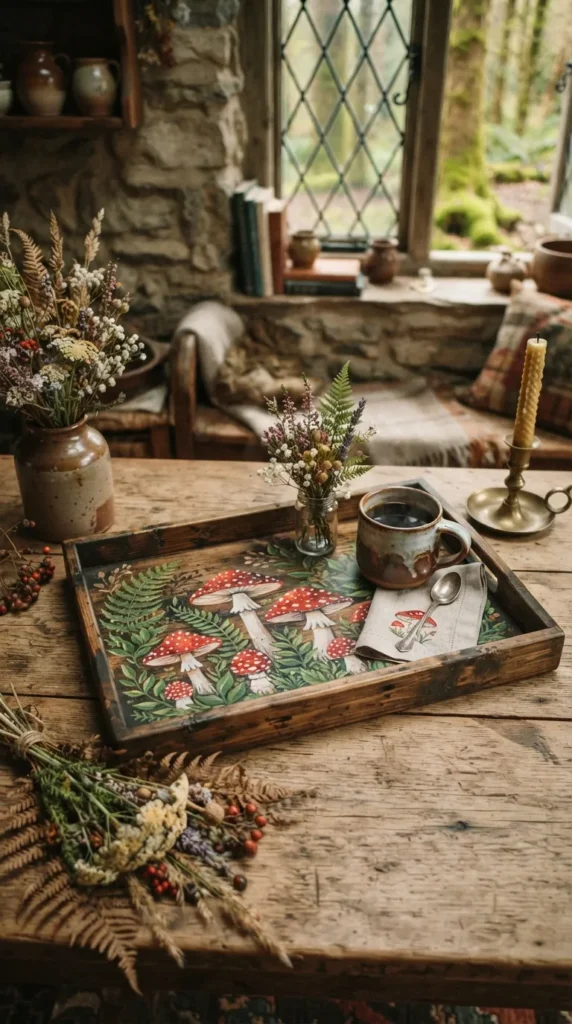
18. Whimsical Mushroom & Fern Botanical Tray
What This Idea Means
Perfect for nature lovers, woodland decor fans, and modern cottagecore aesthetics, this style features forest mushrooms, wild ferns, and small mossy details on a rich dark wood background.
Supplies Needed
- Wooden tray
- Dark espresso paint or stain
- Earthy acrylic paints (clay red, cream, moss green, ochre)
- Fine detail paintbrush
- Satin varnish finish
How to Make It
- Paint or stain the tray background a rich dark brown or deep forest green shade.
- Paint small groupings of forest mushrooms with cream stems and warm red or terracotta caps.
- Paint delicate fern fronds curving around the mushrooms using varied shades of green.
- Add small white accent dots on the mushroom caps and tiny forest soil textures near the base.
- Seal the finished painting with two coats of satin clear finish.
Tips and Variations
- Tip: Use a fan brush lightly to create realistic, feathery fern tips.
- Variation: Add small hand-painted butterflies or honeybees fluttering above the mushrooms.
19. Luxe Emerald Green & Copper Marbled Tray
What This Idea Means
Combining deep gem tones with reflective metallic copper, this design yields a moody, high-end decorative tray suited for formal dining settings or coffee tables.
Supplies Needed
- Wooden tray
- Emerald green, teal, black, and metallic copper acrylic paint
- Mixing cups and water
- Clear epoxy resin or high-gloss sealer
How to Make It
- Base coat the tray frame and handles in solid black.
- Mix emerald green, teal, black, and copper paints into separate cups with a few drops of water.
- Swirl the green and teal colors onto the tray bed, tilting the tray gently to let colors run together naturally.
- Drizzle metallic copper paint lines into the wet green paint and stir gently with a toothpick.
- Allow the fluid pattern to dry completely over 24 to 48 hours.
- Pour a coat of clear epoxy resin over the top for a glass-like finish.
Tips and Variations
- Tip: Use a small craft blowtorch to pop any air bubbles in the resin coat.
- Variation: Swap emerald green for deep royal blue and metallic copper for bright silver.
20. Minimalist Line Geometric Tray
What This Idea Means
Understated yet sophisticated, this design relies on precise, ultra-thin intersecting lines over a calm neutral background. It provides clean structure that elevates display items placed on top.
Supplies Needed
- Unfinished flat wooden tray
- Light greige or warm cream paint
- Fine-tip metallic gold or white acrylic paint pen
- Ruler
- Matte varnish
How to Make It
- Paint the wooden tray in a smooth, solid light greige or pale sand color.
- Using a ruler and pencil, trace delicate intersecting geometric lines across the corners or center of the tray.
- Trace carefully over the pencil lines using a fine metallic gold or white acrylic paint pen.
- Keep the design simple—focus on clean triangles, parallel lines, or offset diamonds.
- Seal with a matte spray coat to maintain a soft finish.
Tips and Variations
- Tip: Let the base coat dry for 24 hours before drawing with paint pens so the tip doesn’t dig into soft paint.
- Variation: Draw black geometric lines over raw light oak or birch wood without painting a base color.
More Ideas to Come in Future Addition!